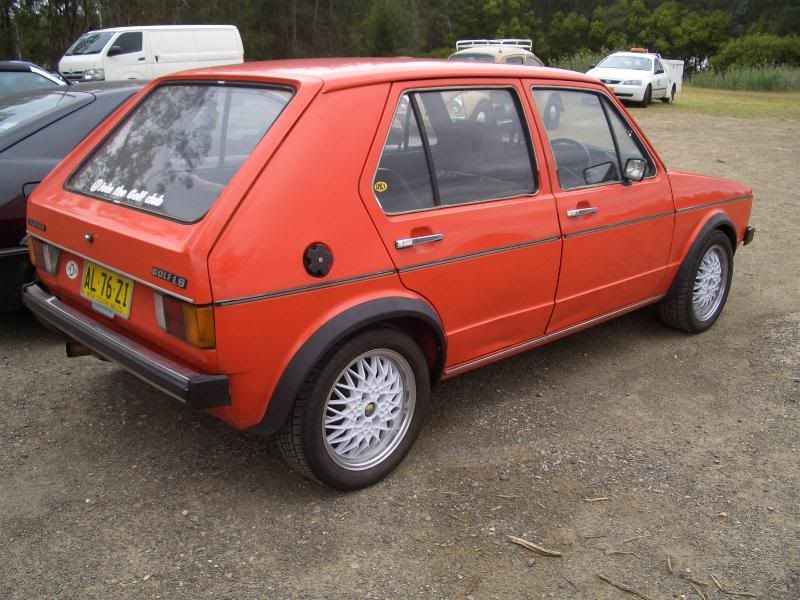
Mk3Love

Thanks for dropping by my blog.

Just thought I chuck in a link here for those that love what my Golf is about, and why I'm so obsessively into it.


Tuesday, 16 January 2007

tid bits done

hi.

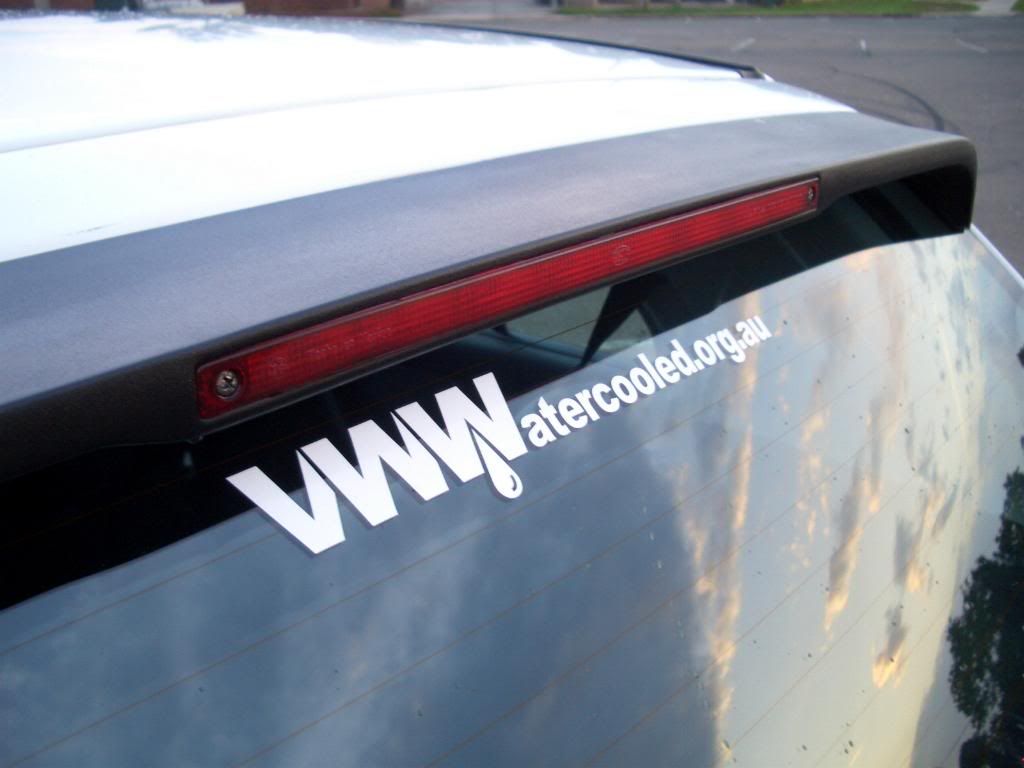
done a few bits for the car over the last month. first off, put on a vwwatercooled.org.au sticker that i got from the meet and greet thing last 3rd of december.
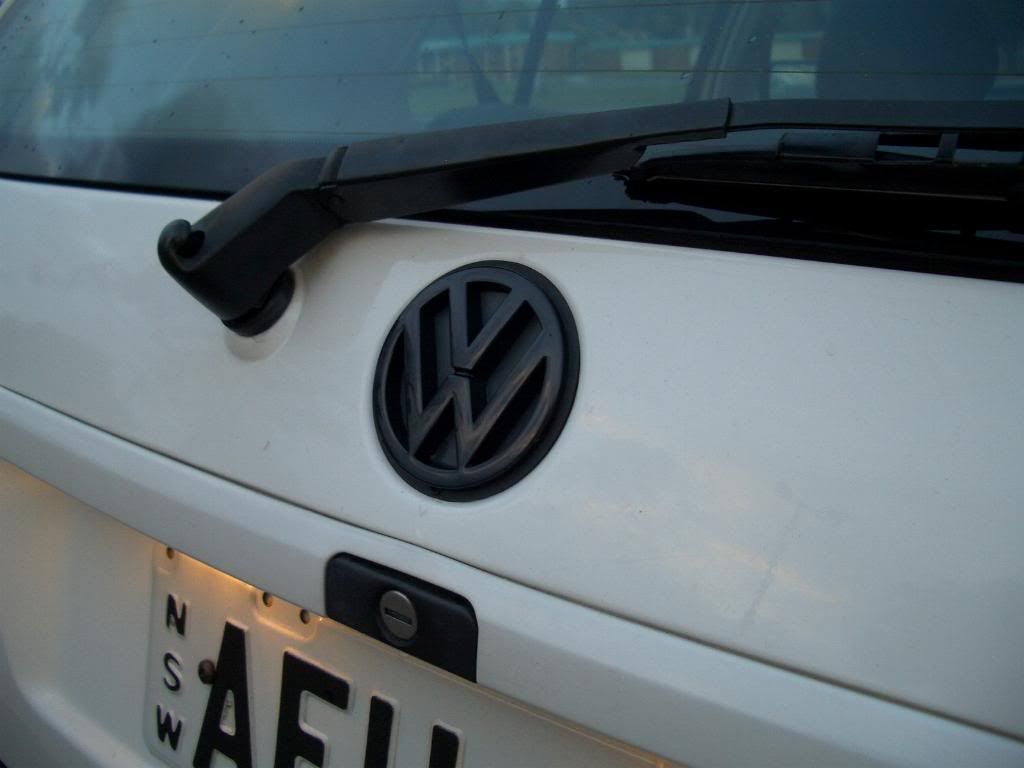
i ordered a new rear VW emblem in black from england ages ago and only got around to putting it in one day. pedro helped out with the removing, which didn't end up needing some heating cos it was a freakin' hot day. with a flat-head and some elbow grease, it gave way. i f*cked up when putting the new badge on so it now sits a bit higher then it normally should. but really, it's not noticeable unless you know it haha.

and here's what i did with the old one :)
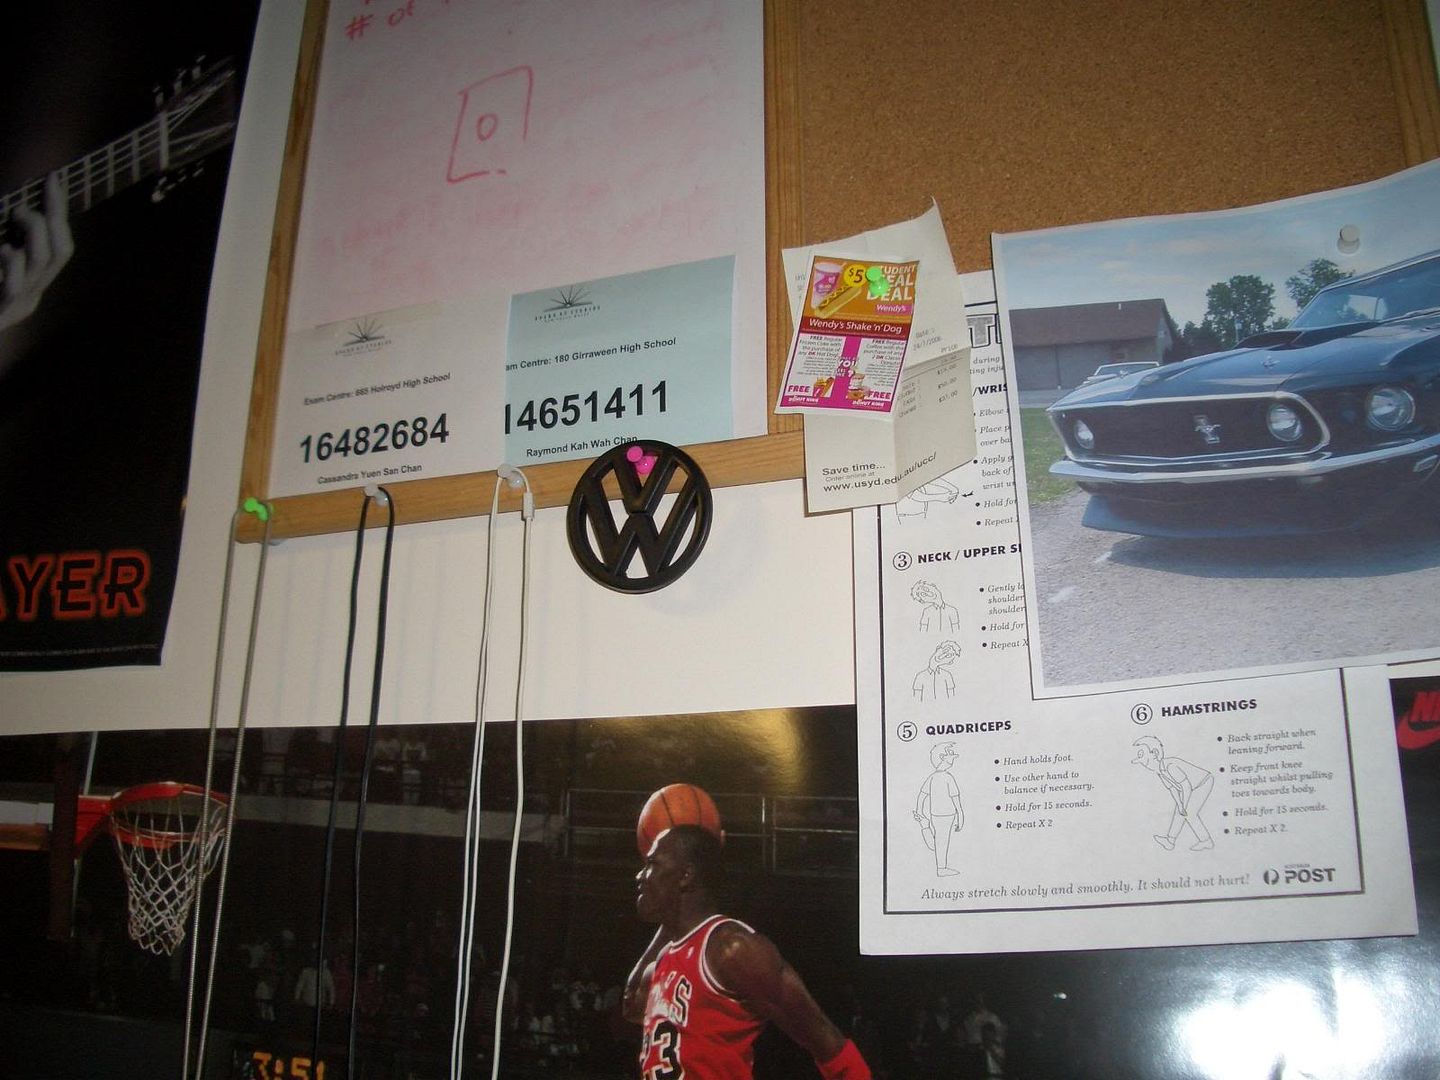

ripped the plastic backing out and spray painted it black. i think i might fill the back of it up and have it dangle around under my rear view mirror :D

one of the "bigger" things i did was bogged up the big indent on the front bumper trim, possibly from some minor hit with a car that had that trailer holder thingy. started off with sanding parts of it down, but don't think it was necessary since the trim was textured plastic anyway. after the sanding, fibre glass filler was shoved on and then we waited for it to settle. then on to the fun part: sanding. this process took f*ckin' ages and i'd have to be desperate to fix it myself if i have to do it again. used 80 grit sandpaper to sand down just the filler mountain down to flat-ish again.
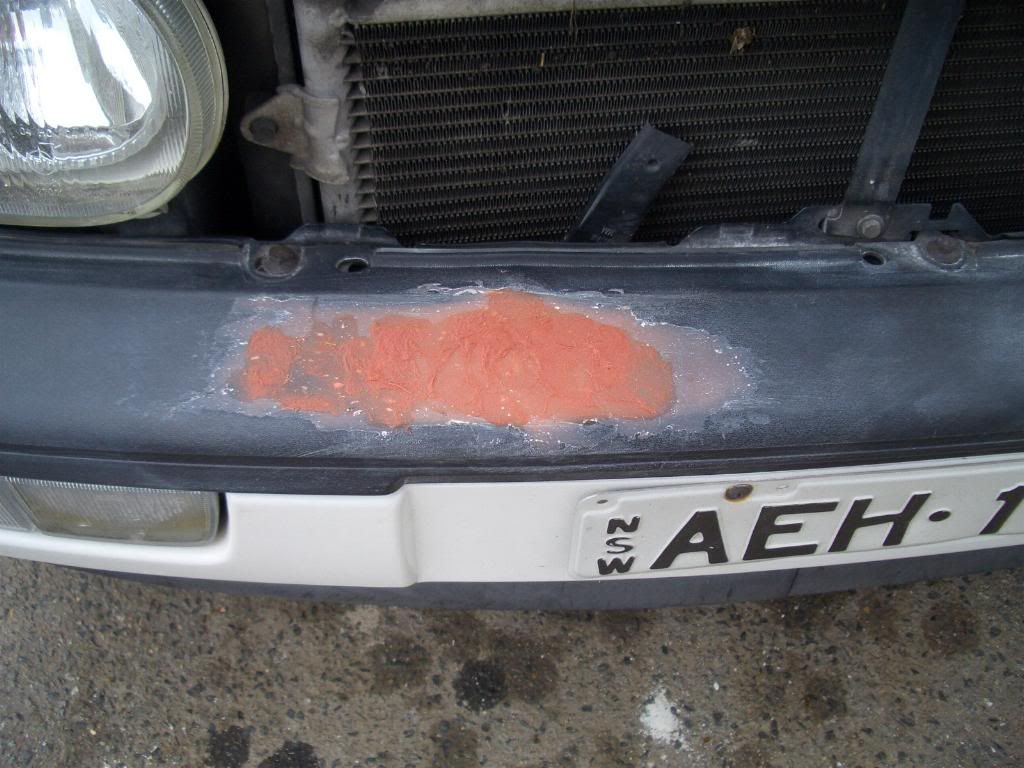

imagine that, but 1cm higher in height. isn't much, but it is when you're using sand paper to reduce it down.
200/400 grit was then used to sand down the edges and sorta smooth everything out. 600 grit was then used to really smooth the bog up and prep the trim for primer and paint:
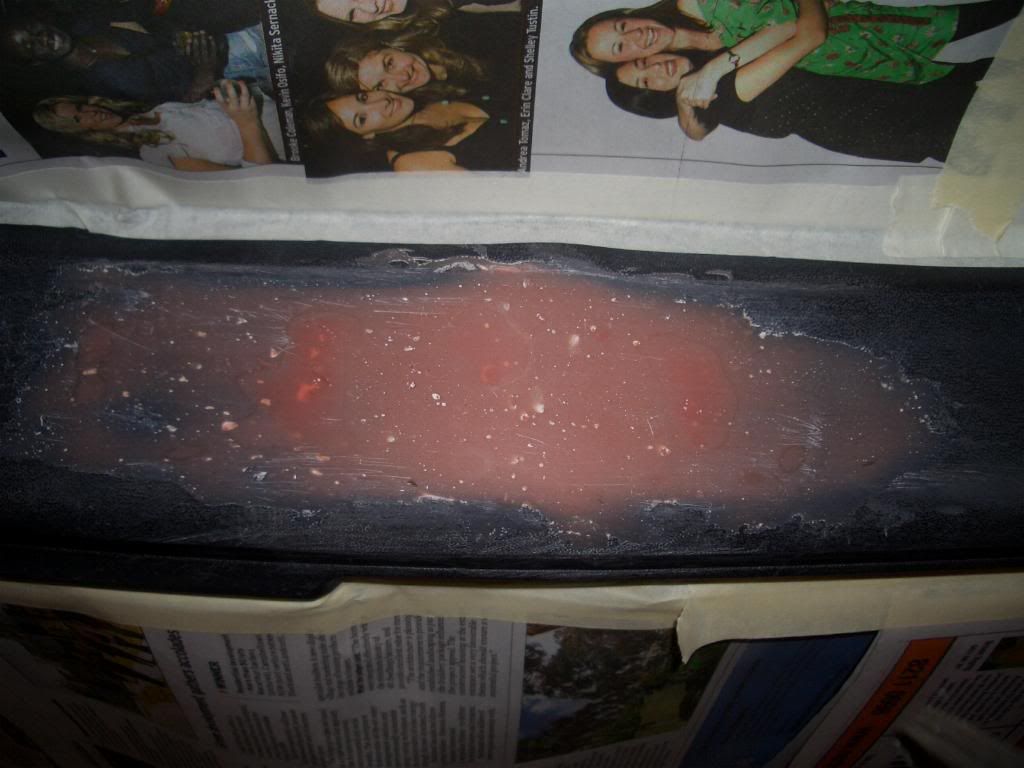

i haven't took an after pic yet, but i will put it on later here

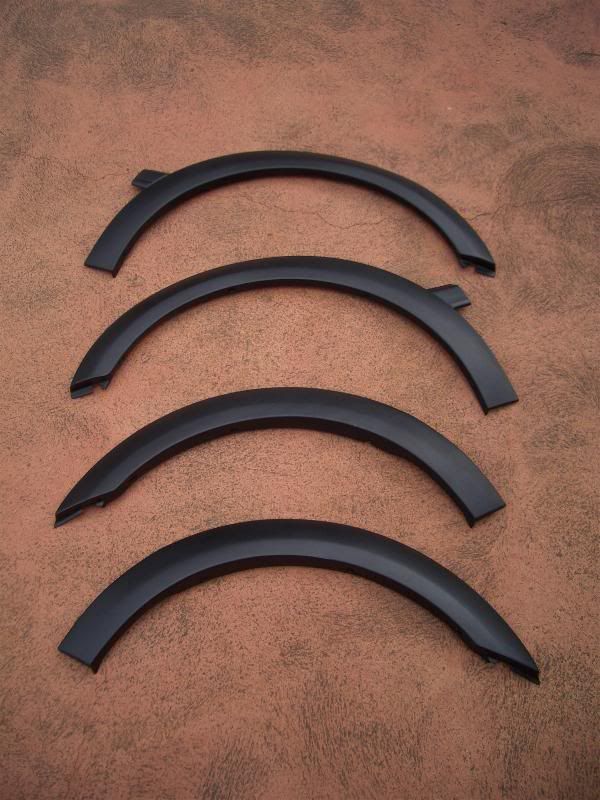
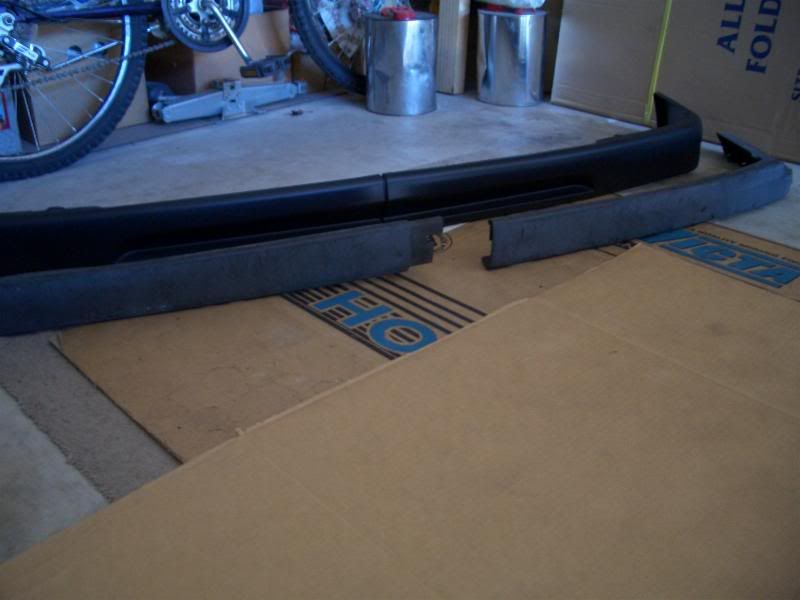
after that, i went on to repaint the ABS plastic trims on the exterior of my car back to black, just to get that "as new" look again. the spoiler, side trims, front and rear bumper tops, rear valence, and the arches i bought were painted back to black. armor-all is what i'll be using now to keep them looking black. pics can be seen below at the end of this post!
while trying to paint the rear bumper tops and valence, i removed the rear bumper so it was easier to do. unfortunately, the side clips have f*cked up and it seems like the bumper's a bit warped, so i can't get it to fit as nicely as new. gaps could be seen on both sides, and im still trying to think up of how to fix it. any ideas would be awesome!

the wheel arches were put on by screws after. it really has that euro look now, but i'm still missing side skirts!!! i've been looking at wreckers and they don't have any. Matt sold a set to pedro, which he got to first :@ still actively looking, cos at the moment, it looks weird and incomplete without the side skirts.

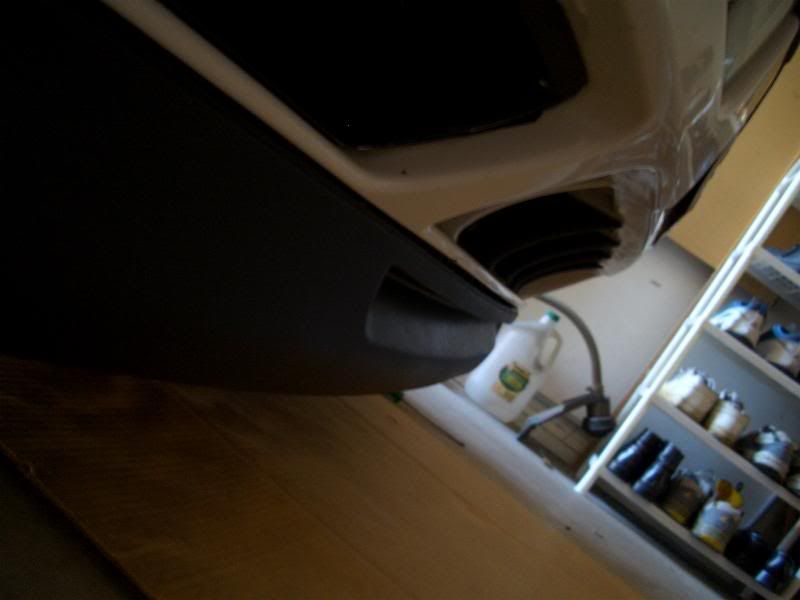
i bought a euro VR6 deep front lip spoiler that was shipped in from tmtuning in the USA as part of a group buy and have fitted it on. it looks bloody awesome now, but just needs a bit of lowering to get that aggressive look. it's a good inch lower than the standard lip that came on my GL.
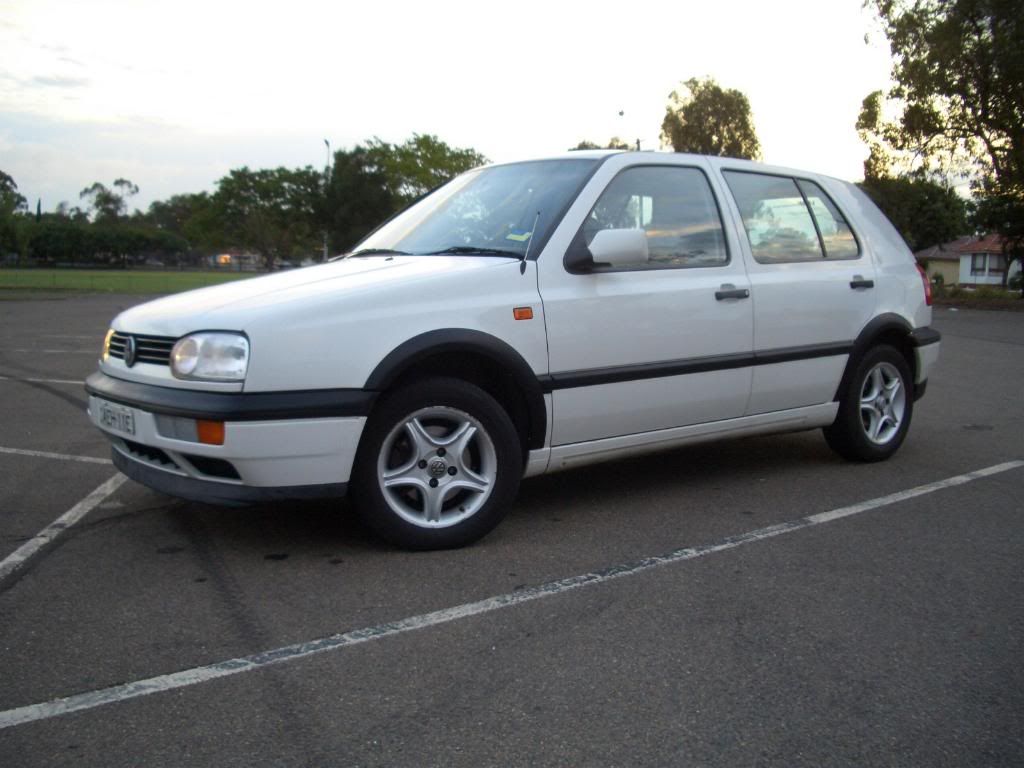
here are some pics i took at the park after washing the car. this was before the deep front lip was put on though:

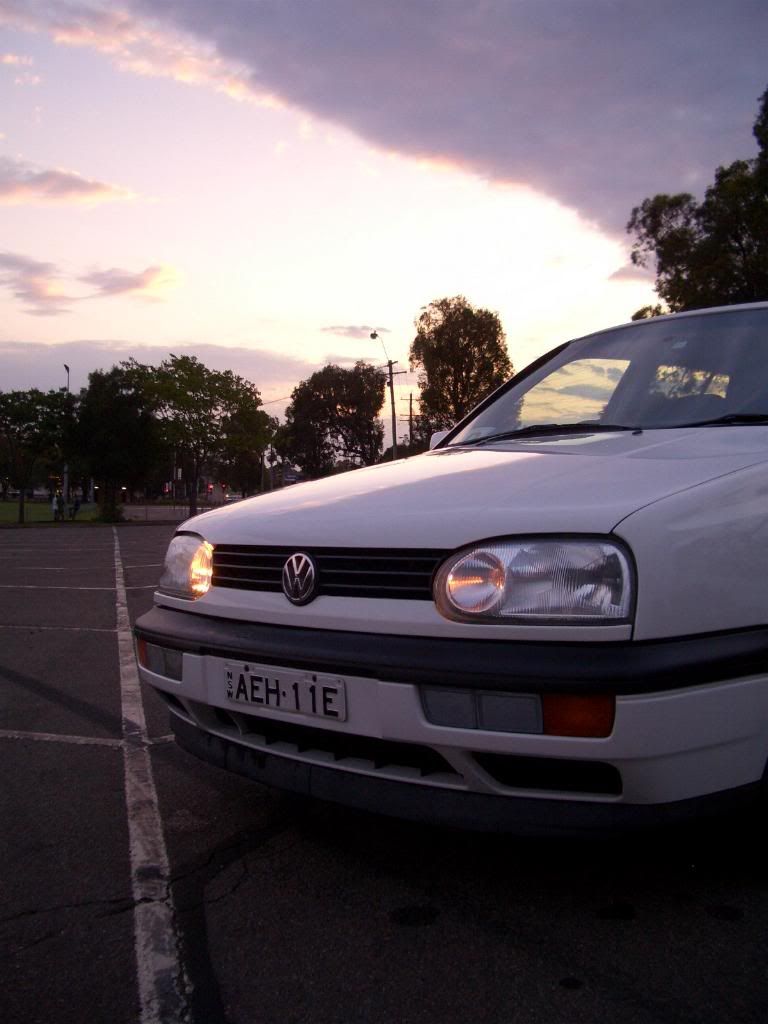
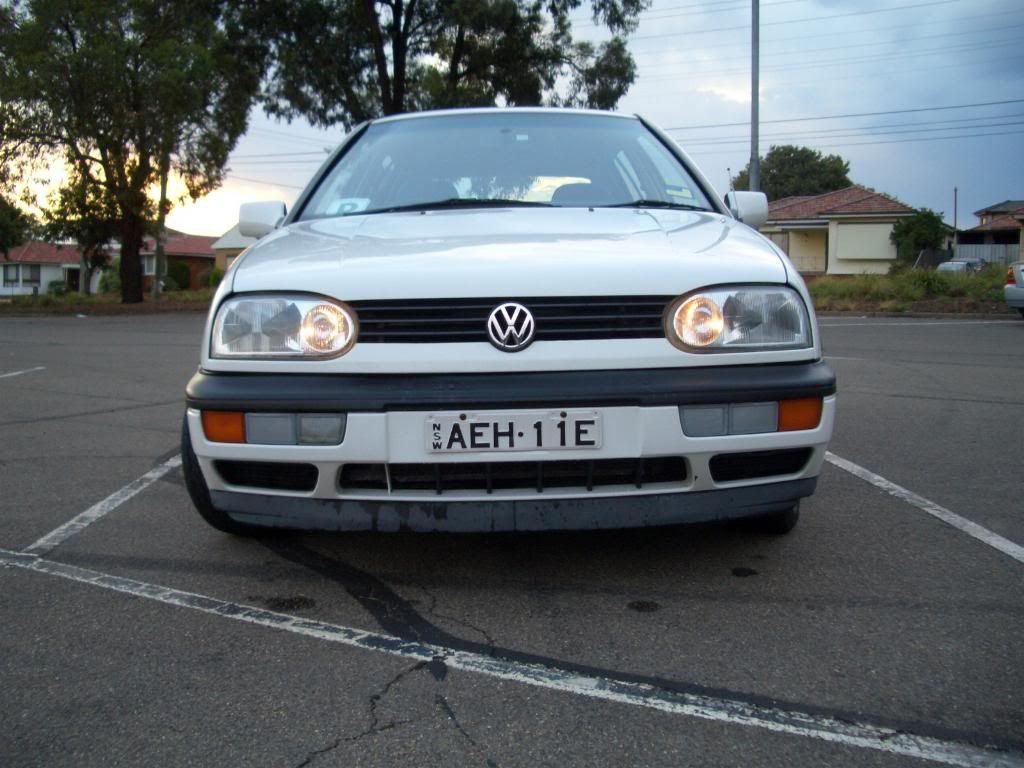

more pics here

Tuesday, 12 December 2006

wheels, tyres, and brakes

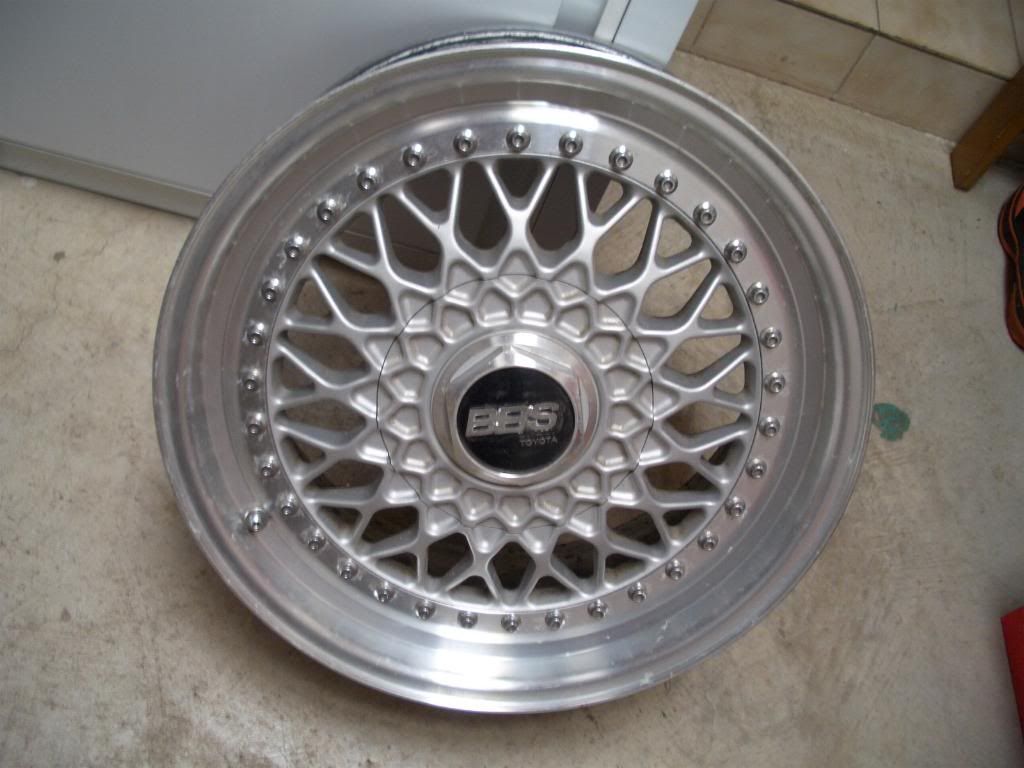
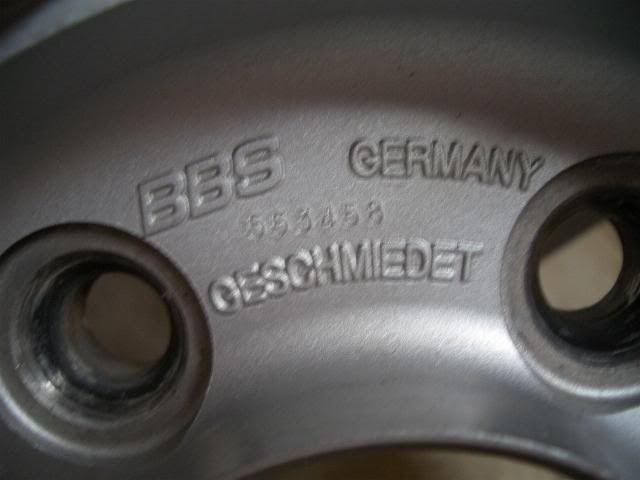
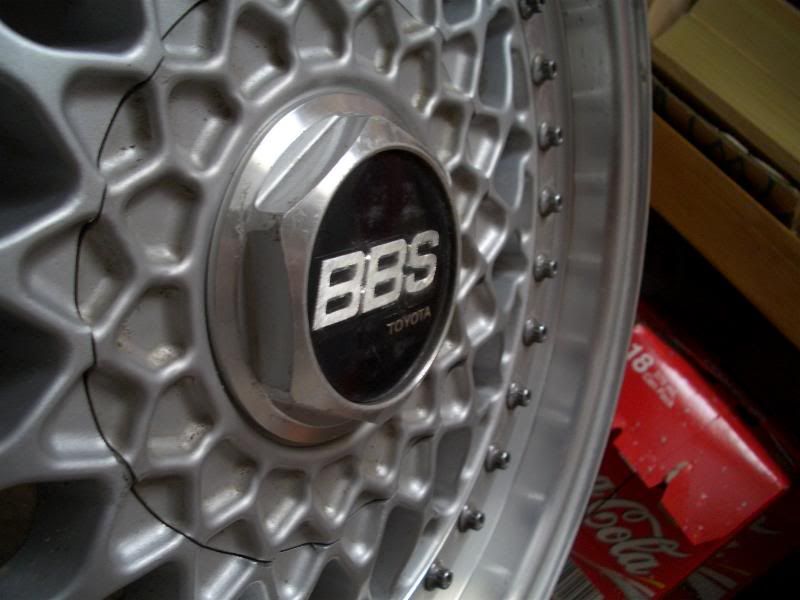
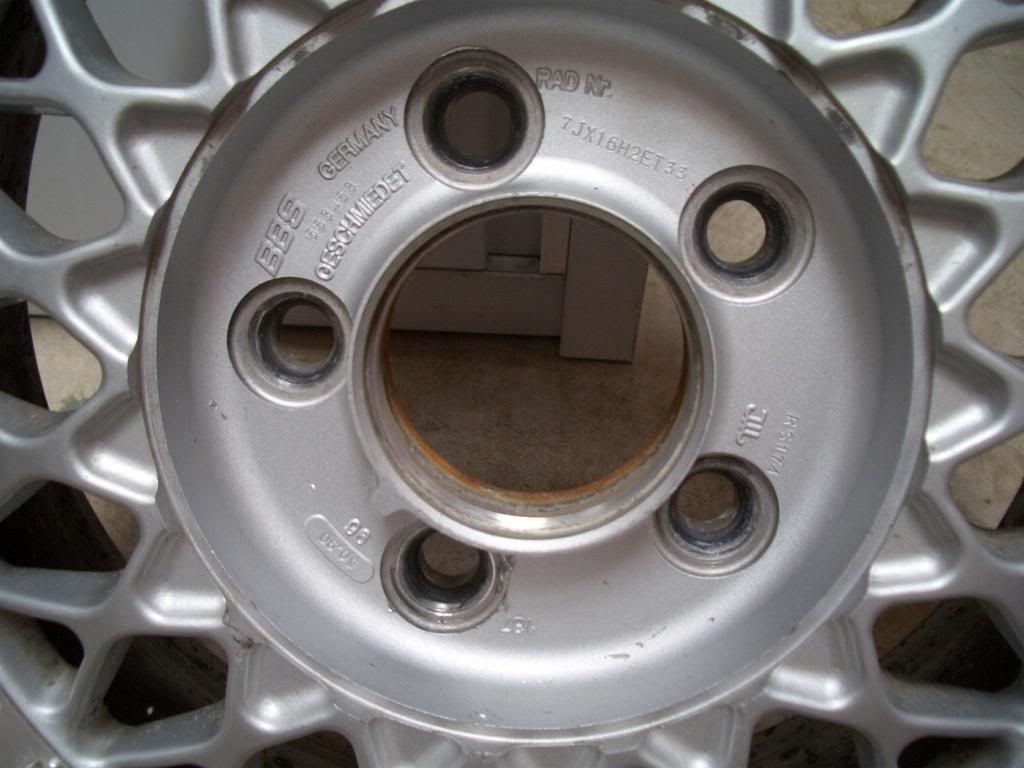
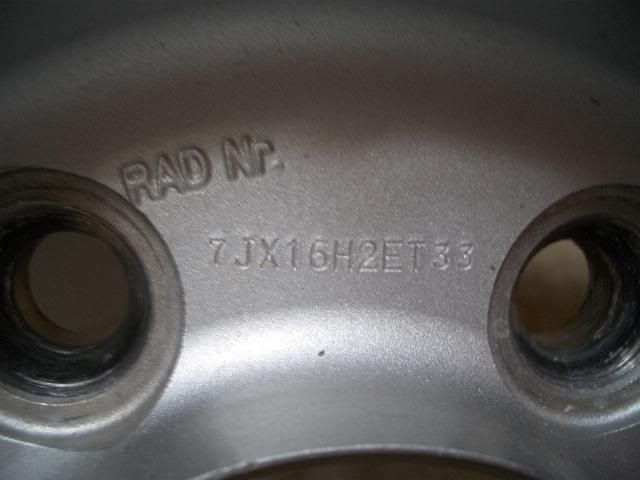
alright, i haven't written up that i've bought a new (well, second-hand) set of rims for $660. BBS RS, 16x7, ET33, 3-piece wheels in 5x114.3.


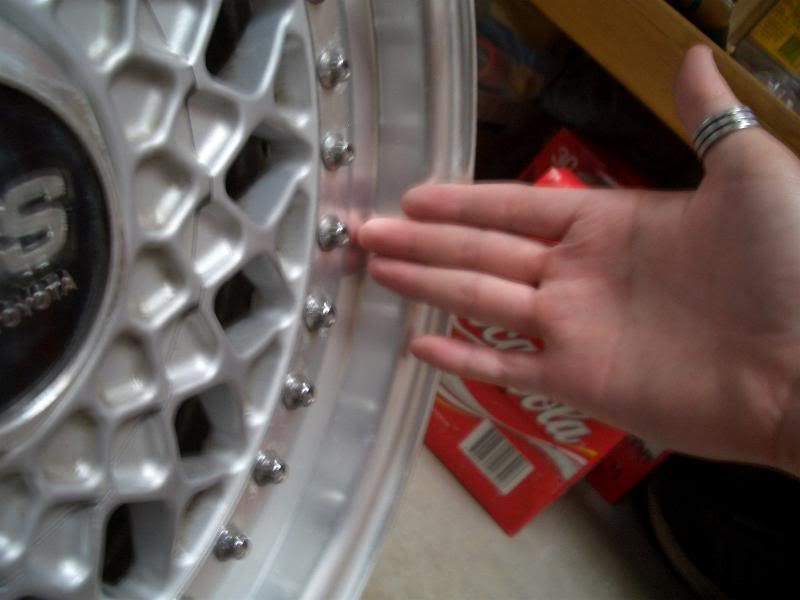
got these quite a while ago, like about 2 months ago. there's the slightest dish to them (at about an inch) but they look awesome.


I havent got around to putting them on yet cos they need tyres, and redrilling. redrilling? what's that? well, first off, mk3 golfs like mine use a 4x100 lug pattern for wheels. hey, that means you can't fit those wheels onto your car? well, no. didn't you know that when you got them? of course i knew. but i asked around, and found out that i could redrill these rims into the golf's PCD. it's actually quite common for them to be done like this as BBS RS rims are discontinued now and so there are very limited sets around, so redrilling or fitting adaptors are the only solutions. fitting adaptors are a no go for me as they're illegal (along with spacers) to use in australia, so that has left me with redrilling.

the process involves filling/welding in the lug holes, then redrilling the new PCD. so basically, the 5 holes in my current RS's will be filled up, then drilled into the PCD I want.
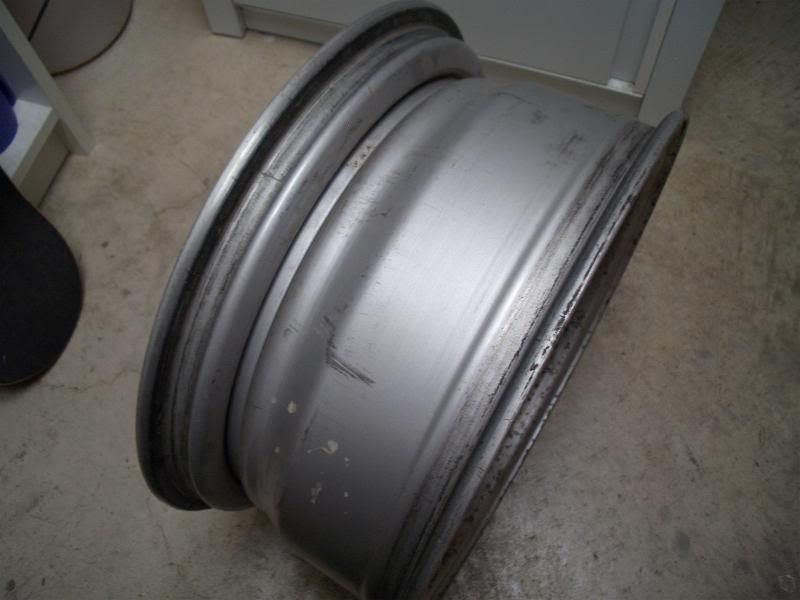
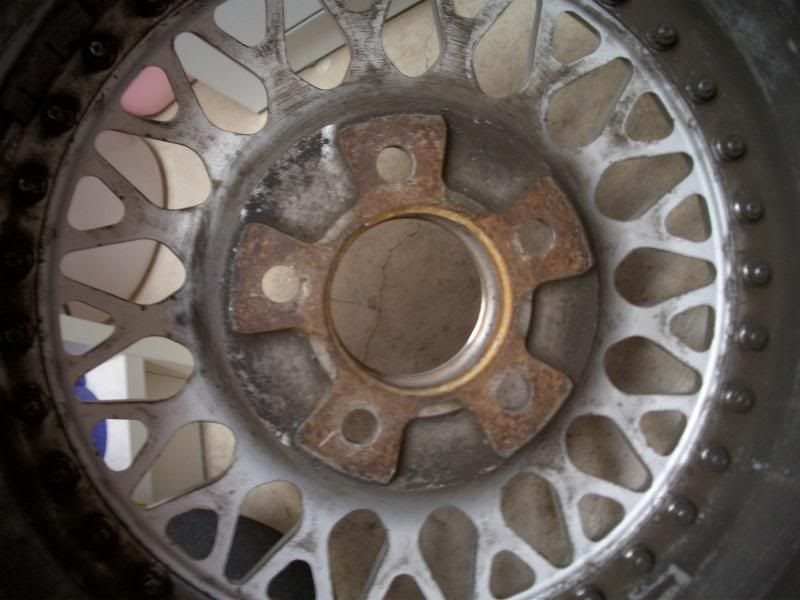
i went to peter at ozwheels to ask about the redrilling (i was recommended to go to him cos the previous owner had his new polished lips made and put on there before he sold it to me). first problem i encountered was that the the hub was not flat backed, meaning that it would be incredibly hard to convert to a different number of holes for the PCD:


it would be impossible to drill 4 holes into my wheels cos that would mean some of the holes would fall into part of the cavity, which would lead to an imbalance when trying to get the wheels to sit on the hub. u could make it flat-backed, but that would mean you would need to fill all the cavities which would mean some extensive welding, which may compromise the structure and also the finish of the wheel. plus, it'll cost a shitload, so no way.

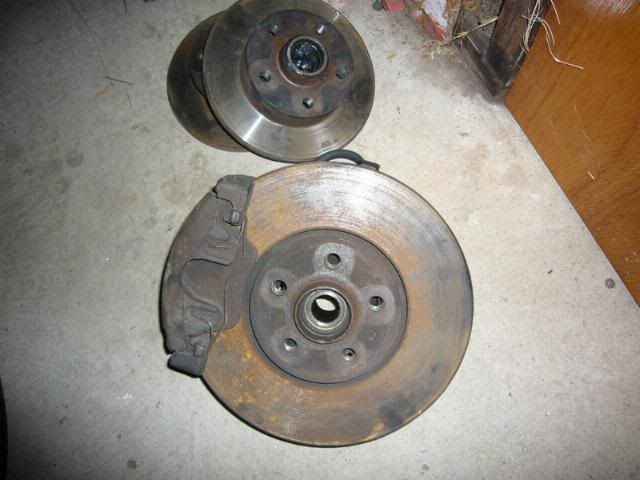
my solution was to upgrade my brakes and hubs to VR6-spec - 5x100 lug pattern. parts were easy to get, as fortunately, Matt from Camden GTI was wrecking a few VR6's. bought both rear and front set for $350 in total:


this way, i can redrill the wheels from 5x114.3 to 5x100, so i won't need to fill the cavities. basically, it'll be very similar to what they are now, except the holes are just slightly more closer to the centrebore hole.

being 16" and 7" wide, i'd be needing some low profile tyres to get them running legally on my car. in stock form, the golf GL came in 14" wheels with 185/60 tyres mounted. to run legal tyres on them would mean that I'll need to maintain the overall rolling diameter (i.e. the diameter of the whole wheel including the tyres). this is important as if the overall rolling diameter isn't maintained, then the speedo won't function as normal and the mileage won't either. e.g. if i put on the same 185/60 tyres onto a 16" rim, then the overall diameter would be 3-4" larger than normal. that would mean the wheel would spin slower when driving at the same speed, so the speedo would show, e.g. 55km/h when you're actually travelling at 60km/h.
because of that, and since the RS's are 7" wide, i'll be needing 205/45R16 tyres to maintain the same overall diameter. being a 45 aspect ratio tyre, they'll be considered performance/low-profile tyres, and would cost me at least $120/tyre. decent ones would be nearly $200/tyre. not cool :(

gonna get the RS redrilled after the new years when ozwheels moves to their new workshop.

Monday, 4 December 2006

Boris' VW picnic

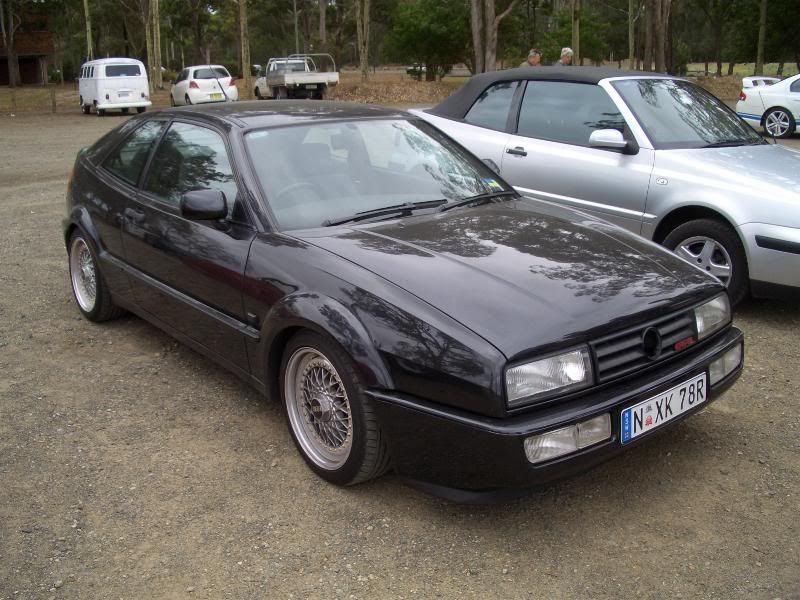
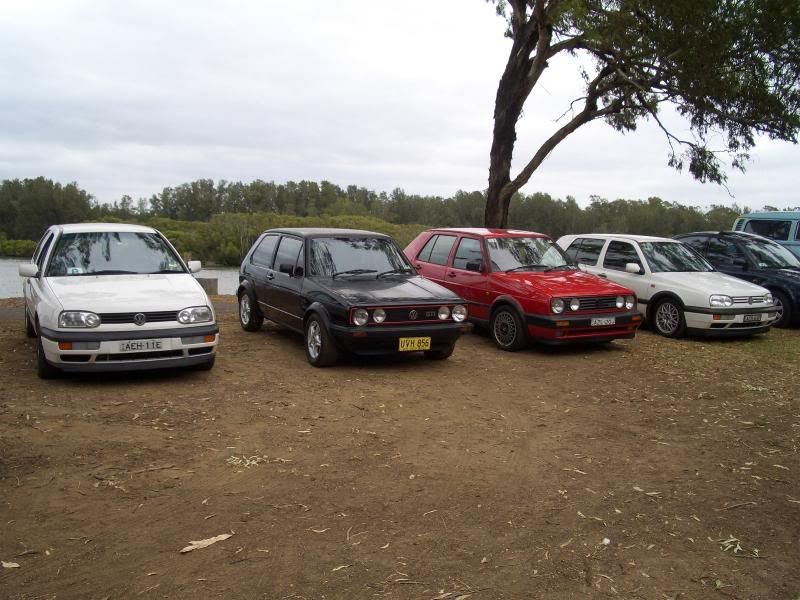
went to a VW meet yesterday, at deepwater reserve, milperra. was a fairly great day, meeting some people and cars that i've never seen before (corrado being the stand-out... i've only ever seen pics of them and not in real life, so i can say now that pics don't do the car justice. looks MUCH better in the flesh). i got there at 9-ish, and was like, the 10th car there. i was also pretty much the first watercooled car to get there too, so i stood out real bad, especially with my shocker of a stocker. but people there didn't judge you on the car you have, so it was all good.

about half an hour later, 4 other watercooled cars from the kingsgrove shell meet came and made me less lonely :P there was a manual 1.8T passat (looks standard), E-designated mk1 GTI (late model, rare to find), mk2 GTI, and a mk3 VR6. we ended up sticking together pretty much the whole day (until 2-ish) and met some other watercoolers that ended up parking in the car park. we saw a few new beetles, two mk3's that were owned probably by the organisers (a VR6 and a GL/CL that had foggies), another GL early model mk3 with rims out in the parking lot (didn't know who the owner was), an audi TT, costa's orange mk1 with BBS RA's, matt's seat 16V toledo and of course, carpoid's (forgot his name haha) corrado supercharged G60.

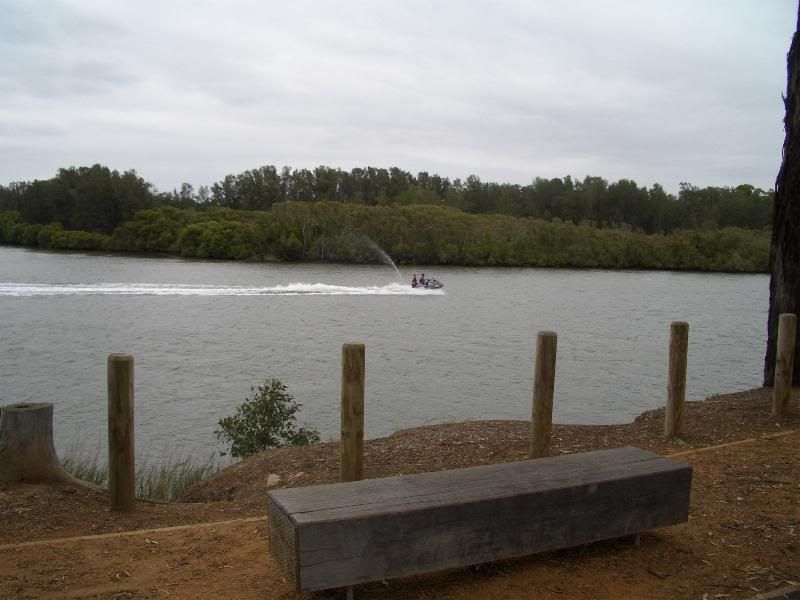
here are a few pics:


some more pics on my photobucket.

Monday, 27 November 2006

power windows

i don't remember if i had written down anything about my power windows, but anyway, the rear driver's side window busted up and won't wouldn't wind down. did a bit of searching and reading in vw golf-dedicated forums like vwvortex and vwwatercooled and talking to matt from camden GTI showed me that power window failures are very common in both mk3 and mk4 golfs (maybe mk5s too? but may be still too new to know). the regulators are the things that fail as the factory standard ones come in plastic, which make it prone to breaking. these are inexpensive to replace, however, if the motor plans to fail, then costs in the hundreds would settle in for another power window motor.

pedro (oh yeah, he got a golf too :) GL-spec, 94/95 model - same as mine) found some cheap power window regulators on ebay for $70 each which inc. postage. my power windows just required a new regulator cos you could still hear the clicking sounds the motor makes when you try to use the power windows.

forgot which day it was, probably thursday? anyway, decided to fix it up. took off the door trims (so fuckin easy now, after knowing what to do and having done it before) and tried to take the regulator out. had some pretty decent instructions from a website that i'll post separately here later. taking the screws out that connected the regulator onto the door frame was easy too, but removing the screws holding the clamp together that attaches on to the window was friggin hard to get to. the window was scrolled all the way up so i couldnt access the screws - and since the power windows weren't working, i couldnt pull them down either. i feddled with it for another hour, trying to yank it down, pulling on the cables and everything, until i got the idea to hook the batteries up again and tried to see if i can pull the windows down while holding the "down" button. dunno what i did while feddling with it, but it decided to work, and it worked fine! no hitches at all, and scrolled up and down at the same speed as the other ones.

so i bought a new regulator for no use... hm, will keep it until it decides to "fail" again.

"painting plastics"

Beginning
First take off pieces that you are painting; if they can't come out, then it will really be a pain - you'll have to mask off adjacent parts on your car. If your dash or other plastic parts are slightly pliable or soft, then use vinyl paint. Take the pieces and wash them with soap and water. Also, it’s recommended to use dish soap detergent. This stuff is powerful and will strip away wax and grease, and other stuff that may require removing prior to new paint.

Sanding

Next, gently sand the parts with 600 grit aluminum-oxide sandpaper to roughen the surface up a bit. Be gentle - no need to use lots of force. If the parts have been coated with Armor-All or any products like that, then this step is especially important. Another option, and one that most bodyshops swear by, are using ScotchBrite pads. You'll need the dark-reddish brown ones (inscribe with an "autobody grade"). Use these to scuff up the surfaces real well - you can find these at autoparts/hardware stores in the paint sections or by the sandpapers.

Cleaning
Next, you'll have to clean the parts of fingergrease and dust, etc. Ideally you should go and buy a liquid solvent designed to remove grease and dirt. This is used by bodyshops - you can buy from paint supply places, and better hardware/autoparts stores. However, for smaller parts, isopropyl alcohol should suffice - just wipe the parts down with the alcohol real well and let the parts air dry. This step should take place both before and after sanding.


Adhesion
Spraying paint directly onto plastic is sometimes not good enough - the paint may not "stick on" to the plastic part and as a result may not even set. Plastic, like many other surfaces, require a primering process to ensure your painted plastic parts will stay that way for a long time, and help the paint adhere to the surface. Don’t use a grey, autobody primer; use a plastic primer which usually sprays on clear. In a well ventilated and preferably warm environment (20-25 degrees C), spray on adhesion promoter following directions on can (steps may vary - some say spray on the adhesion then spray a coat of paint while it's still wet, others say wait until it dries).

Types of paints

Remember, there are different types of paint. Some are enamel-based, others are laquer-based, others are latex-based. You want to use the same type of paint, coupled with the same type of clearcoat and not mix and match different paint types, or you can get very poor results. Soft or vinyl-like surfaces need a flexible latex paint or dye; automotive paint will not work well on these applications. They tend to chip and flake off. Harder plastics commonly used in car interiors, such as ABS plastic, can be painted with standard auto-based paint and clearcoat.

A paint "system" is always a trouble-free way to go. This is a family of paint products all designed to work with each other. Usually it includes latex or auto base paints, plastic and regular primers, clearcoats etc all together. SEM is a popular example of a paint system. Ask questions. Try to find a autoparts place that has a dedicated paint counter, ask them questions and you will get good advice for your customizing projects.


For all interior painting a FLEXIBLE clearcoat should be used if possible. This has a flex agent in it and will help keep the paint from flaking. This is especially important for hard plastic areas that are subjected to slight bending/pressure (soft plastic/vinyl should never be painted with auto base paint).

In conclusion, if you have used a product such as “Armor-All” on your interior parts, a product called a "fisheye remover" may need to be added to the paint and be necessary to prevent the paint from "fisheye-ing" or "orange peeling". If you’ve ever painted something and had it bubble up, that is what I am talking about. The pores of the paint cannot breathe due to the oily Armor-All product. Addition of fisheye remover can prevent this.

Painting
Once dry, position parts for maximum spray. Sometimes you might want to prop them up on top of something to make sure you get good coverage. You should follow instructions on the paint that you're using, but these would be the general instructions on painting plastics (and painting other surfaces): Apply a thin coat on all the parts from a good distance. Don't spray too close to the parts and use short, overlapping strokes from side to side. Over-application will result in runny, uneven coating. The key is to apply lots of light coats, slowly building up the paint, not trying to coat everything in one or 2 coats.

Before you apply the final coat, use a florescent work light, or make sure the parts are under strong light - you'd be surprised upon closer inspection the areas that you may have inadvertently missed, and corners that need more paint, etc. Sometimes, to get a good coat around corners, it may be necessary to turn parts over once dry and do a coat around the edges with the part upside down.

Once parts have dried for at least an hour or two, or overnight, apply clearcoat to non-vinyl painted parts. Clearcoat will help protect the paint from scratches/scuffs, etc. Clearcoat, unless specially designed, isn't usually meant for vinyl painted-parts. However, you could apply some Armor-All to shine up the vinyl parts after they have been dry for a few days.

Also, it may be of benefit to buy a "tacking cloth" - it's a sticky cloth used to wipe down the parts in between coats to remove dust and lint that settles on the paint. Get it from paint shops, in the hardware/autoparts paint section.

Conclusion
Take your time and don't rush and try and paint everything in a day!

These steps have been tried and used with great success by many; they should work well with all applications on plastic. It's important to keep in mind what sort of environment your plastics will be exposed to after painting, and constant maintenance will be required to keep them looking tops.

-Adapted from prophet_ca, http://www.neons.org/