Mk3Love

Thanks for dropping by my blog.

Just thought I chuck in a link here for those that love what my Golf is about, and why I'm so obsessively into it.


Sunday 29 June 2008

Boooo

Fark, it's been nearly a good six months since I've posted aye. No excuses, just been plain lazy. I've been doing a bit on the Golf though, and while I'm typing away I was thinking I should show what I've done in pictures... BUT I've been THAT lazy that I haven't even taken many pics either.

So in brief, what have I done in the span of 6 months?
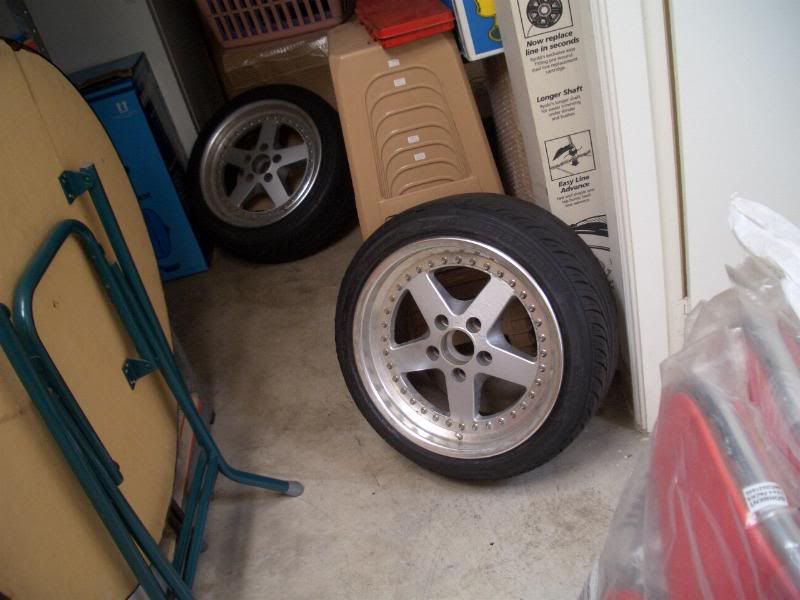
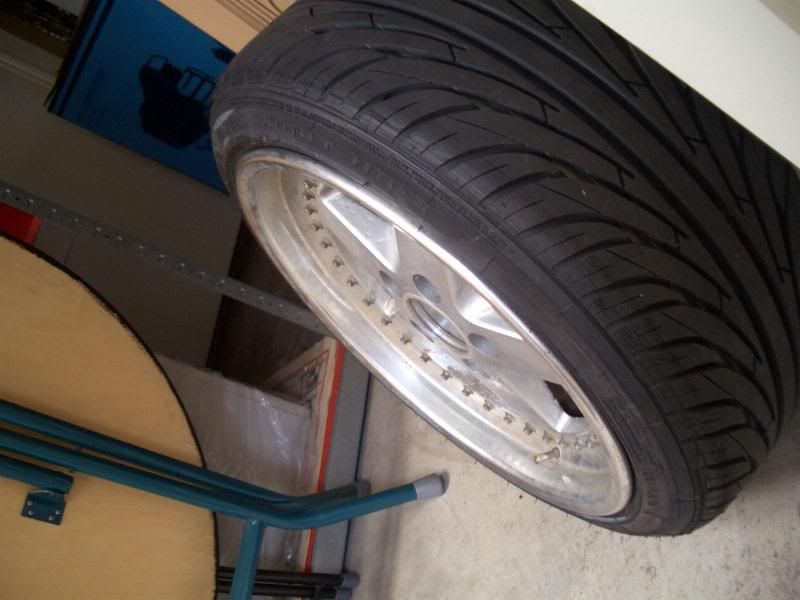
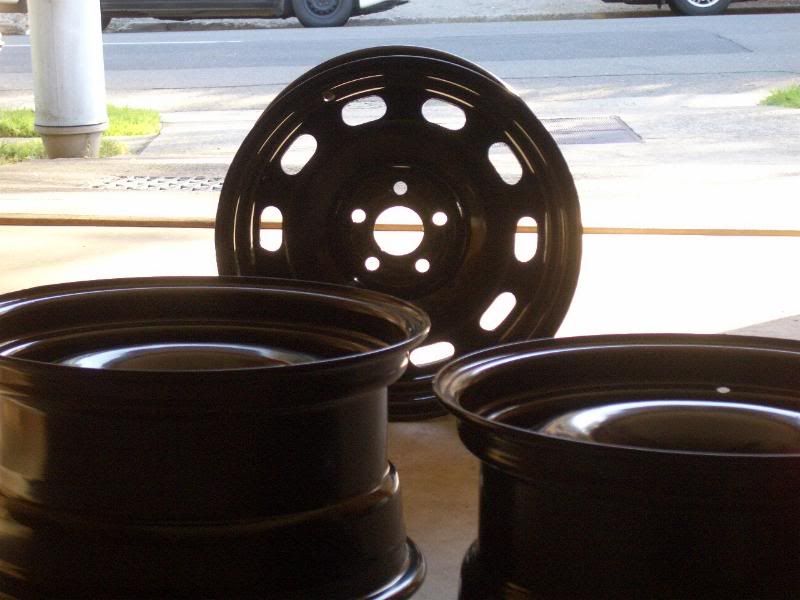
  • BBS RS and Work Equips both sold, bought OZ Superturismos and steelies; the latter I had widened, powdercoated black.
  • VR6 subframe, control arms, tie-rods, drive-shafts and front sway bar finally installed - no more crooked wheel, it looks straight now!
  • Front wheel bearings changed (DIY, thanks Vortex).
  • Driver-side damaged fixed (insurance job).
  • Another badgeless grille.
  • VR6 seats.
  • Audio install (amp, sub and false floor).
  • Battery relocation to the rear.
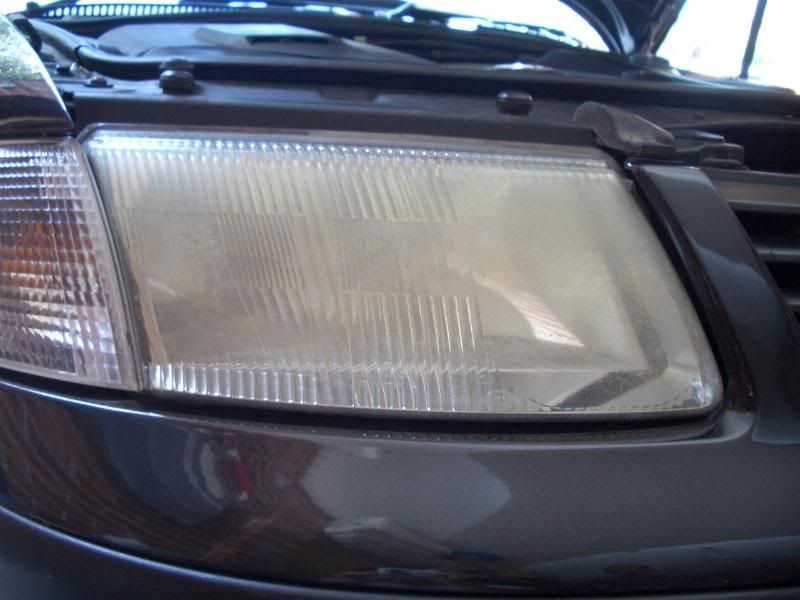
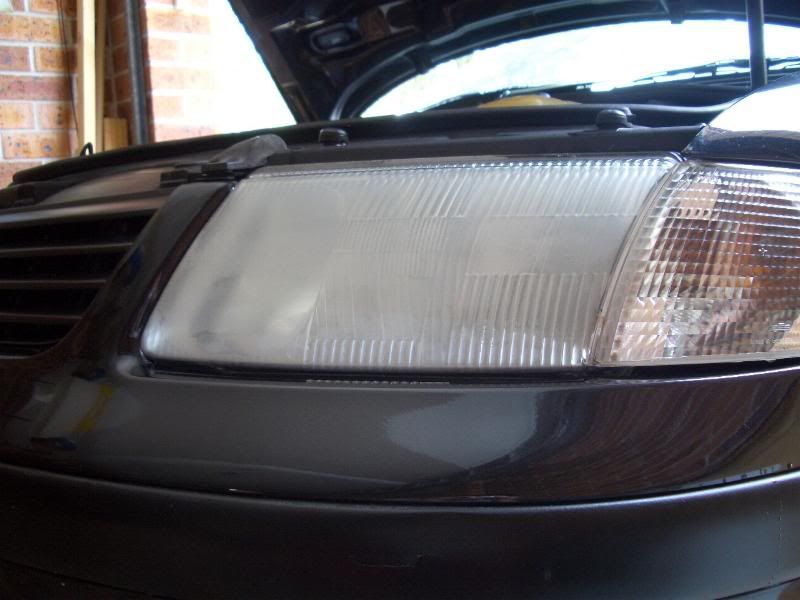
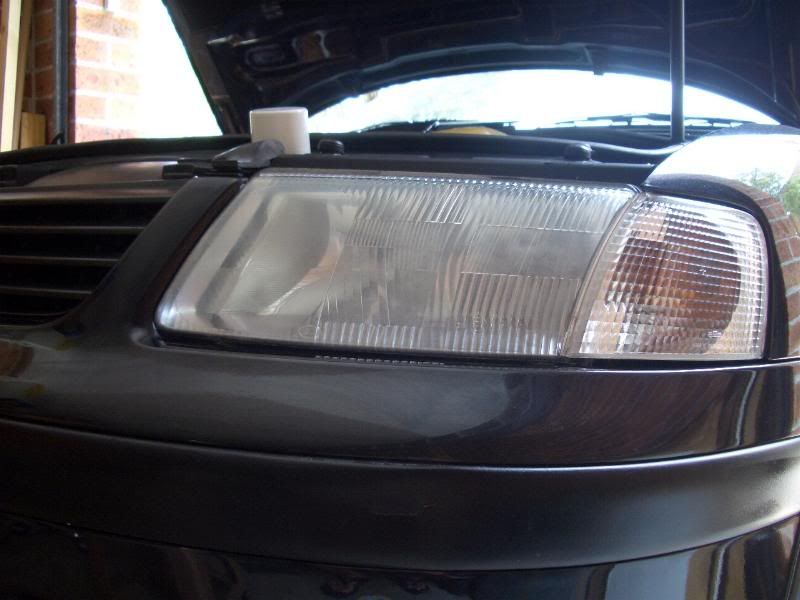
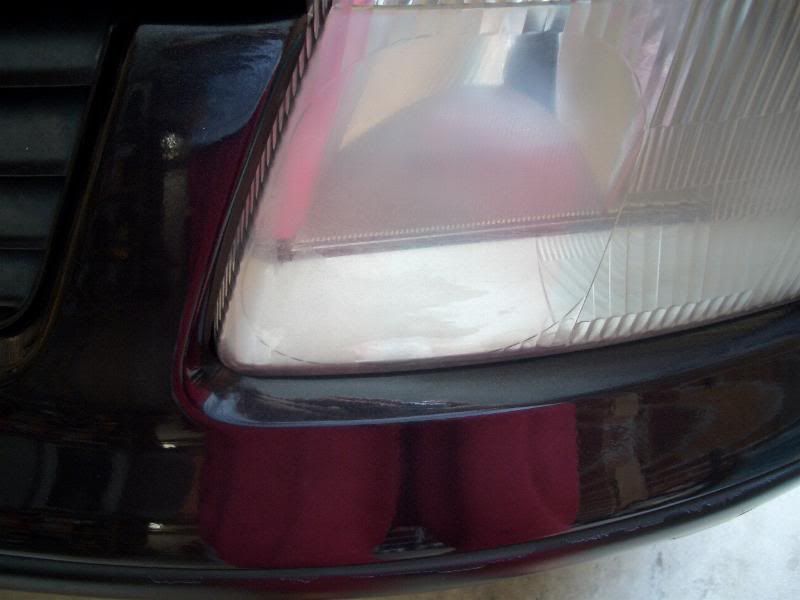
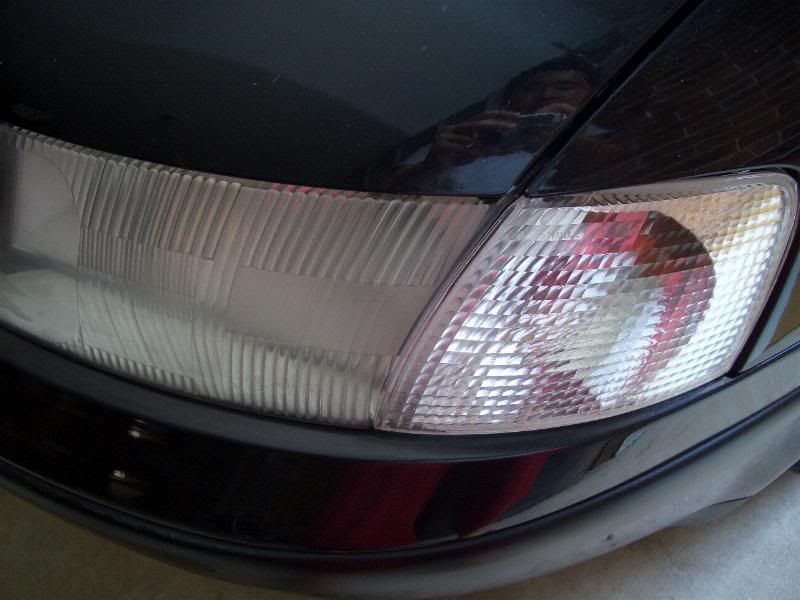
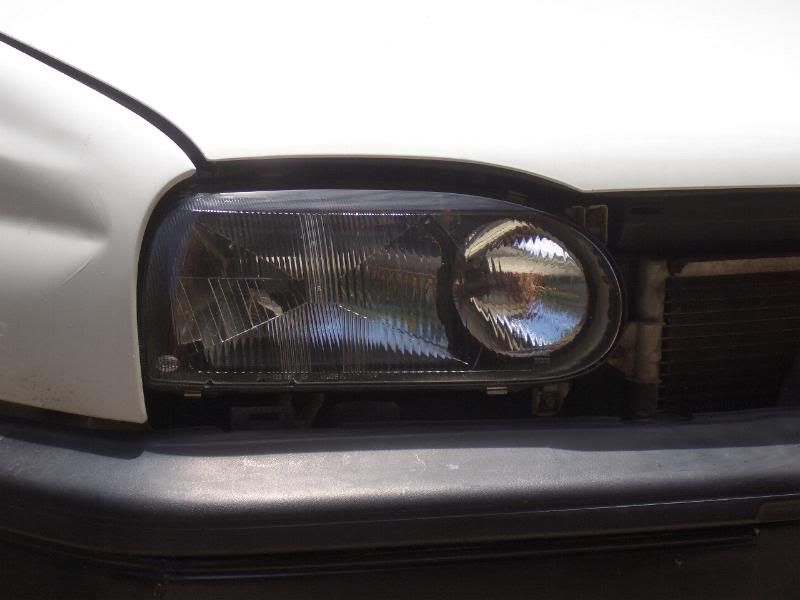
  • Integrated indicators into headlights.
  • Ghetto fender roll (haha hammer FTW).
But 
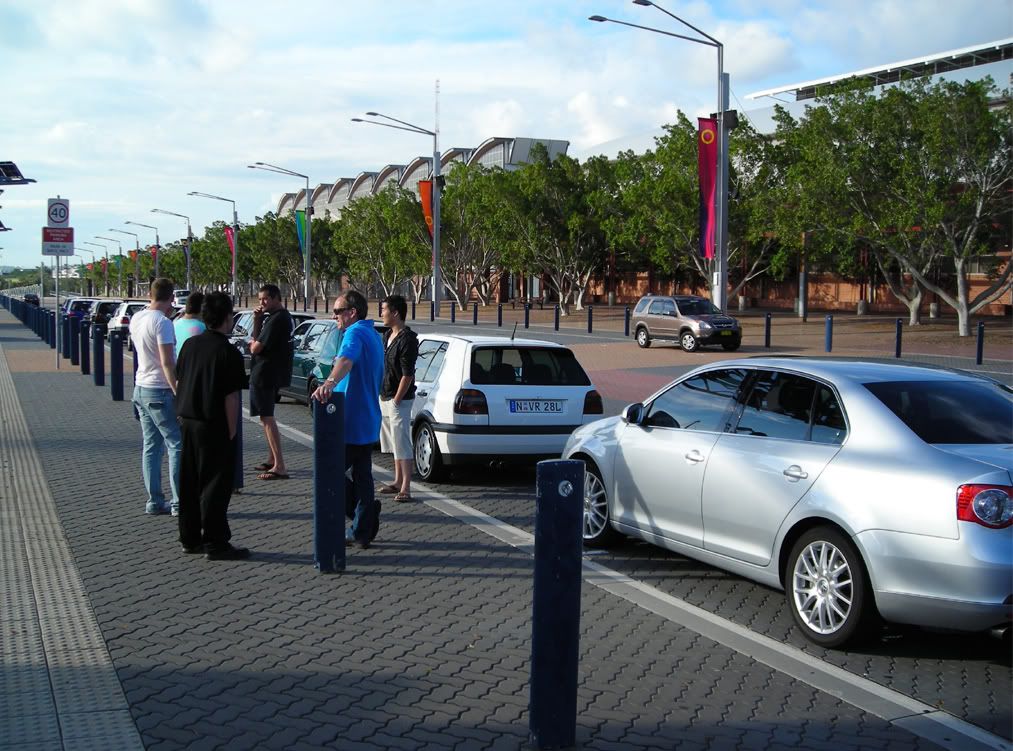
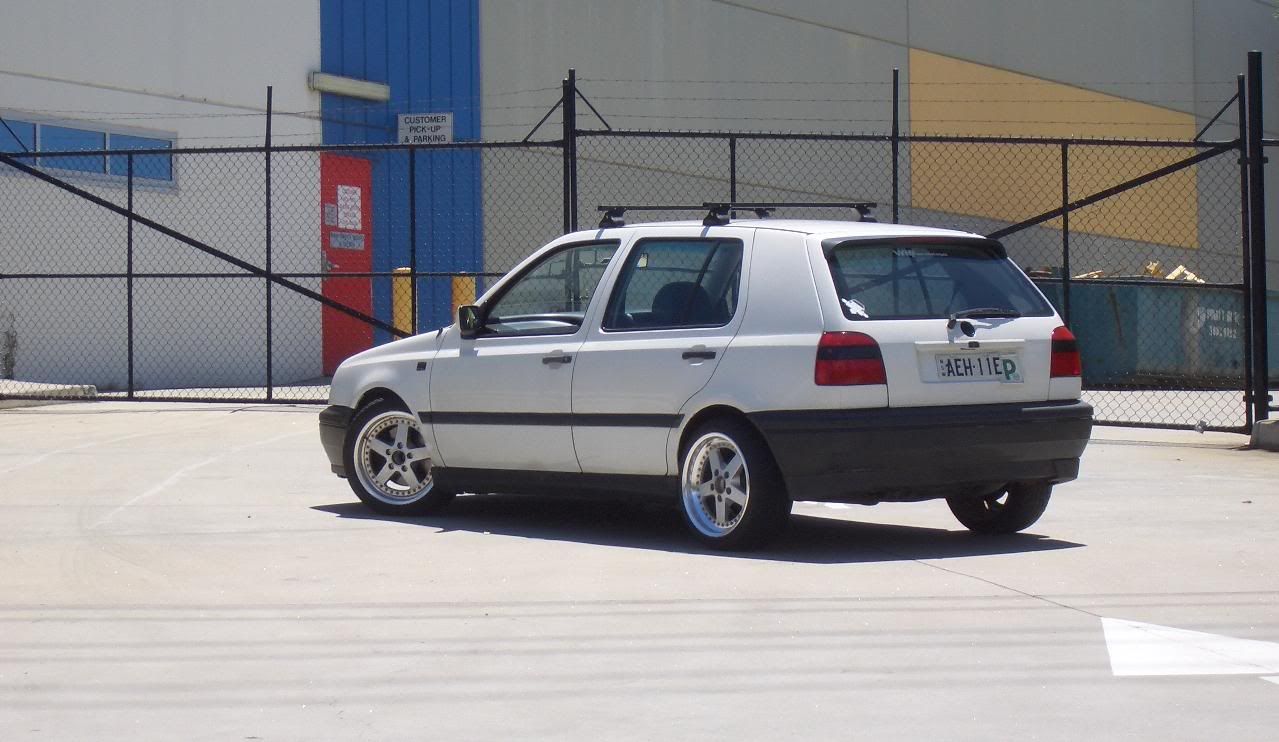
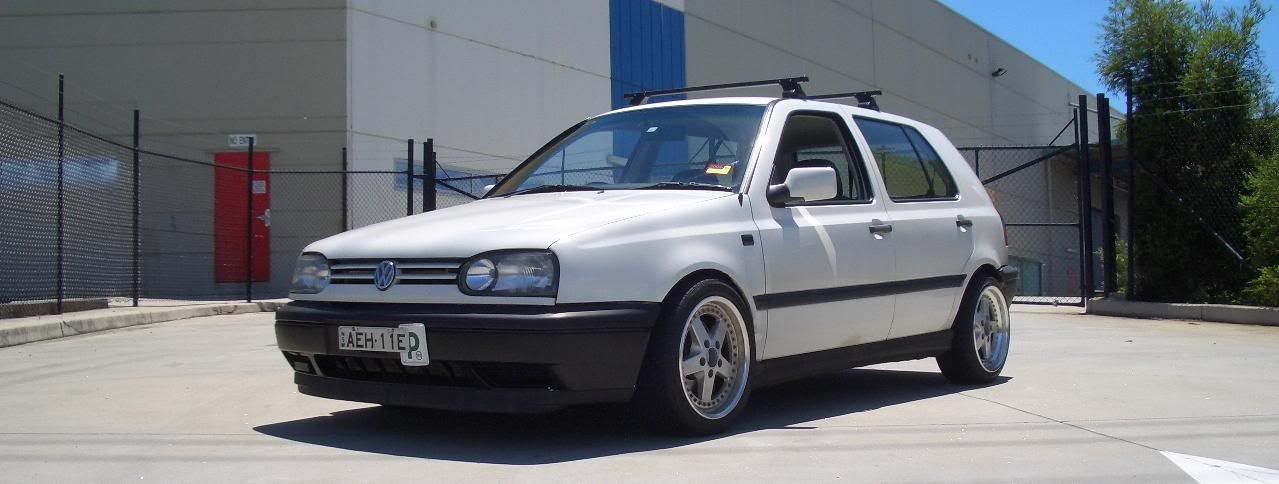
most important, I got closer to the VW community which is what got me started in all this in the first place. A bunch of Melbournians from the VWW forums came up for the annual VW Nats during May and we all had a blast hanging out and just talking shit. Dominic a.k.a. WABIT on the forums came up again this weekend and took some professional photos of the car as well (Pierre a.k.a. fuzion as well), which turned out fooking fantastic! I can't wait 'til he has the photos uploaded.

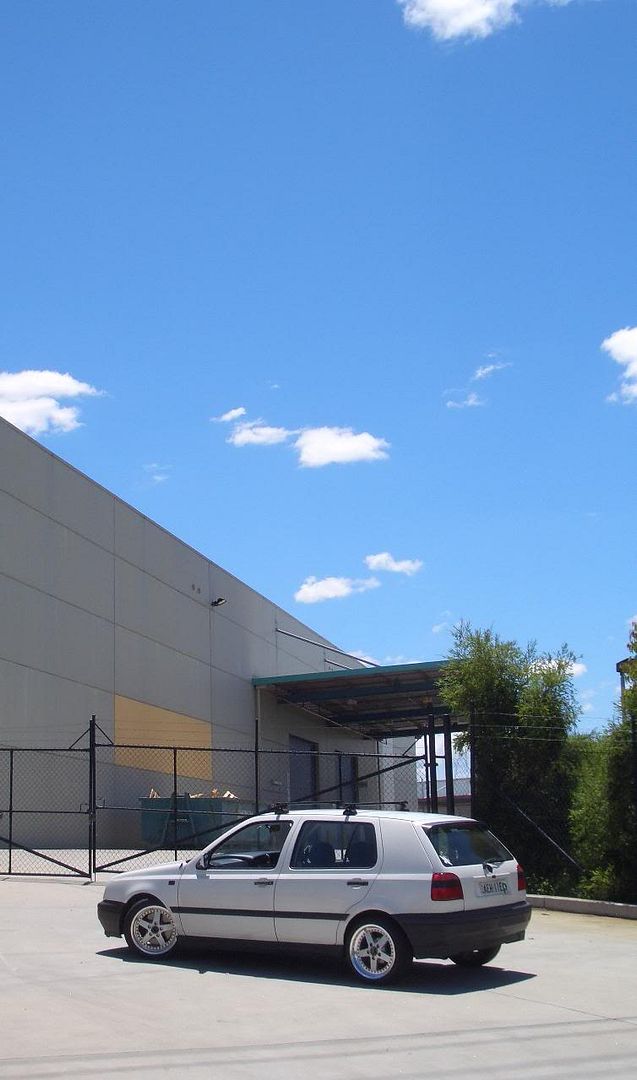
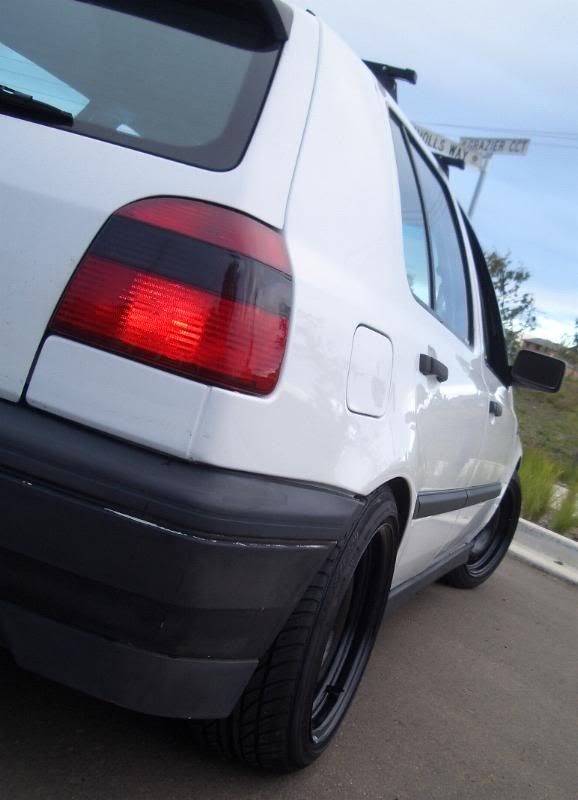
Two pics I took at the Nats (camera phone, excuse the quality):

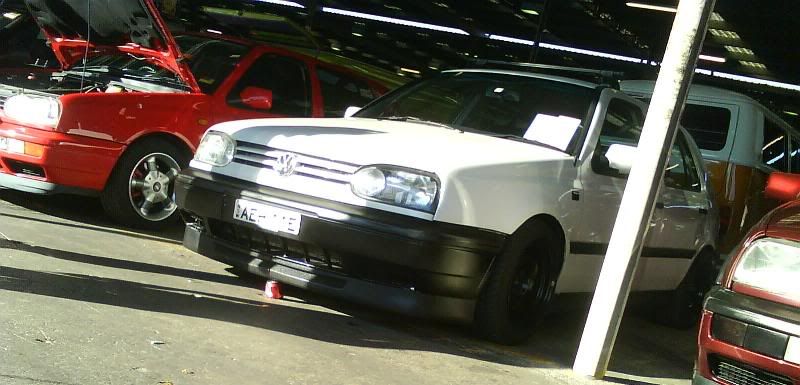
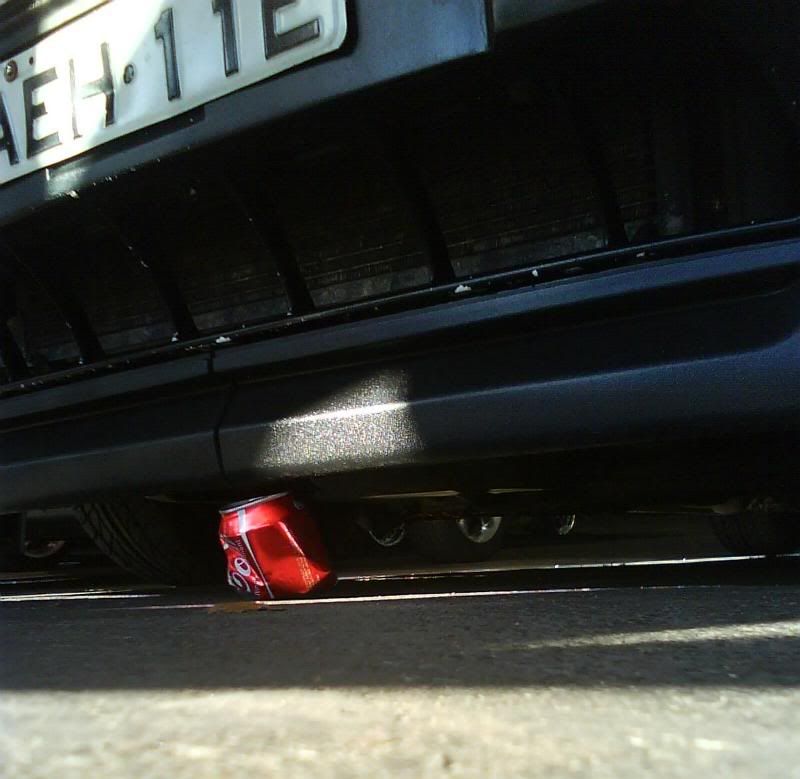
It's like that as a daily now but it just scrapes everywhere. Planning to fit the duck-bill back on soon.

Monday 7 January 2008

DIY: Headlight refurbish

It is a common problem with a lot of car headlights that they start to turn cloudy and yellow over time. This is a result of all that mother nature throws at the headlights as you drive through rain, dirt, sunny day etc. Fortunately there's a way to bring the headlights back to its former glory! This DIY is for the most part an adaptation to the one written by FaelinGL on VWVortex. He made an excellent DIY.

Materials:
  • Water bottle w/ detergent+water mix
  • Masking tape
  • Bucket with clean water
  • Waterproof sandpaper (400/600/1000/2000)
  • Terry cloths/polishing cloths/applicator pads/rags
  • Rubbing compound (I used Meguiars Diamond Cut Compound)
  • Plastic polishing compound (I used Plexus Plastic Cleaner: Protectant & Polish)
  • Torch
Products:
  • Meguiars Diamond Cut Compound (MDCC) & Plexus Plastic Cleaner (PPC).

    For this application, I thought MDCC was not heavy enough. I applied it about three times after the sanding and the result was far from what I hoped for. This may be due to bad sanding procedure though...
    The PPC was a bit awkward and different to use. I was expecting it to be a substance similar to all the other polishing compounds I've come across, but this one was a spray in an aerosol can. It did next to nothing after the MDCC, though the sales assistants that helped me out said they had lots of good feedback for that product. I reckon the Meguiars PlastX as used by FaelinGL would have been a better alternative.
Procedure:
  1. First off, make sure you're working under shelter and that the paintwork is not hot to touch.

  2. Mask off surrounding paintwork as to avoid any accidental scratches. I just used newspaper but it was a pain to work around.

  3. Spray (liberally) the detergent water mixture on the headlights, and proceed to sand using 400 grit waterproof sandpaper. Sand in one plane (e.g. left-right), maintaining the same amount of force throughout the surface. Continually wet the surface; use a rag to wipe off any particles. About every 5-10 minutes, wash the surface with water and wipe dry - run your fingers over the surface. If the surface texture is inconsistent, keep sanding. Proceed on to the next (finer) sandpaper when the texture of the whole headlight feels the same.

  4. Repeat step 3 with the finer sandpaper, except sand in a different plane (e.g. up-down). Every time you check for surface texture consistency, you can check the direction of the scratches on the headlights. Use a torch if visibility isn't that great. Keep sanding until all the scratches are in the new plane. Repeat this until you finish sanding with 2000 grit (yeah it's bloody annoying, but you won't get perfect results otherwise).

  5. Clean with water only and wipe dry. Now, we apply the rubbing compound. Just like a car polish, work the compound into the headlights and buff off completely when it dries. Best to follow the instructions on the compound you bought. Repeat as many times as needed (three is usually enough).

  6. Similarly, apply the plastic polish.

  7. Buff out any residual polish on headlight and paintwork. Remove masking slowly and (hopefully) marvel at your work!
Results:
  • Before:

    After sanding (notice that the yellow tinge is gone):

    After polishes (haze gone):

  • Imperfections:

    These were only apparent after the polishing work. In the first pic, you can still see bits where the haze is still present. The rest of the headlight was still not clear enough to my liking, though it was far better than what we started off with. In the second, the deeper scratches weren't sanded/polished out well enough.

    I did this DIY with 600 and 1200 grit sandpaper, and went through it all rather quickly. 600 grit just wasn't rough enough to sand away the haze quick enough, so I reckon starting off with 400 would be best. Working through more sandpaper grades would be easier when it comes to sanding out scratches.

    Just a comparison with the indicator lens:

    It's nowhere near as clear, but I reckon when done right, it can get very, very close.
Maybe not a problem with the Mk3 (I've never seen an example of this on a Mk3), but this can be carried out whatever the condition the headlight lens is in.

Wednesday 2 January 2008

Homebush meet

Hope everyone had a fantastic New Years.

Before the New Years, some of the guys on VWW decided to meet up as long time member Andrew (gtimk5) of Tasmania came up for the holiday season in his Tornado Red Mk5 GTI. Also, Neil (99gti) of Melbourne in his Jazz Blue Mk4 GTI have permanently moved to Sydney due to work and family commitments. Both were very welcome additions to Sydney though!

We ended up meeting at Homebush again for its wide spaces, central locations and photo ops. We went to eat at a local Italian restaurant (Jouliana's) that served great pizzas by easy-on-the-eye waitresses haha. It was definitely a very nice chance to see some other VWwatercoolers in a more relaxed environment.

Sunday 23 December 2007

Work-ed up

Mixed emotions over these. I love them and think they look tons better than the RS on my car, but they just poke toooooooo much for my liking at the moment. I've taken them back off as the scraping is just unbearable. Steve wants his stock BBS wheels back so I'm on the market for wheels again (like I ever left it haha). Think I might just settle for 16" Mk4/A3/TT OEM wheels for now. Montreal II's are floating around everywhere but I'm hoping to snag one set up for less than $500.

Anyway, pics:

Silly poke.

I was very proud of my camera work today haha. Pictures came out great IMO for a point and shoot digital camera. Only did some cropping and didn't resize them. Check out my Photobucket for the other 15.

Plans for it now is to save up for a pair of smaller adapters (20mm), refurbish them (full polish?) and maybe get some neg camber in when the wheels are ready to go back on.

Wednesday 19 December 2007

404 not found?

Oh, but I did :)

Quality stuff that fits on like it came from the factory (fits better than bits that actually did come out of the factory :P). Basically there's a rail that hooks on to the roof edge that's covered up by the rubber seal lining:

Easily tightened and aligned by the allen key screws:

Followed by the cover that's locked in by key. Really looks neat!

Pity about my shitty photo taking though. It's been raining a lot in Australia (especially for summer). Looks like the drought's breaking.

And... I'm selling the BBS wheels. I'm not saying who to, but he will definitely look after them very, very, very well. I'll miss them, but it's time to move on!

How's this for moving on?

:)