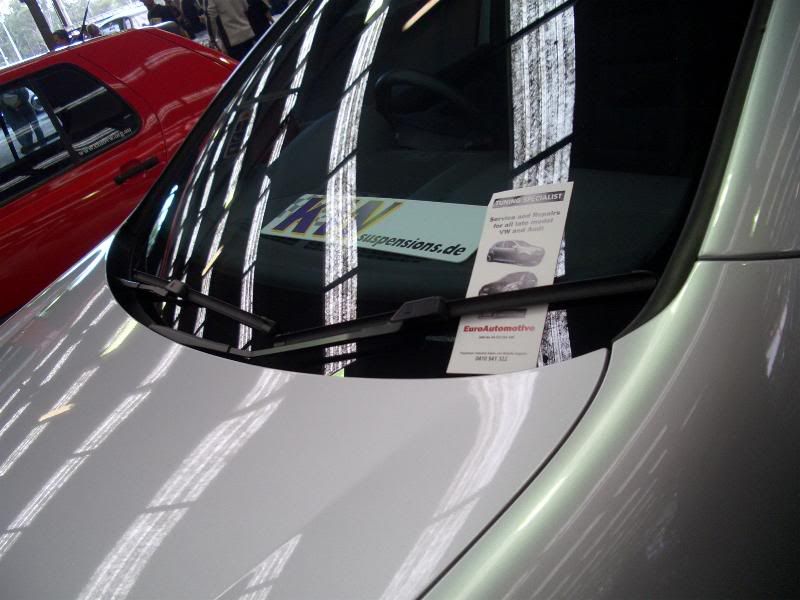
Finally got around to changing the wipers. No more scraping! Bought new
Bosch "MicroEdge" items and they work very well. Can't beat OEM quality. I've toyed with the idea of buying
Bosch Aero Wipers that I
think come standard with the new VW range. They look damn good as I've seen them on the
Mk5's - very slick. The local Corrado has them too, but he said he got them off a Lupo.
On the topic of wipers, I'm thinking of getting the
rears shaved off, along with the rear badge. I'm really digging the clean look, but I don't know if I would want to go ahead with it and remove the last visible badge (from the outside). Pedro's planning on shaving the rear wiper off too but leaving the rear badge, so I'll see how that comes out.
I also went ahead and
ordered some Autoglym products to keep things looking at their best. A mate of mine (Phil) recently opened up a
shop and is currently a vendor for Autoglym products. I've asked him to order in
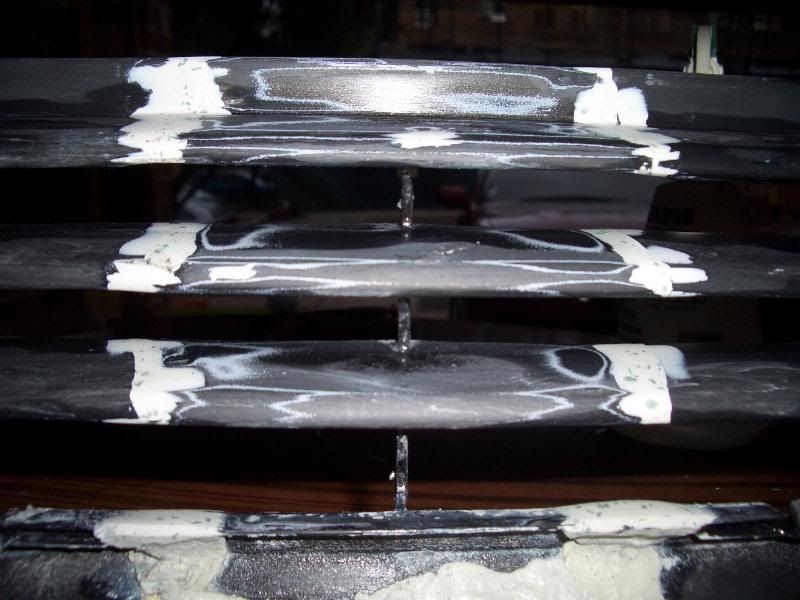
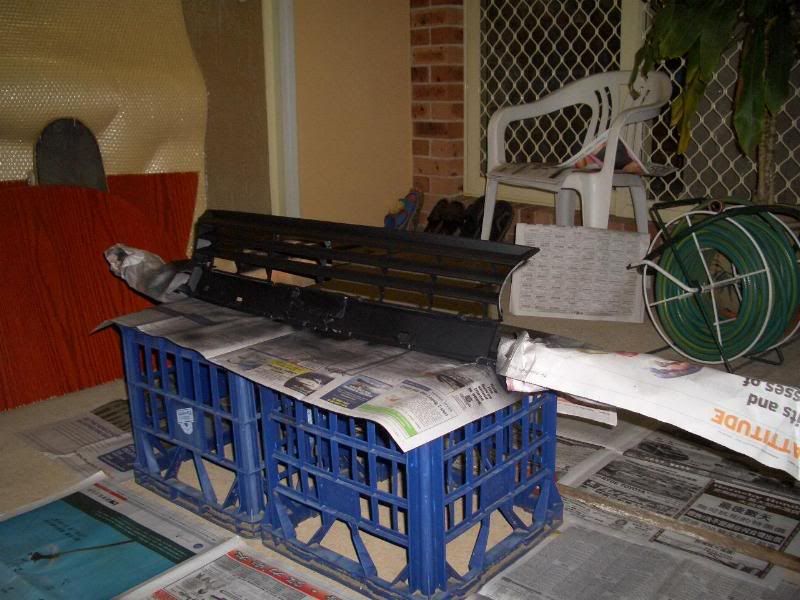
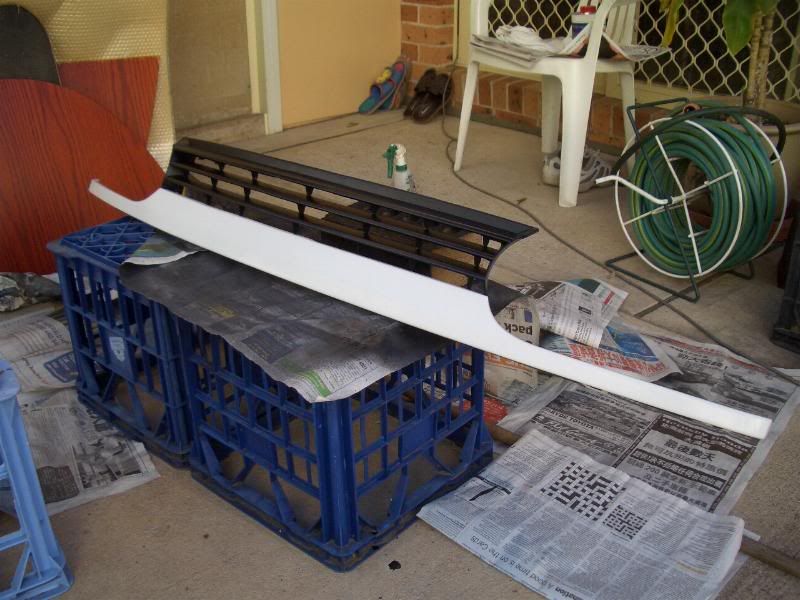
Bumper Black,
Fast Glass and
Aqua Dry (chamois). I've heard good things about Autoglym products, and knowing someone who can get them at trade prices prompt me to get some to try for myself. I might look into their sealant
Extra Gloss Protection after I've finished using my current wax. I've also got Phil to get me a
K&N air panel filter as well.
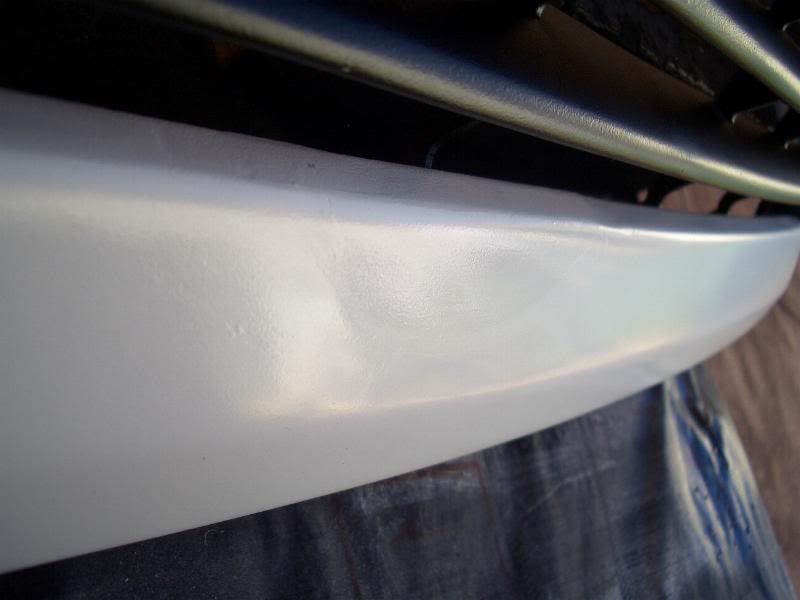
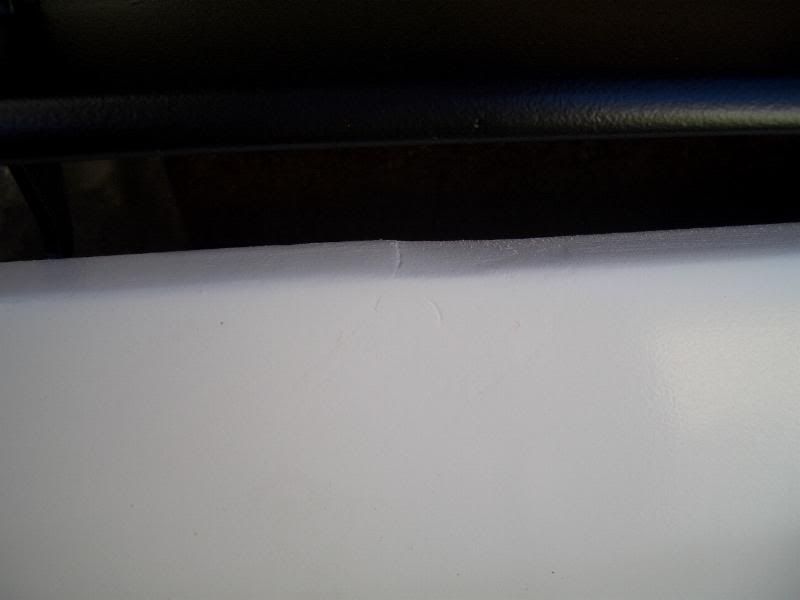
Oh, and a word of advice to do with car body maintenance.
Never EVER park under a flowering tree, especially when it's raining. I made this mistake as I was hurriedly finding a place to park so I won't miss the train to Uni, and I came back with probably what was nectar residue, bird shit and other contaminants. I also made the mistake of waiting a week until washing them off - they wouldn't wash off by hand so I had to take the trusty clay bar out. Even then there were still some marks left on it, though very faint. Should've took before and after pics to show the amount of damage they did... oh well.


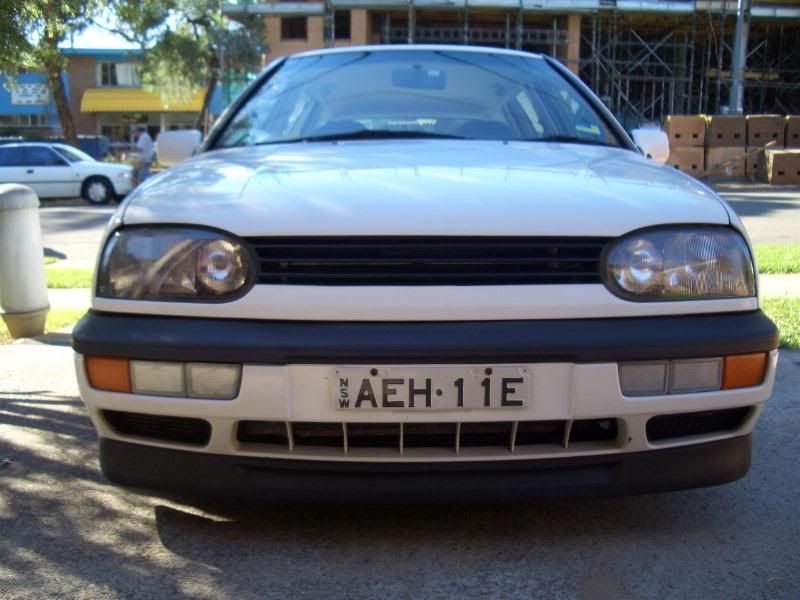
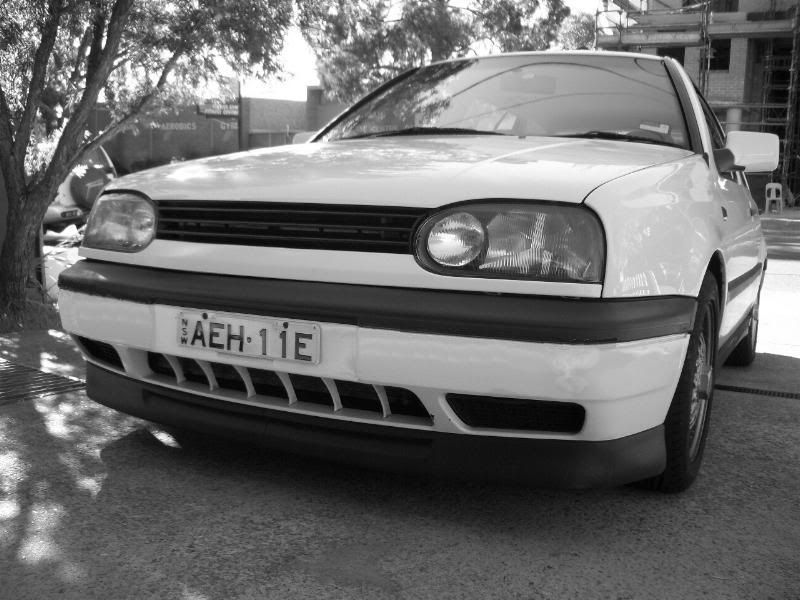 And the originals:
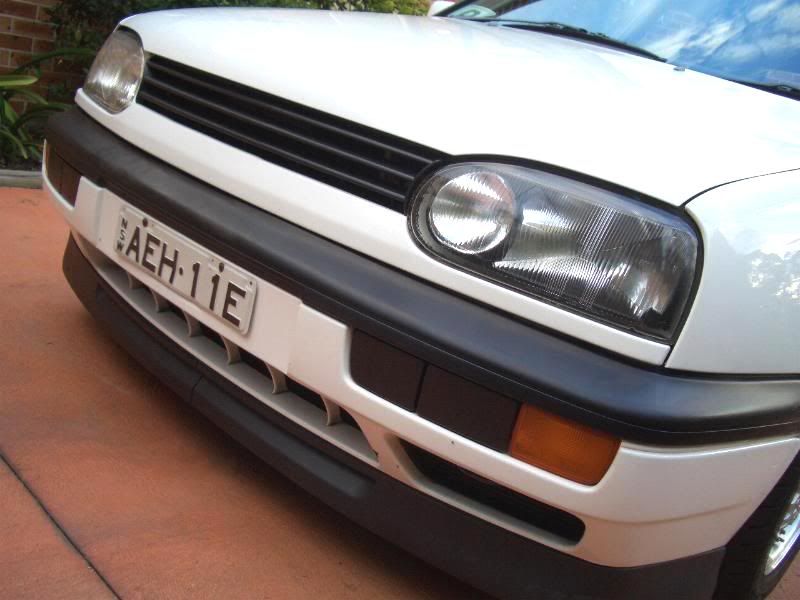
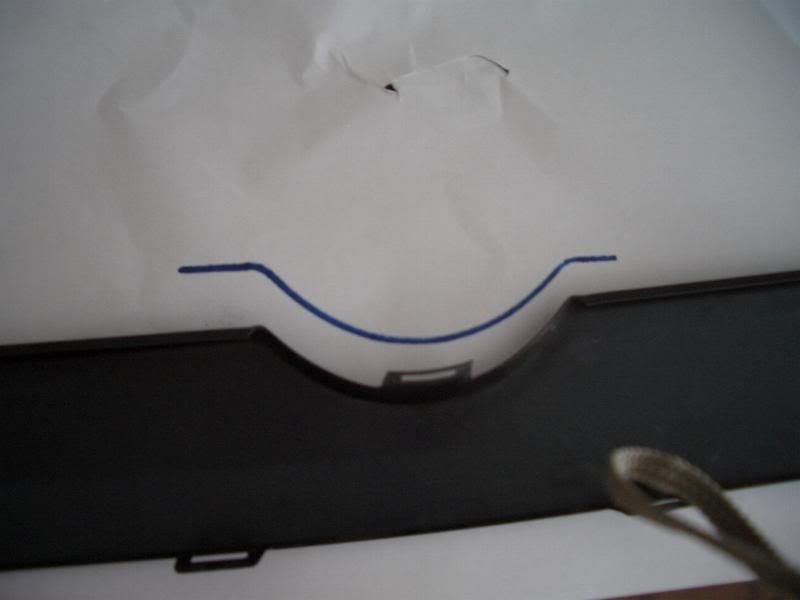
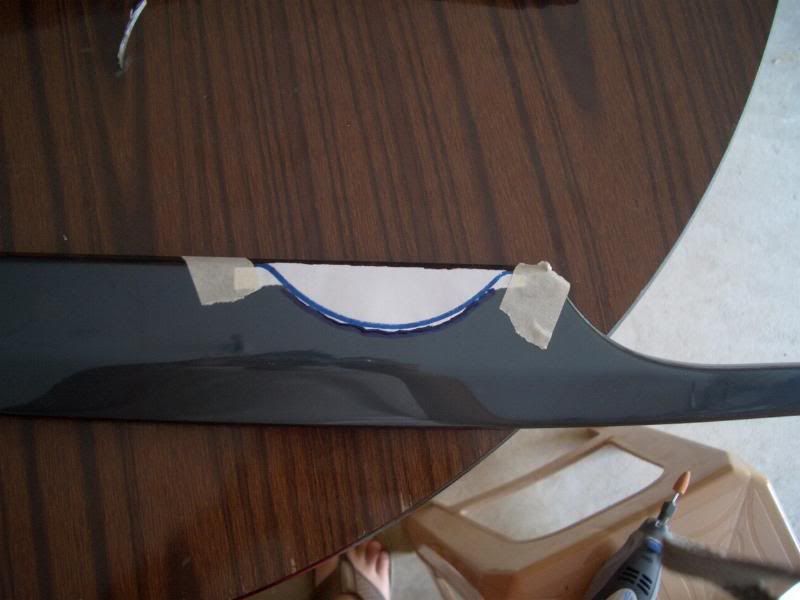
 Looks weird with the plates I have now, but I'm thinking of registering it with Euro plates one day. BTW, I don't think I would shave the plate recess.


