
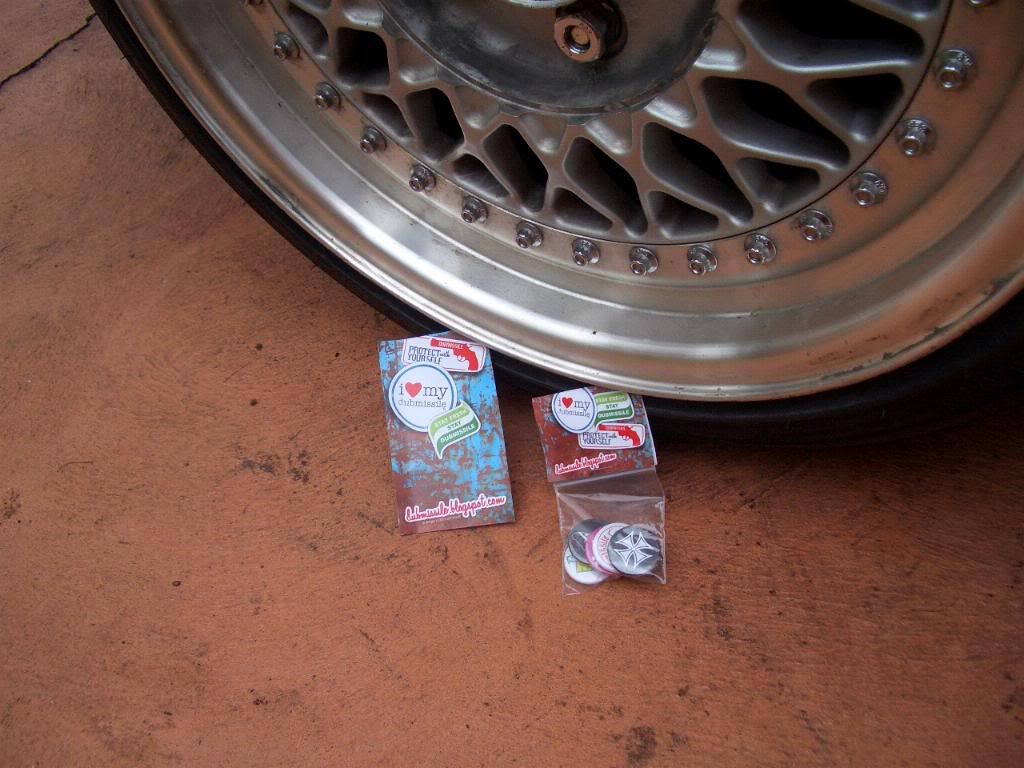
 He sent me an awesome sample of his badges! They'll be on the bag for now until I get my headliner and pillars done in custom fabric :) Thanks Alan!
Oh, and as I said before, the badges came in while I was doing the rear brakes. Dan's (of VWVortex fame, Dan J Reed) "Rear disk brakes" DIY page was very handy when I was doing this. His DIY page is definitely worth visiting (and bookmarking) if you have a Mk3 Golf/Jetta/Vento.
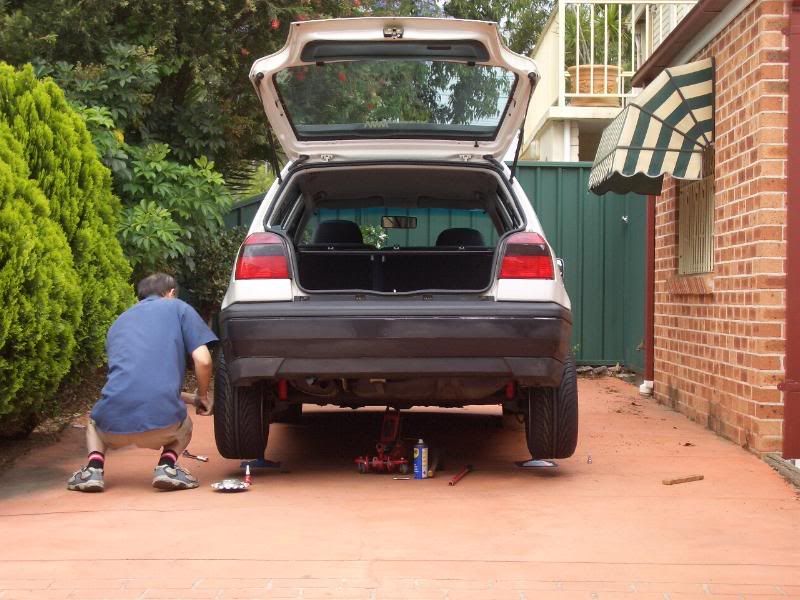
My old man helped me out today, and I very much appreciated it. To be honest, he was a bit hesitant about my/our ability at first, but we got through it fine.
 Of course, we hit a few obstacles. The caliper carrier bolts that required an 8 mm allen key were bloody hard to undo. The air compressor (yes, I impulsively bought one) with the 250 lb rated impact gun couldn't budge two out of a total of four, but after loads of WD40, a few hours and a lot of persuasion, they finally came loose. We ended up chopping our L-shaped allen key so that it was a straight rod about 8-9 cm long, and used Pedro's breaker bar. It gave us decent leverage, though we still had to use a lot of force on the breaker bar to force the bloody bolt loose.
 Everything else was relatively smooth. I ended up using the inner wheel bearings already on the 5-studded rotors, but used the old outer wheel bearings and race. I went to buy new split/cotter pins though, and ended up buying slightly longer ones (4.0 mm x 50 mm) as they didn't have any that were shorter. Stock ones were the same width but only about 40mm long. It didn't cause too much drama though, as we were able to bend the new split pins around so that they stay within the wheel bearing dust caps.
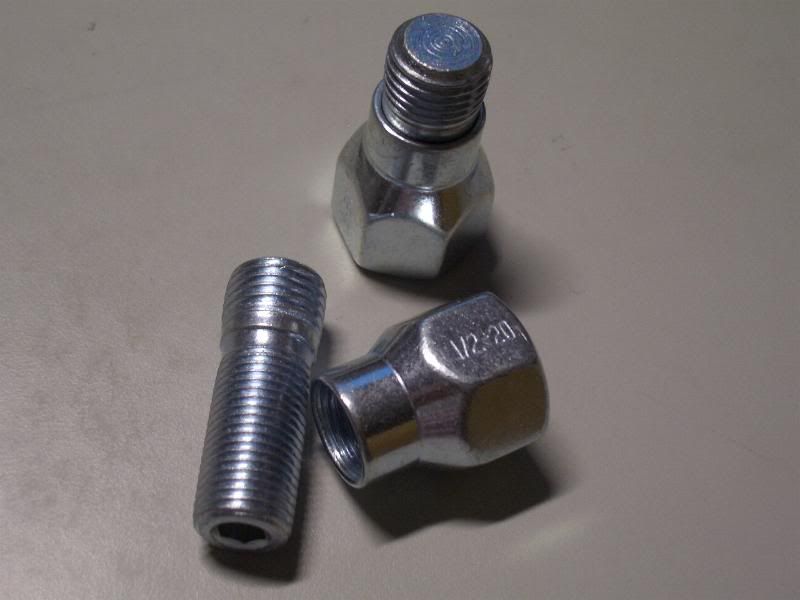
It was then time for the adapters. The 1.3" were quite big... they nearly matched the thickness of the brake hub! I started worrying about whether the 8" ~ET12 wheels would fit, but I was more worried about how I was getting the adapters to fit on. It ended up pretty easy though - the lug+nuts A-DAPT-IT included were actually bolt on studs for the brake hubs. The lug/studs went on first (in which I applied Locktite to, along with the rest of the bolts for the brake reassembly), then the adapter followed by the nuts. Two problems encountered here - my lug wrench, which is the right size for the nuts, did not fit within the adapter hole. Ended up buying a thin-walled 13/16" deep socket - there was a thin-walled impact socket, but it was still too thick :( The other problem was that one of the nuts had a thicker section than the rest. The oversize was only a hair's breadth, but it was still enough of a difference to prevent the nut to seat properly. I'll have to get the angle grinder out for this one.
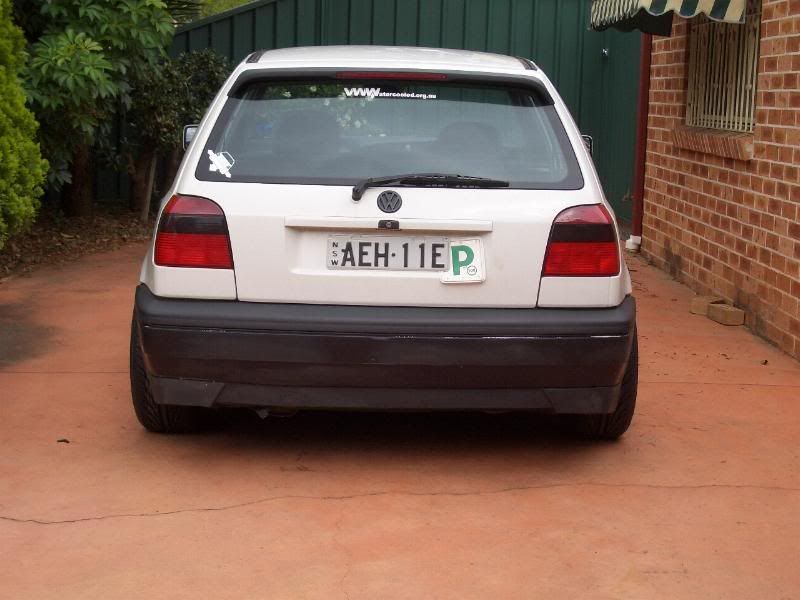
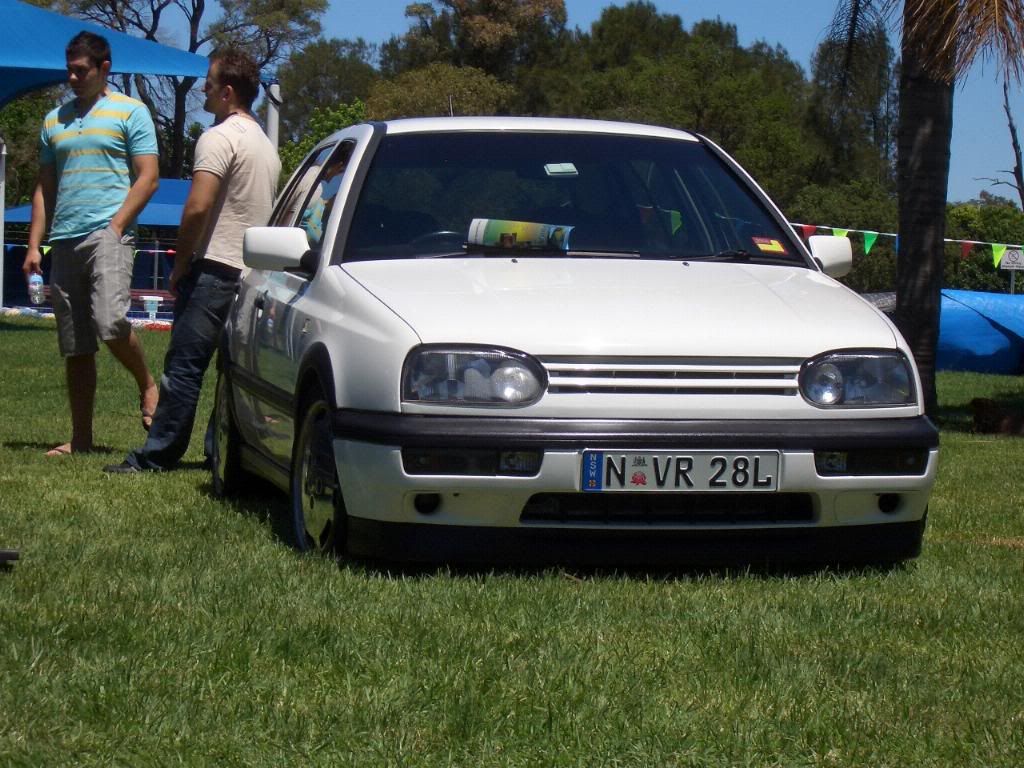
No 'during' pics as my hands were continuously greasy or dirt black, but here are some 'after' photos:
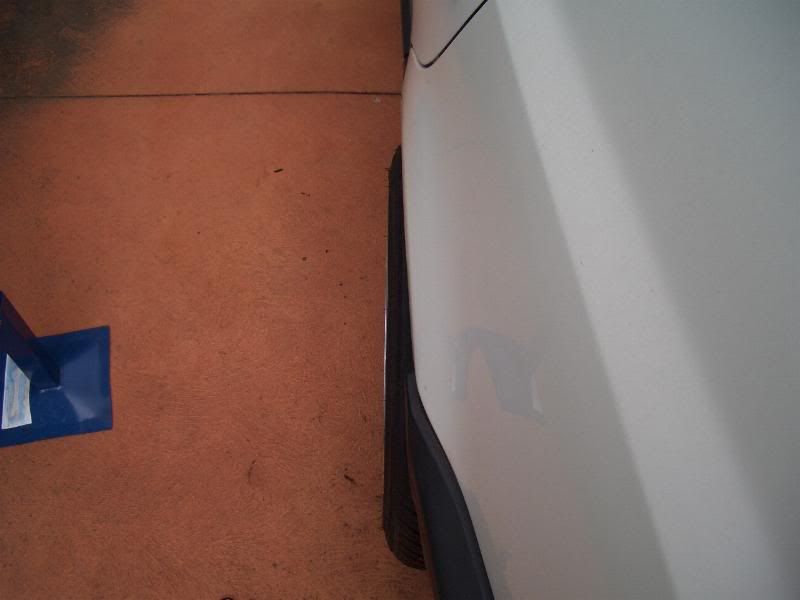
Exactly the kind of poke I was aiming for. I thought an offset of roughly ET12 would be too much poke, but it ended up being subtle. I'd say ET20 on an 8" would be flush with the rear guards.
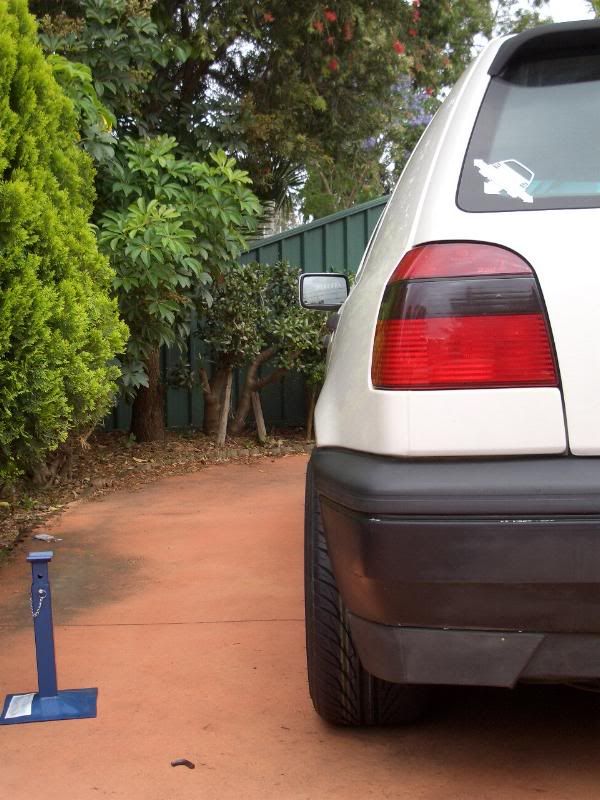
And that down-n-out stance ;)
 Starting on the fronts tomorrow, then hopefully done by Thursday/Friday so I can give the car a proper wash! I haven't done that for MONTHS, and to be honest, I feel bad!
