
I've been doing so many small things to the car lately that it makes me think, there's so many modifications that you can do to make it "your own". While many are inspirations from other cars, some you can manage to "fabricate" yourself either from imagination and your creativity, or just by good ole' fashioned experimenting. Now, I can say that all my mods are based on drawing inspirations from other Mk3's, but I'm hoping to contribute some time with my own "unique" mod. Given the amount of creativity (or lack thereof) I have in me, this will take a long time and a lot of thinking, but I reckon there would come a day!
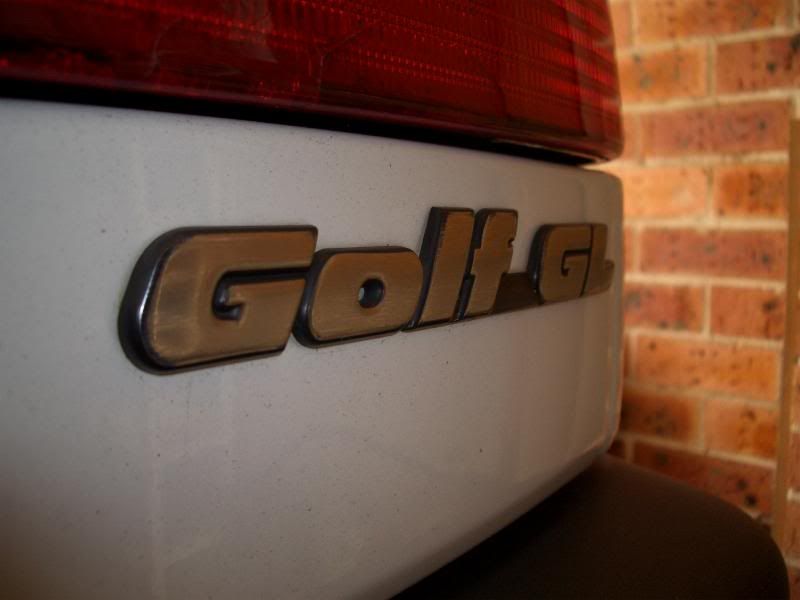
Anyway, here's how I did the debadging. Note that the original emblem was stuck on with adhesive.
Materials needed:
- Dental floss (or fishing lines)
- Two strong twigs (I'll explain later :P)
- Goof Off (or any remover that's safe to use on paints)
- Rags
- Heat gun (I used a blow dryer)
- Detailing products (helps with getting a clean finish)
- Bucket of water
- Tie the ends of some dental floss to two twigs. It felt like I was gonna slice my fingers in half from the way I tried to secure a grip on the dental floss.
- Heat around the emblem sparingly. Softens up the adhesive so it's more easy to manipulate.
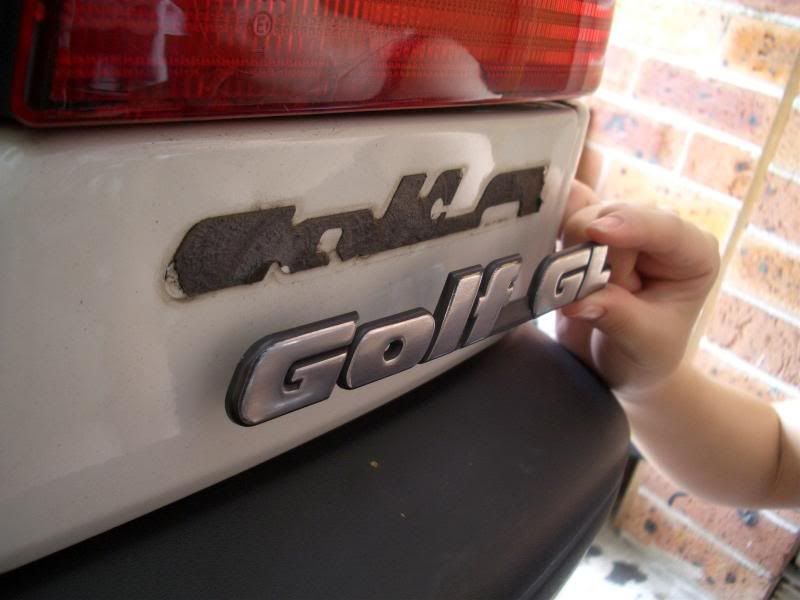
- Start "cutting" with the floss, taking it slowly but with enough force to slice through the adhesive. Repeat step 2 every once in a while.
- Once completely off, the adhesive backing may still be attached (they used double-sided tape for this). Simply use your nails to gently lift it off and peel the rest of the backing off. Leave tiny fragments, the next step will take care of them.
- Using Goof Off, spray onto a small area of a rag, and work on the stubborn adhesives that are still left on the car.
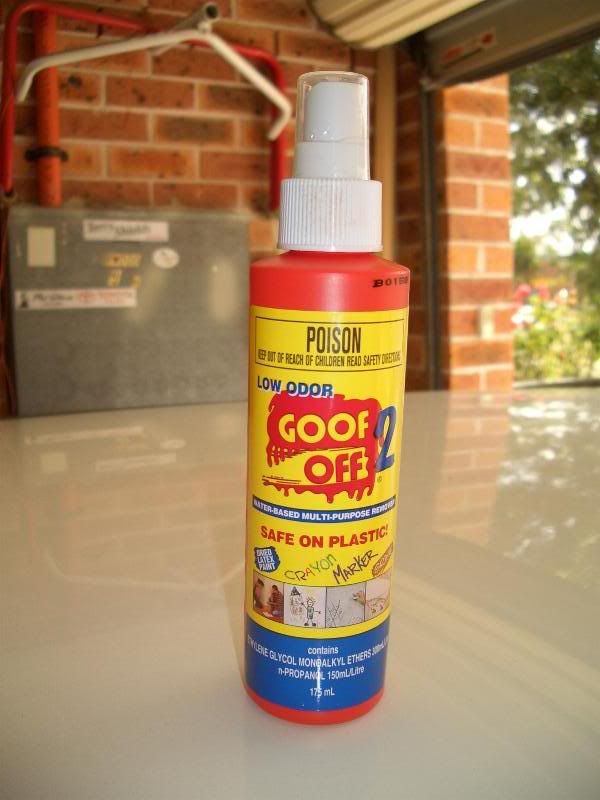
- Once done, rinse off any remaining Goof Off with a different rag soaked in water.
- Wash car or just the debadged area followed by a wax. If you want, clay then polish the debadged area before you wax. Remember that that specific area has not been exposed to the elements before, and so proper paint protection methods should be undertaken to keep the area looking tip top.
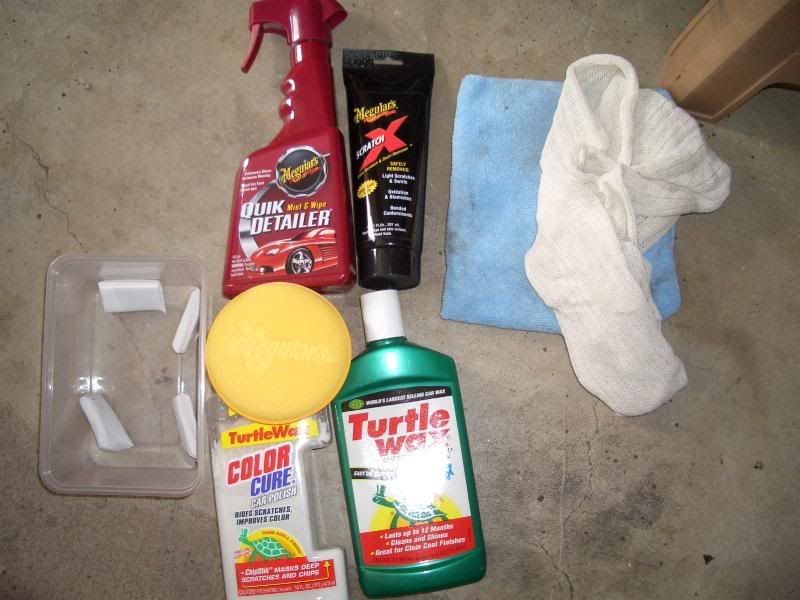

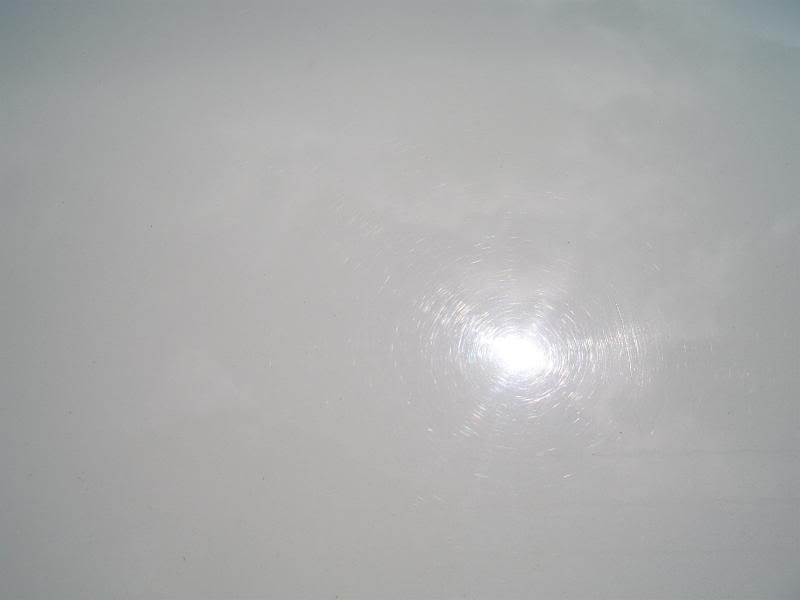
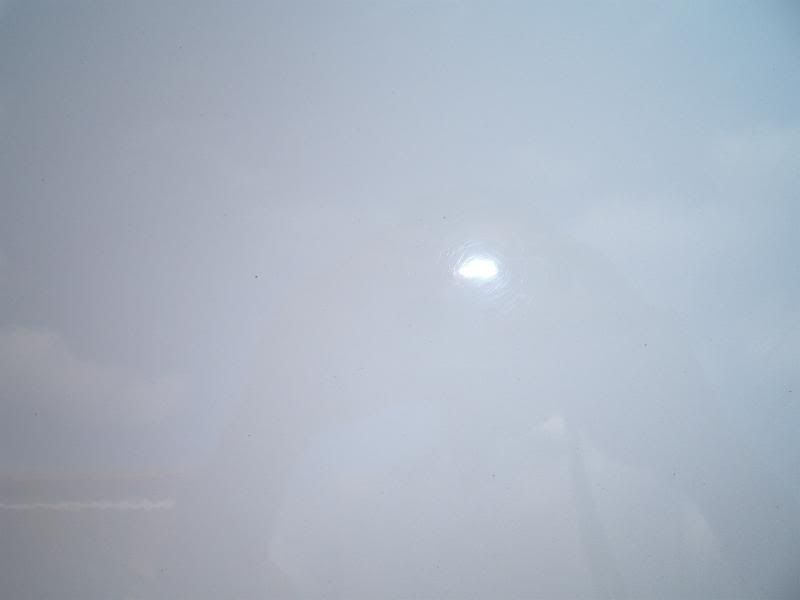
Both products - the clay bar and ScratchX - worked not as well as I first expected. While claying took out a lot of surface contaminants, the fact that I used it for the first time on the car since it came out of factory 11 years ago meant that a lot of contaminants have embedded into the clear coat. A lot (what remained after the car wash) of the contaminants still remained, with some superficial/obvious contaminants (e.g. fingerprints, stains, semi-embedded contaminants that can be felt by stroking the panel etc.) able to be lifted off effortless with the clay bar. You can actually see impurities being picked up by the clay, but you could unfortunately still see some specks still on the panel that the clay bar failed to pick up. Overall, it is an easy to use product. It came with a "Quik Detailer" spray that greatly helps the movement of the clay on the car panel, making it very smooth. Without it was extremely hard to use and the clay would not glide at all; instead, it would "scrape" along the panel, as if inducing its own scratches. However, I could not located any new scratches that claying may have caused (the only scratches I had were swirl marks - I glided the clay bar up and down).
Next was ScratchX - a fairly easy product to use, in that it goes on and buffs off like you would with a polish or wax. I bought some Meguiar applicator pads to go with the ScratchX, and it was pretty much a matter of applying the ScratchX until it was no longer "wet", then buffing it off with a clean microfibre cloth. From what I could see, it reduced the "moderate" swirl marks to "light" swirl marks, but didn't completely take them out. I was expecting it to have a super clear finish, but I guess it was just a cheap off-the-shelf product. After the polish and wax, the paint did look much more revitalised, with less visible contaminant and stains when looking at 1 metre away. It's only when you look up close that there are still contaminants lying around.
Here are before & after pics:
The hatch has A LOT of contaminants, so I'm excited about working the clay bar on that. On the contrary, the bonnet has the most swirls, so I'm excited about using ScratchX on that. I'll slowly do all the panels of the body in the next two weeks to prepare for the VW Nationals, and I'll just do a car wash in the morning of the Nationals.
No pain, no gain.
No comments:
Post a Comment