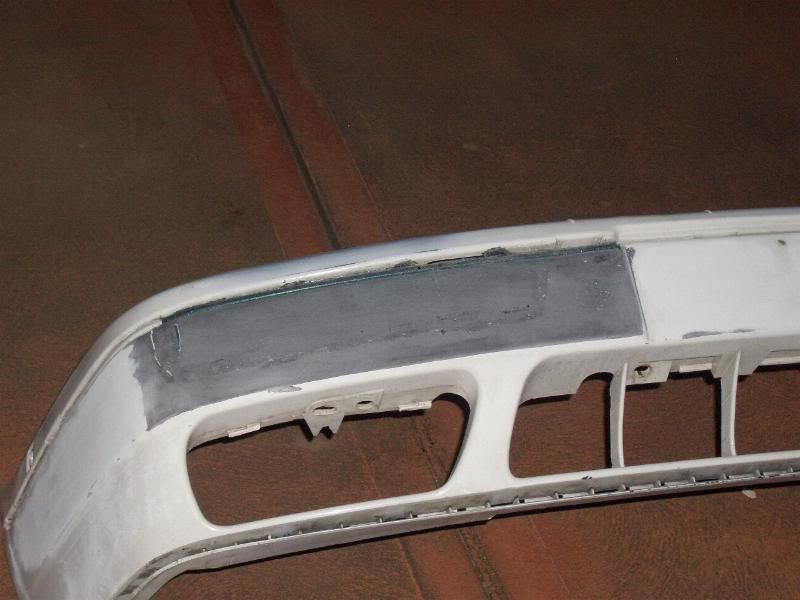
 I got sanding-happy with the machine :P It should make filling easier though, since I'm working with raw plastic rather than paint.
I've also made a few modifications so the donor panels I used now follow the curvature of the bumper (as close as possible). I basically added some support behind the bumper so the donor panels are now pushed to match the curve of the bumper top. It was merely a thought at first but then decided to give a try, and so far it holds up bloody strong. However I'm not sure whether it'll hit the rebar - it might be too thick. I've yet to put the bumper back on but will be doing it tomorrow as I'm getting the fender rolling done - more info later.
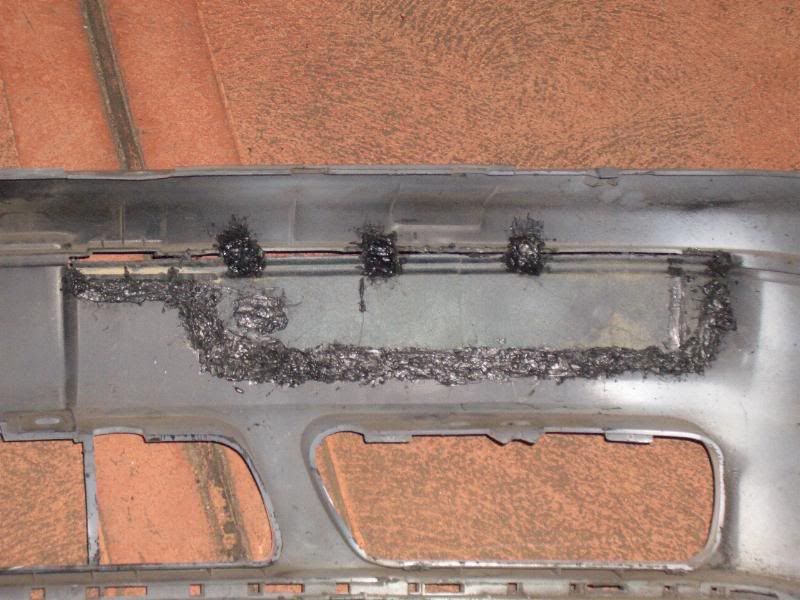
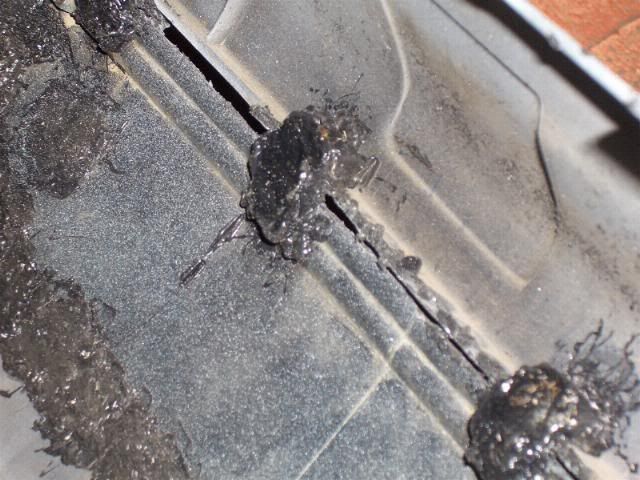 That's the side with three of those 'holders'. No budges at all when you push with force, so they're held on very well. The other side though I only welded in one - it does the job in holding the curvature, but part of it still flexes when pushed with force. I'm lazy in creating another holder for it for added support.
Did the filling with Isopon's Bumper Fill too. Very easy to work with, but very quick to set. Once it does though, it's very soft. The sander made light work of it.
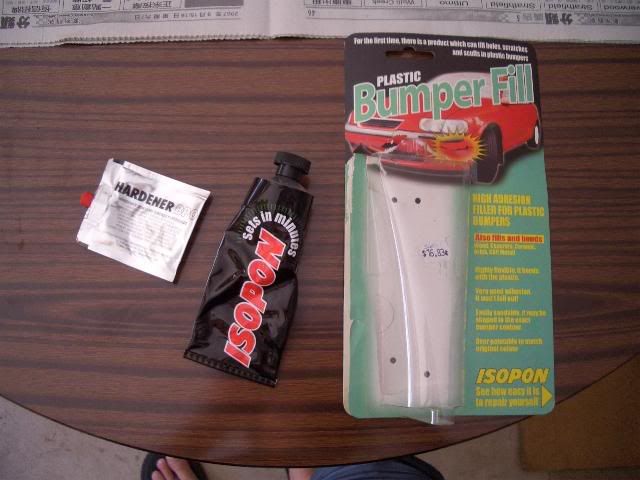
I used a whole lot of it at first but manage to sand down pretty much 80% of it.
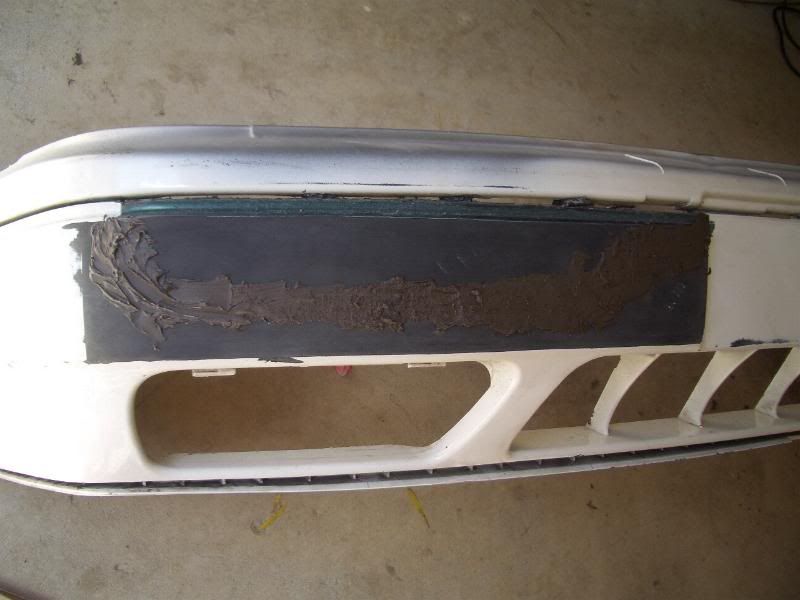 Also bought the engraver bit for the dremel and tried to make the indent. Did a very bodgy job but it looks OK. I couldn't be fucked with it at the end so I just quickly did another layer of filler to go over any indented spots. Towards the evening, I sprayed a few coats of satin black paint over. I will be wet-sanding to try and get an even finish (the finish right now is quite shitty). It looks quite rat-stylz right now :P
I also did the front indicators. I've done the wiring - basically just crimped the ends and did a test, and they work fine. I've since taken apart the lights (they're Mk1 front bumper indicator items) and cleaned the insides ready for proper sealing - they were originally "sealed" by rubber insulation. Also tinted the lens - they look much better than the clear side indicators. Leaves me here thinking that I should just ditch them and tint the stock ones.
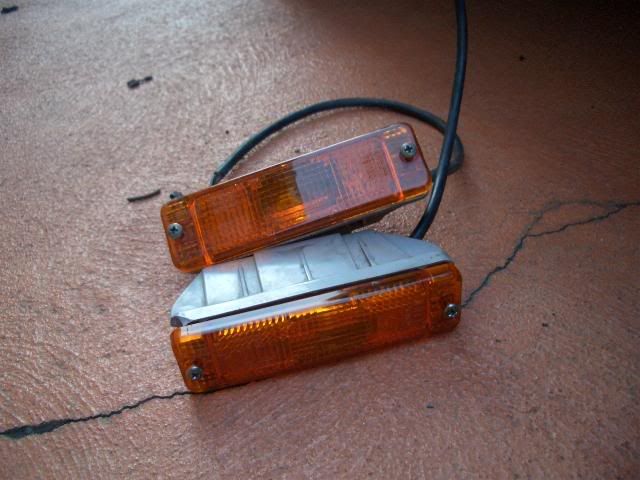
 Hate anything to do with wiring...
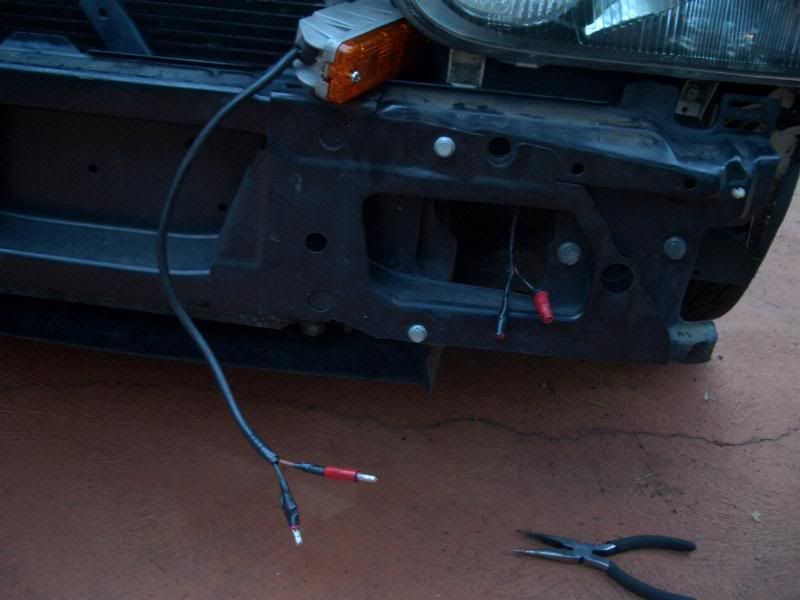 Oh yeah.
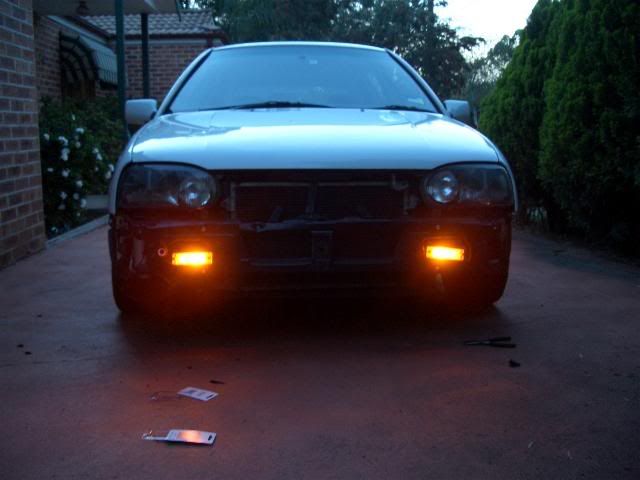 Managed to trim the lower duct trim today and get the indicators to fit. I cut holes on the far lower corner of each duct. With a few adjustments with the dremel, I managed to get the indicators to fit through and fit rather snugly in the ducts. I'll definitely need to hold them tightly though.
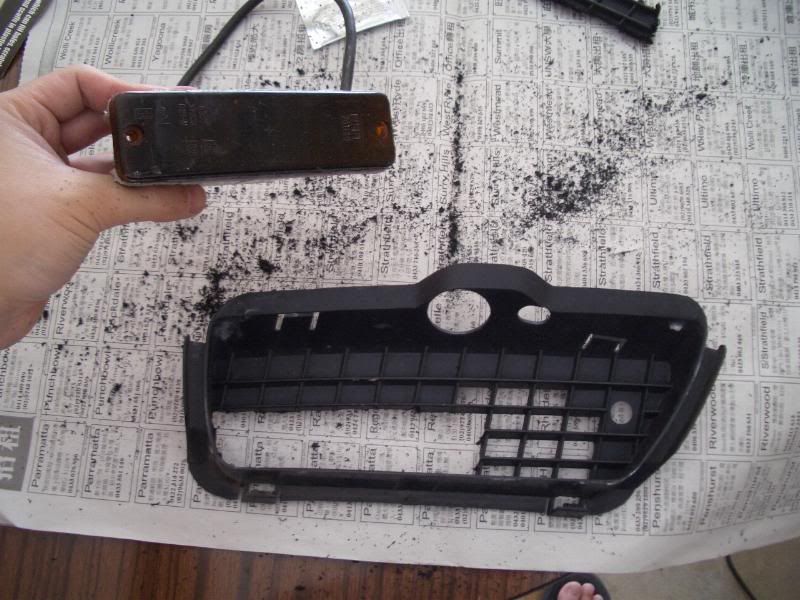
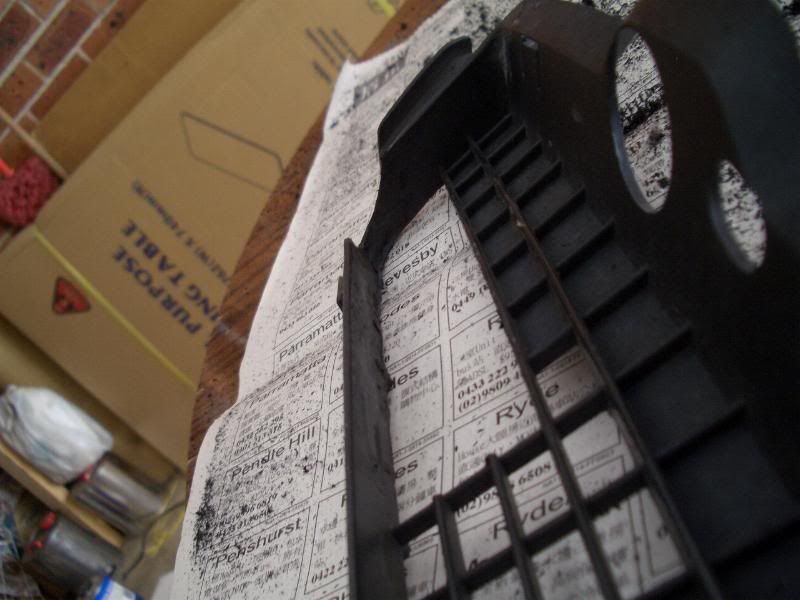
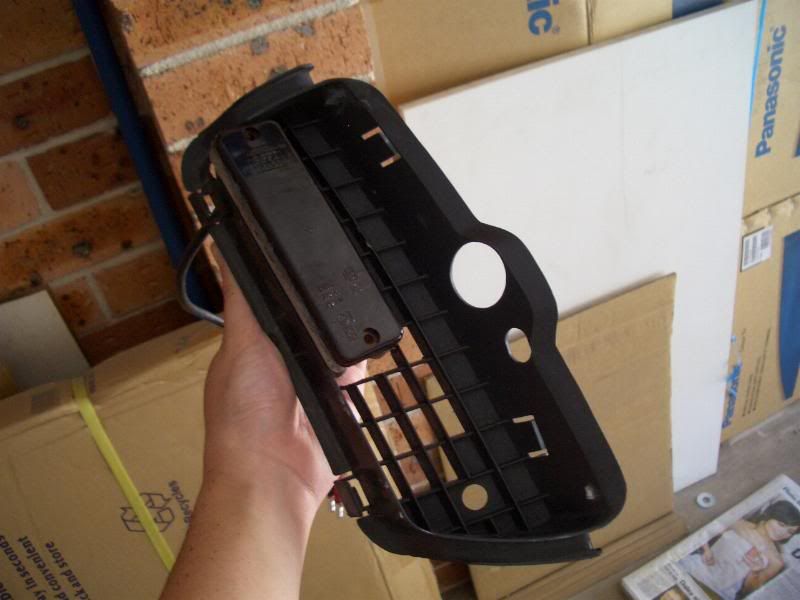 Much like the front bumper, I couldn't be fucked doing a proper job... I'm thinking of just using zip ties to hold the indicator down to the duct. I won't be able to use screws so the screw holes can be put to "good use".
Once I've wet-sanded and sprayed on another few layers of black on, I'll be able to fit the lower duct trim and indicators on and head down to the garage with the fender roller.
I jacked the car up to modify the inner guard linings as well. To my relief, only the fronts have a guard liner - the rears can be rolled as they are. Anyway, check out the DIY for what I did.
I inadvertently hit the paint work with the dremel on one of the fenders :( The mark is about two inches long, showing bare metal. It's right on the lip too. I'll have to touch it up after the rolling...
Tuesday update:
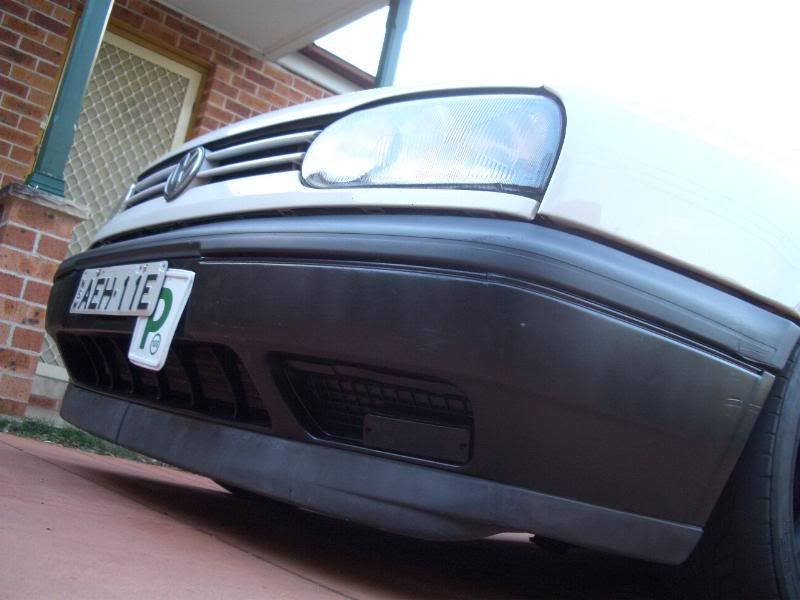
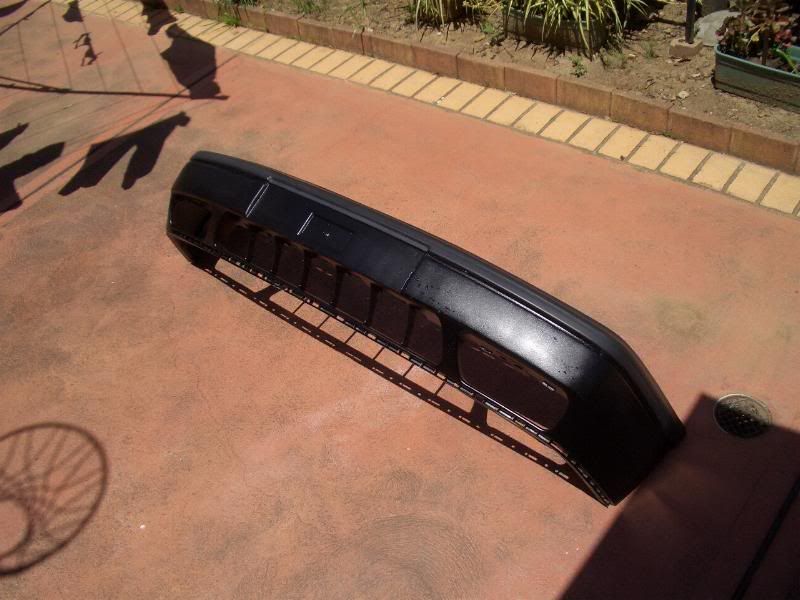 Painted the bumper - looks bad :( Not because it's black, it's just that I didn't do a good job at all with the sanding and filling. Looks really rat-stylez right now actually haha. Also painted the front indicator surrounds and lower duct trim while I was at it.
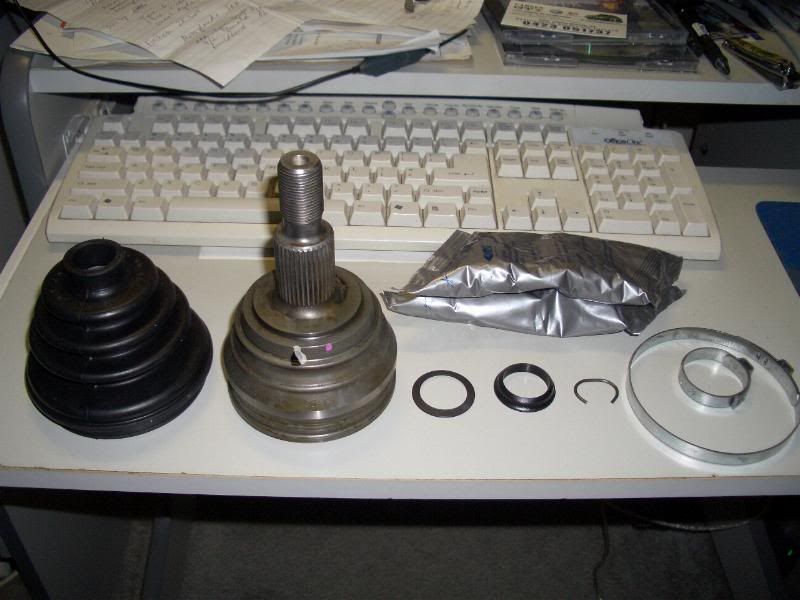
Went to UpGarage to get the fenders rolled too - $150. Also dropped by at Matt's to get the CV joints.
 As referred to by Matt, I also went to Super Cheap for some DOT4 brake fluid - got some "Castrol Response Super DOT4". They had the "Advanced" version and it was $2.00 cheaper, so I just opted for this one. Also got this "one-man" brake bleeder kit.
 Let's hope all goes well tomorrow! My goal is just to get two done (front two) and finish it off on Thursday. Then I can spend all Friday finishing up my rear bumper ready for Flat Fours. I'm not gonna overly rush that one though.
Oh, and pics of the car as of now:



3 comments:
SHIT MAN!!! You been busy dude, what about your coursework ;-p
Looking badass now brother, good job on the smoothing....hmmmmm, ideas. Kinda liking the indicator in the lower duct idea too.
keep it up fella!
People should read this.
[url=http://sunkomutors.net/][img]http://sunkomutors.net/img-add/euro2.jpg[/img][/url]
[b]office enterprise 2007 product key, [url=http://sunkomutors.net/]store register software[/url]
[url=http://sunkomutors.net/][/url] download kaspersky anti kaspersky adobe photoshop cs4 extended
nero 9 - trial version 9.0.9.4c patch [url=http://sunkomutors.net/]academic software and[/url] educational software programs
[url=http://sunkomutors.net/]software to buy and sell[/url] acdsee
[url=http://sunkomutors.net/]drill and practice educational software[/url] buy cheap microsoft software
discount software for you [url=http://sunkomutors.net/]adobe photoshop cs3 trail[/b]
Post a Comment