Mk3Love

Thanks for dropping by my blog.

Just thought I chuck in a link here for those that love what my Golf is about, and why I'm so obsessively into it.


Monday, 5 November 2007

Dubmissile rocks!

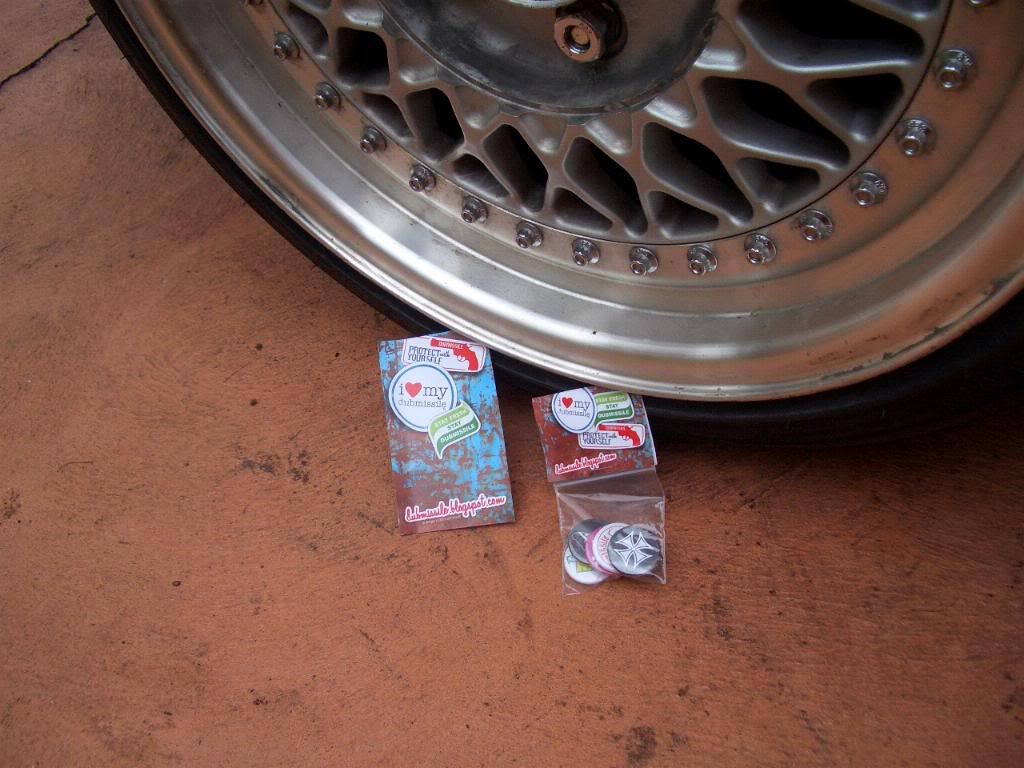
Alan of Dubmissile sent me an awesome email at the end of that bloody awful last week of Uni. The result of that email came in today, while I was doing my rear brakes:

He sent me an awesome sample of his badges! They'll be on the bag for now until I get my headliner and pillars done in custom fabric :) Thanks Alan!

Oh, and as I said before, the badges came in while I was doing the rear brakes. Dan's (of VWVortex fame, Dan J Reed) "Rear disk brakes" DIY page was very handy when I was doing this. His DIY page is definitely worth visiting (and bookmarking) if you have a Mk3 Golf/Jetta/Vento.

My old man helped me out today, and I very much appreciated it. To be honest, he was a bit hesitant about my/our ability at first, but we got through it fine.
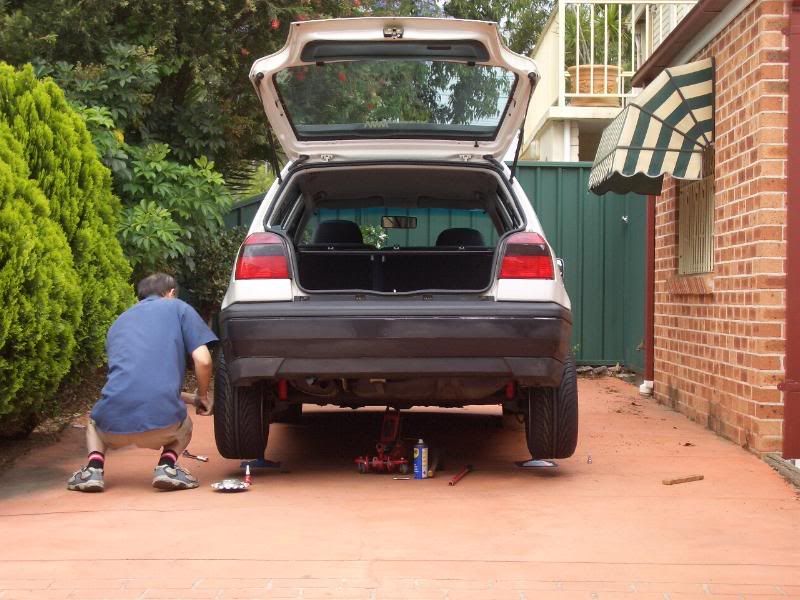
Of course, we hit a few obstacles. The caliper carrier bolts that required an 8 mm allen key were bloody hard to undo. The air compressor (yes, I impulsively bought one) with the 250 lb rated impact gun couldn't budge two out of a total of four, but after loads of WD40, a few hours and a lot of persuasion, they finally came loose. We ended up chopping our L-shaped allen key so that it was a straight rod about 8-9 cm long, and used Pedro's breaker bar. It gave us decent leverage, though we still had to use a lot of force on the breaker bar to force the bloody bolt loose.

Everything else was relatively smooth. I ended up using the inner wheel bearings already on the 5-studded rotors, but used the old outer wheel bearings and race. I went to buy new split/cotter pins though, and ended up buying slightly longer ones (4.0 mm x 50 mm) as they didn't have any that were shorter. Stock ones were the same width but only about 40mm long. It didn't cause too much drama though, as we were able to bend the new split pins around so that they stay within the wheel bearing dust caps.

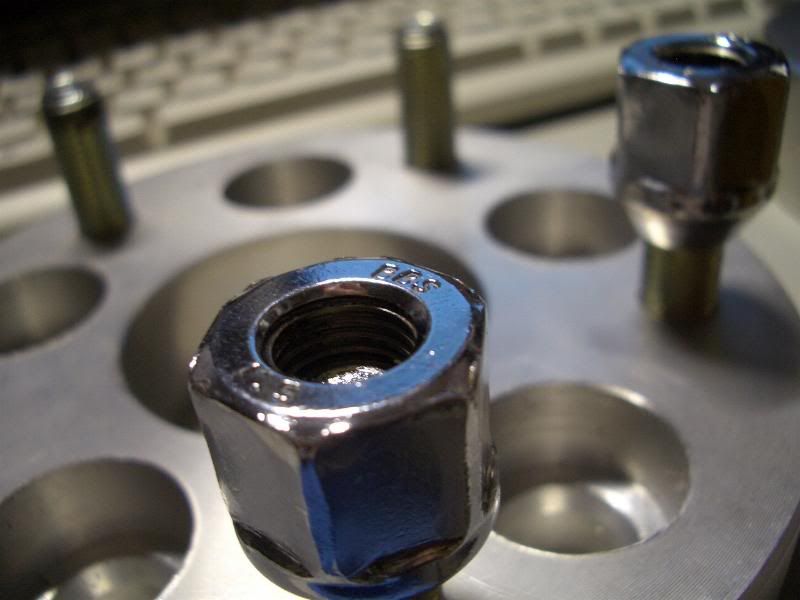
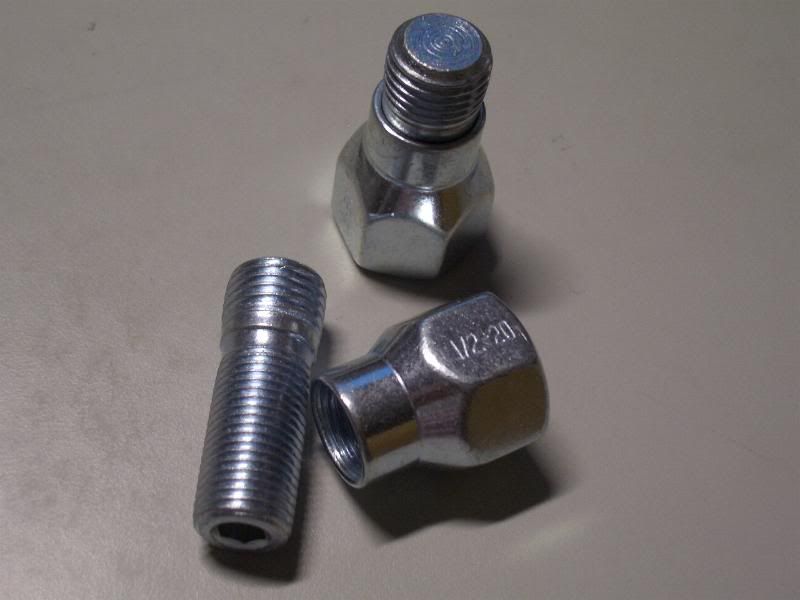
It was then time for the adapters. The 1.3" were quite big... they nearly matched the thickness of the brake hub! I started worrying about whether the 8" ~ET12 wheels would fit, but I was more worried about how I was getting the adapters to fit on. It ended up pretty easy though - the lug+nuts A-DAPT-IT included were actually bolt on studs for the brake hubs. The lug/studs went on first (in which I applied Locktite to, along with the rest of the bolts for the brake reassembly), then the adapter followed by the nuts. Two problems encountered here - my lug wrench, which is the right size for the nuts, did not fit within the adapter hole. Ended up buying a thin-walled 13/16" deep socket - there was a thin-walled impact socket, but it was still too thick :( The other problem was that one of the nuts had a thicker section than the rest. The oversize was only a hair's breadth, but it was still enough of a difference to prevent the nut to seat properly. I'll have to get the angle grinder out for this one.

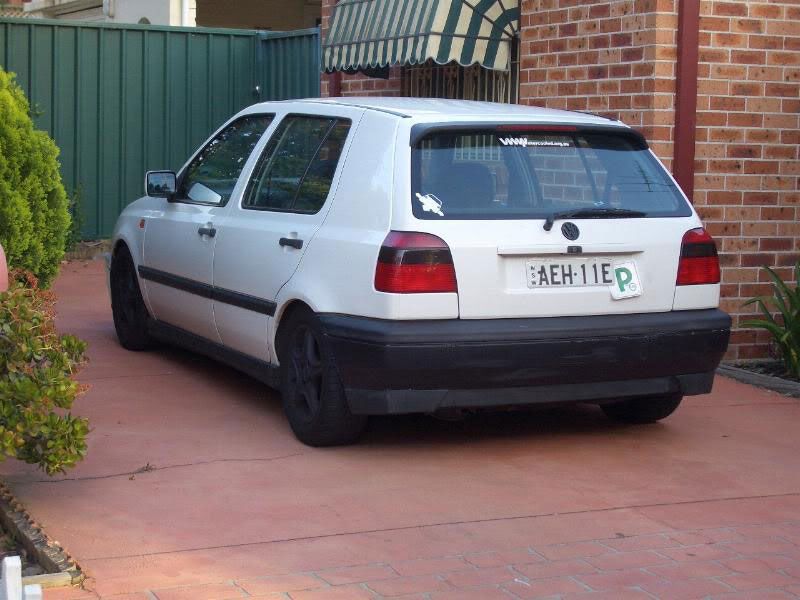
No 'during' pics as my hands were continuously greasy or dirt black, but here are some 'after' photos:
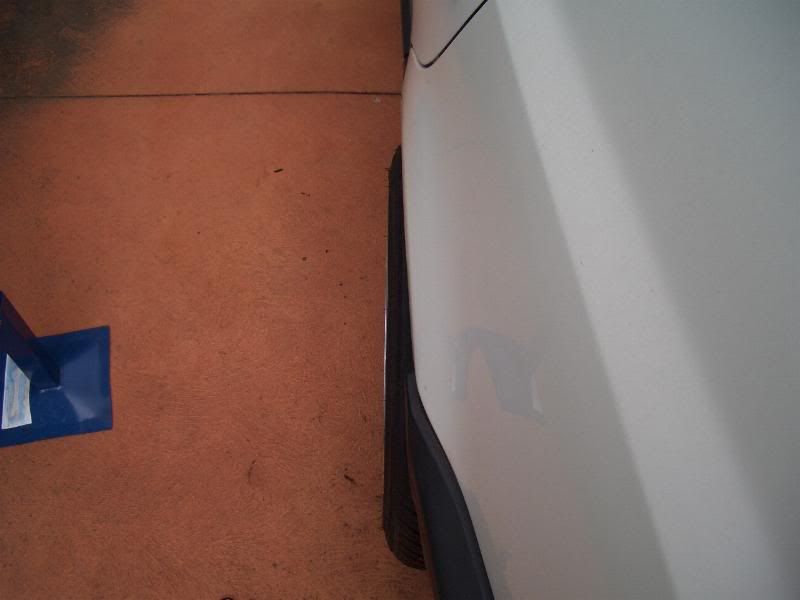

Exactly the kind of poke I was aiming for. I thought an offset of roughly ET12 would be too much poke, but it ended up being subtle. I'd say ET20 on an 8" would be flush with the rear guards.
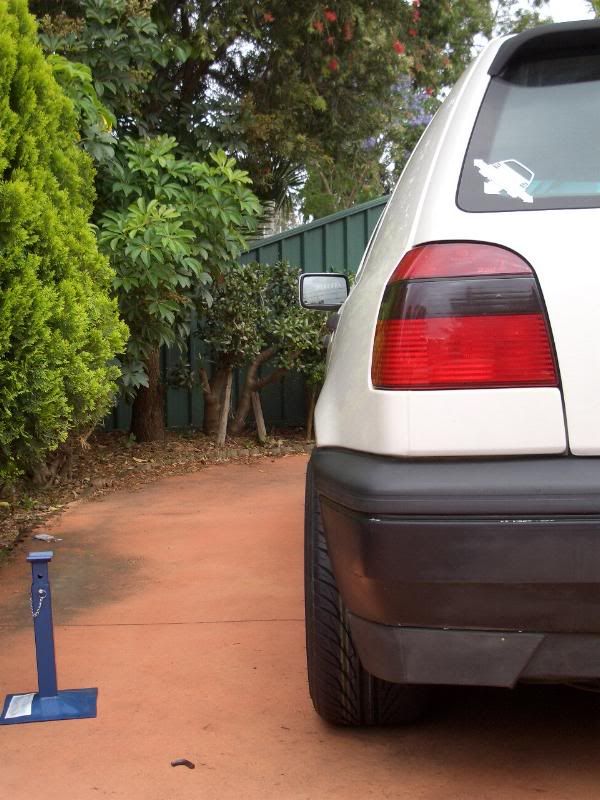

And that down-n-out stance ;)
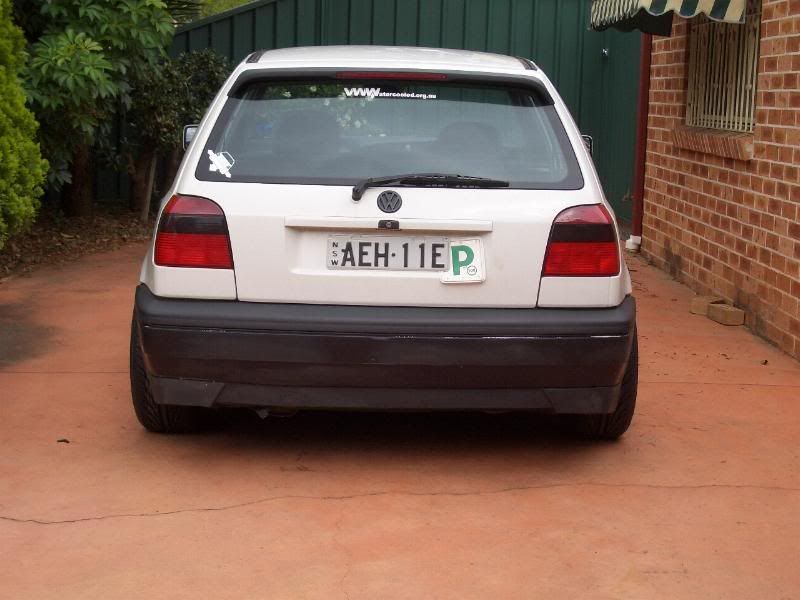
Starting on the fronts tomorrow, then hopefully done by Thursday/Friday so I can give the car a proper wash! I haven't done that for MONTHS, and to be honest, I feel bad!

Sunday, 4 November 2007

Flat Fours Shootout

Finally a post that's not about my car.

Flat Fours held a show today at Miller. They are known to be a modified VW club that is open to all those that own a VW, although they are predominantly filled with aircooled owners/modifiers. It was an excellent day today. It was actually forecast to rain (as it was doing for the past few days) but I woke up to blue skies and glaring sunshine. I hope the VWW Summer cruise to the 'Gong will be the same!

Met up with a few regulars but also met a new VWW member by the name of Mike. Owns a VR6, but used to have a modded up S15! I'd say it must've been a step-down in his case power-wise...
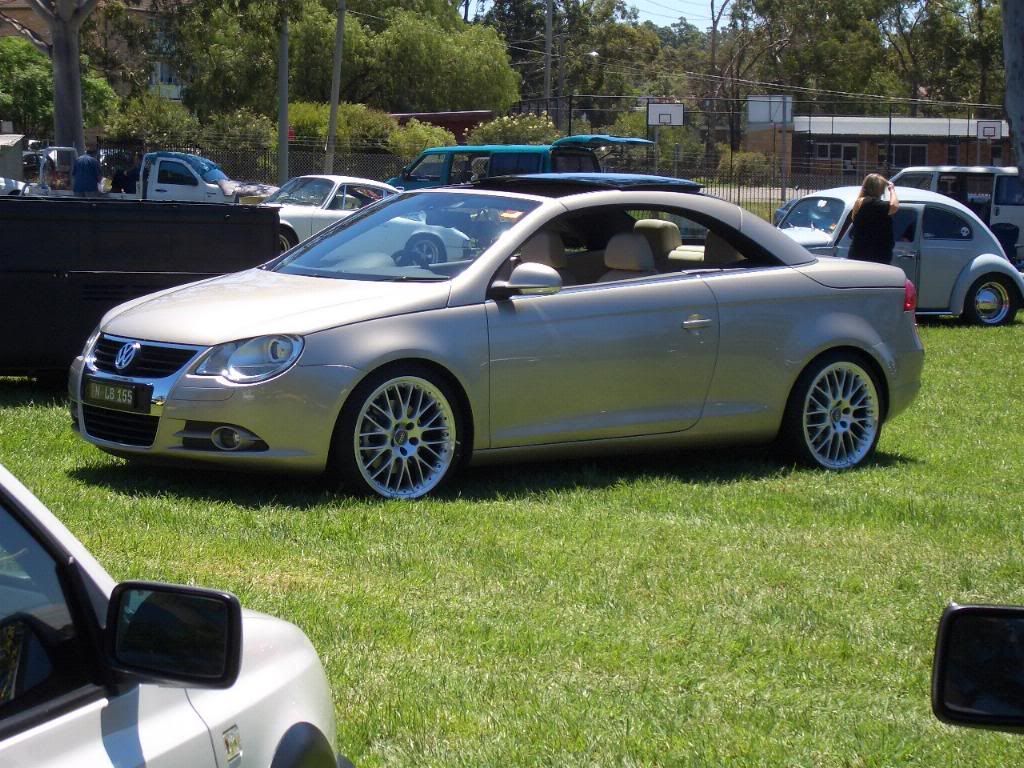
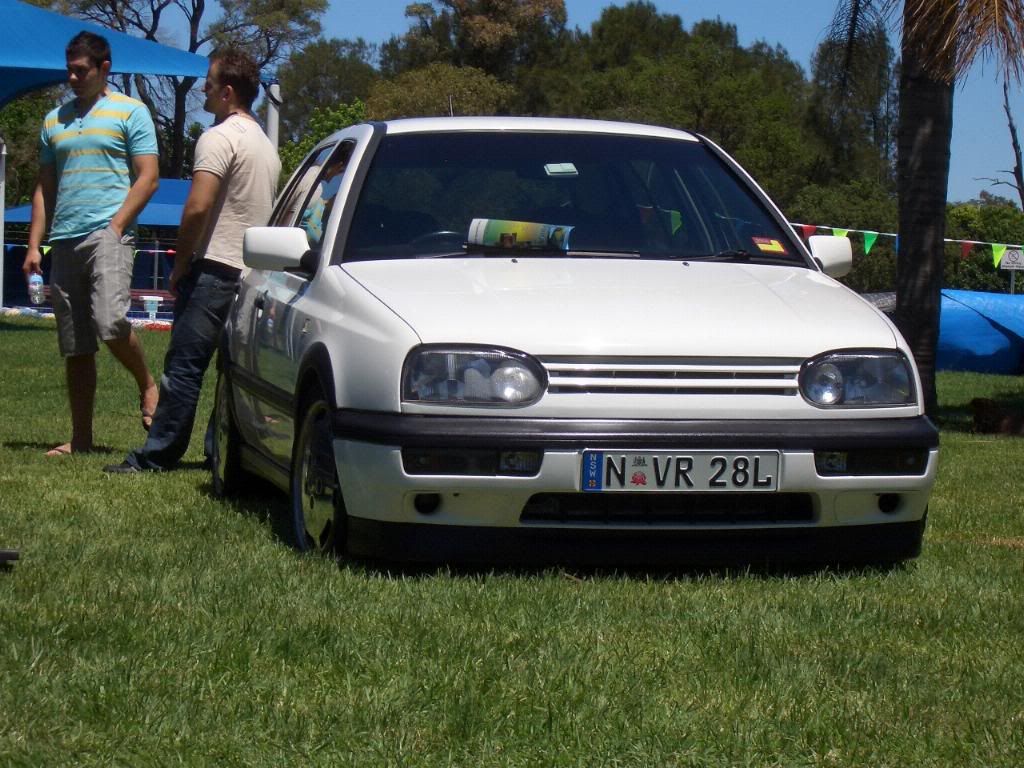
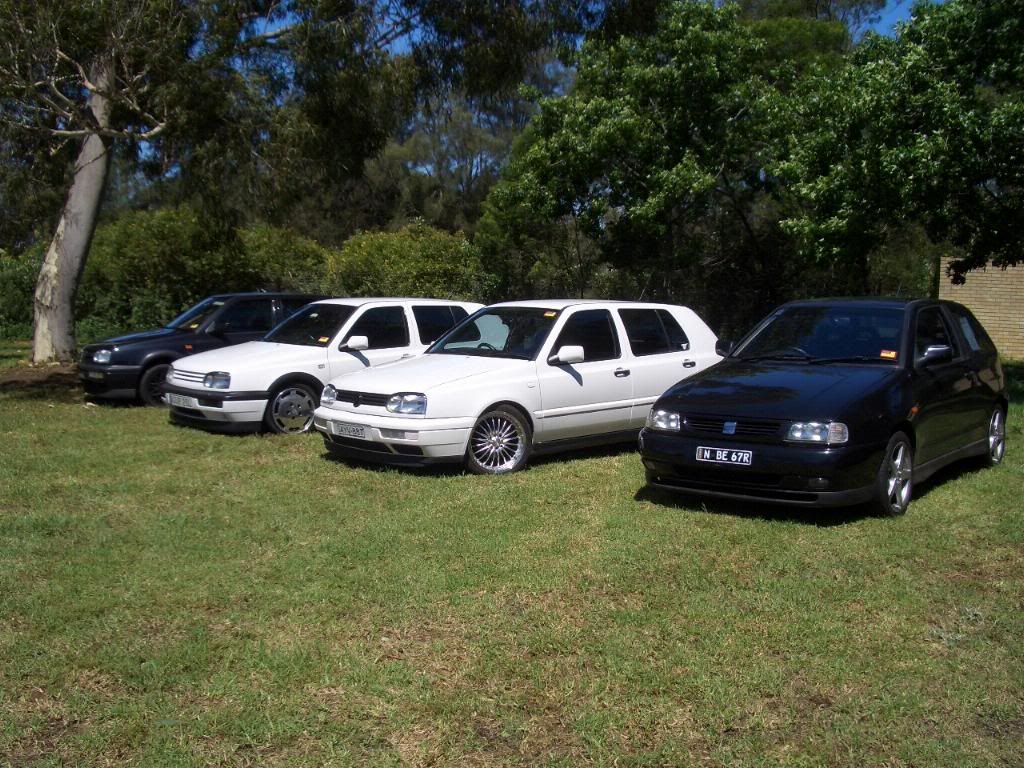
Steve was there too, and picked up his other deep VR6 lip. To be honest, I kind of miss the look of it, but I think what I'll do is use the VR6 lip for cruises/meets and events and such, but for daily driving duties, I'll just keep rocking the duckbill. Anyway, Steve's new-look VR6 looks fucking HORN. The rear especially, with the shaved VW badge recess and deleted wiper, and colour-coded boot-look which makes it look like the top part of the plate recess was shaved too. His whole stance with the KW coilovers look great too over his polished Porsche 928 wheels. Smoked long turns and dummies also look the part with the smoked theme, and the Aero wipers that are usually more associated with the latest generation of VWs goes with the whole clean look. Anyway, here's some of the pics.

The rest can be found on my Photobucket.

Oh, and many thanks to Louis for giving me a ride to the event!

Monday, 29 October 2007

On schedule...

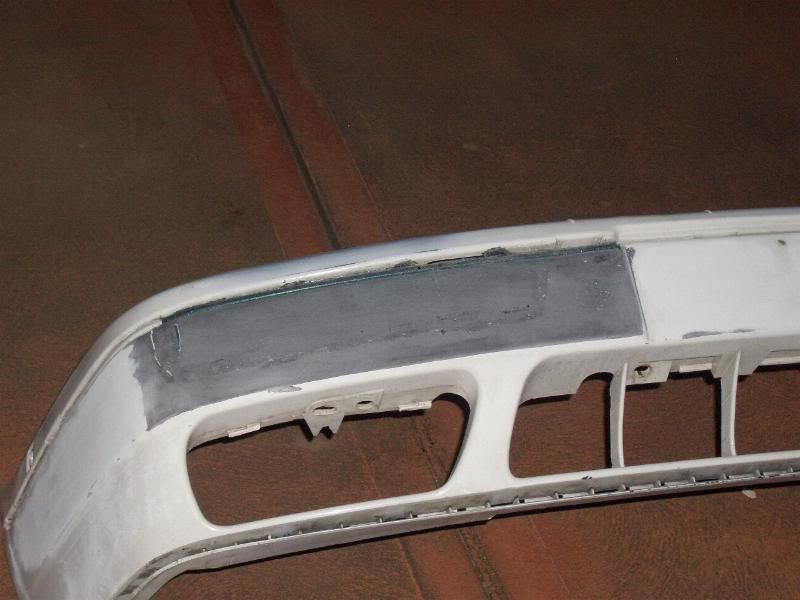
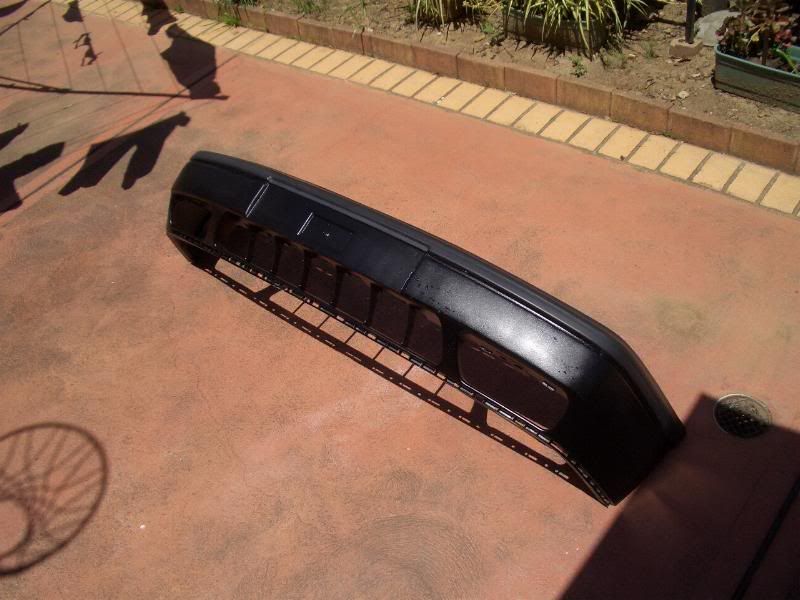
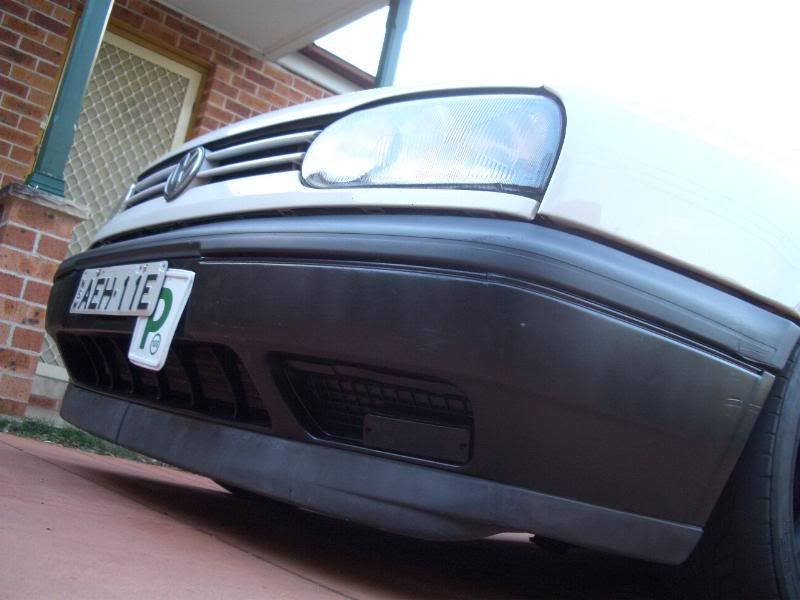
Did a lot yesterday and today. Used the electric detailing sander for the first time and boy, does it make things bloody easy. The front side of the front bumper is 95% smooth save for the top indents which I think I'm just going to fill over where they join - I'll be heading to Bunnings for a dremel bit that I can use so I can make the necessary modifications to shape the filling to look exactly like the rest of the indenting. I'm thinking that'll be the easiest, rather than try and work my way with hot, viscous plastic.

I got sanding-happy with the machine :P It should make filling easier though, since I'm working with raw plastic rather than paint.

I've also made a few modifications so the donor panels I used now follow the curvature of the bumper (as close as possible). I basically added some support behind the bumper so the donor panels are now pushed to match the curve of the bumper top. It was merely a thought at first but then decided to give a try, and so far it holds up bloody strong. However I'm not sure whether it'll hit the rebar - it might be too thick. I've yet to put the bumper back on but will be doing it tomorrow as I'm getting the fender rolling done - more info later.

That's the side with three of those 'holders'. No budges at all when you push with force, so they're held on very well. The other side though I only welded in one - it does the job in holding the curvature, but part of it still flexes when pushed with force. I'm lazy in creating another holder for it for added support.

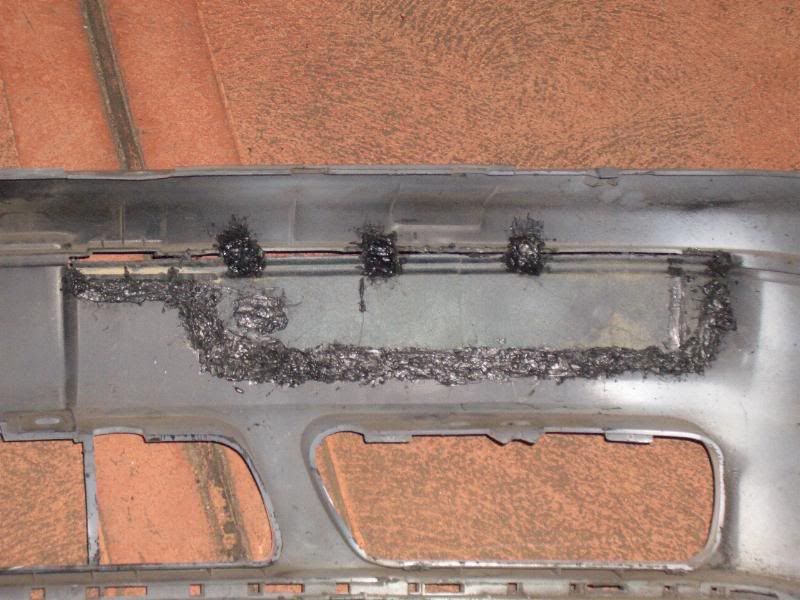
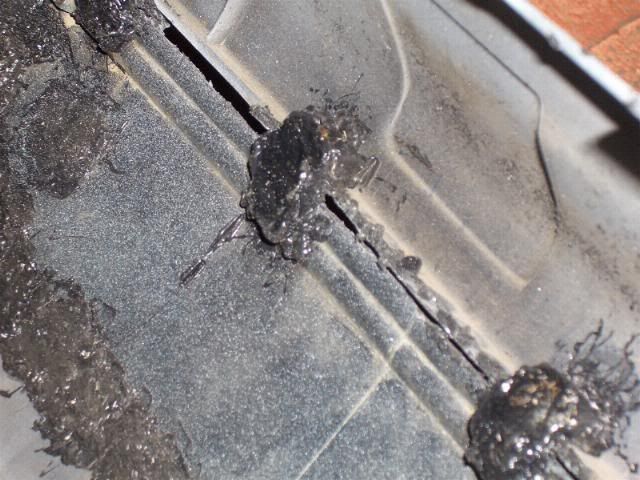
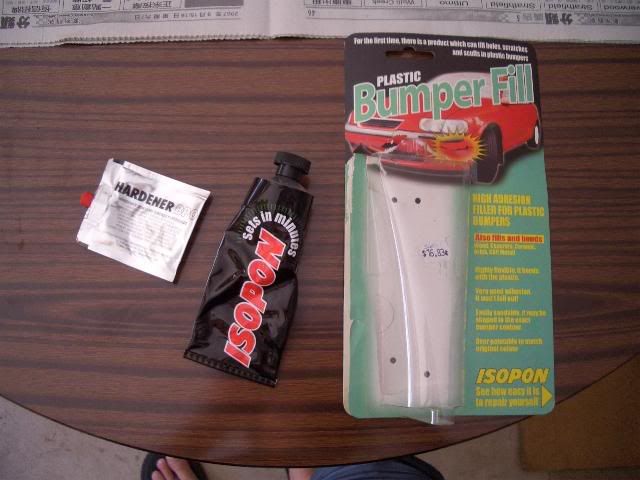
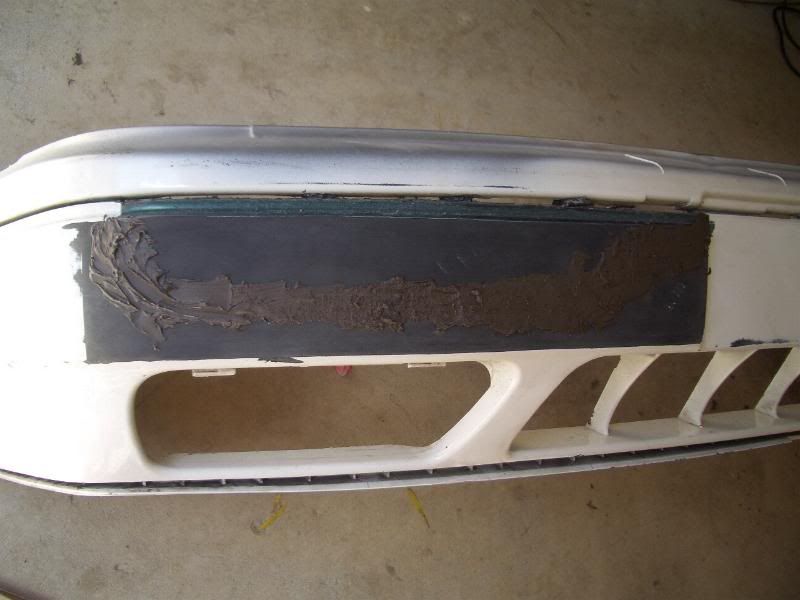
Did the filling with Isopon's Bumper Fill too. Very easy to work with, but very quick to set. Once it does though, it's very soft. The sander made light work of it.


I used a whole lot of it at first but manage to sand down pretty much 80% of it.

Also bought the engraver bit for the dremel and tried to make the indent. Did a very bodgy job but it looks OK. I couldn't be fucked with it at the end so I just quickly did another layer of filler to go over any indented spots. Towards the evening, I sprayed a few coats of satin black paint over. I will be wet-sanding to try and get an even finish (the finish right now is quite shitty). It looks quite rat-stylz right now :P

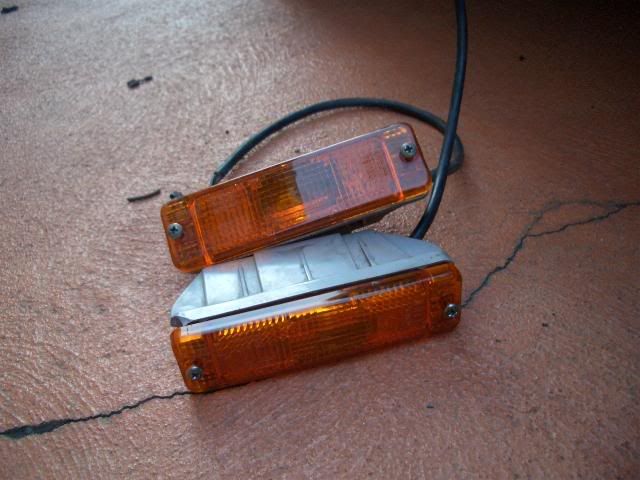
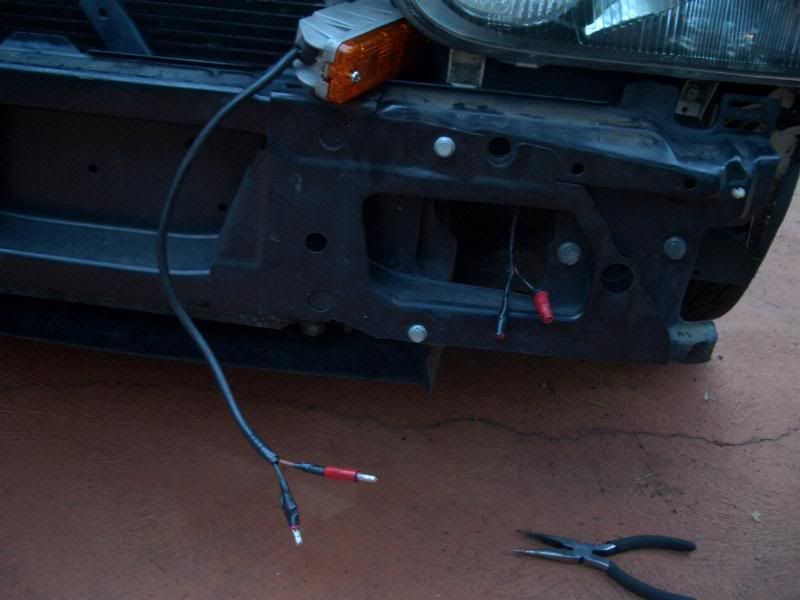
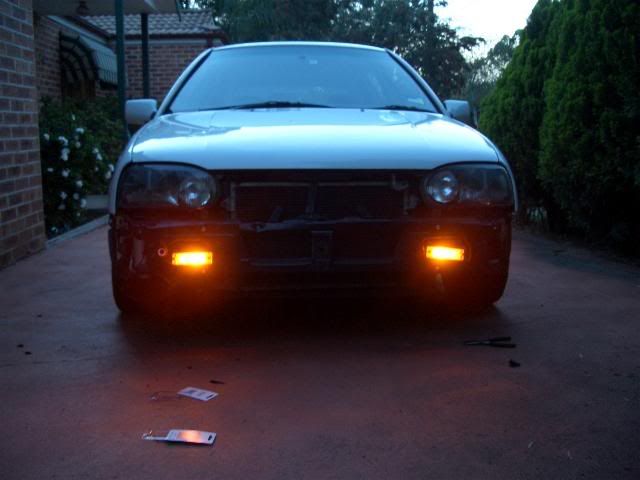
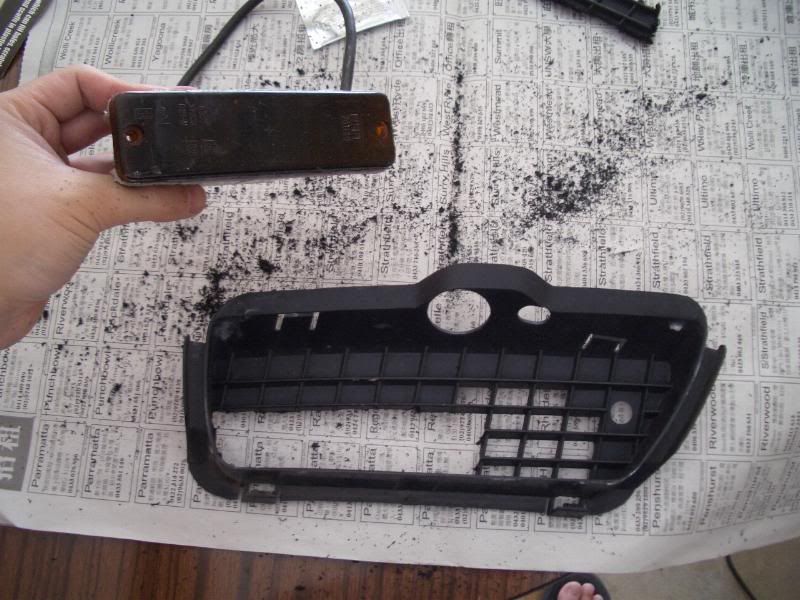
I also did the front indicators. I've done the wiring - basically just crimped the ends and did a test, and they work fine. I've since taken apart the lights (they're Mk1 front bumper indicator items) and cleaned the insides ready for proper sealing - they were originally "sealed" by rubber insulation. Also tinted the lens - they look much better than the clear side indicators. Leaves me here thinking that I should just ditch them and tint the stock ones.

Hate anything to do with wiring...

Oh yeah.
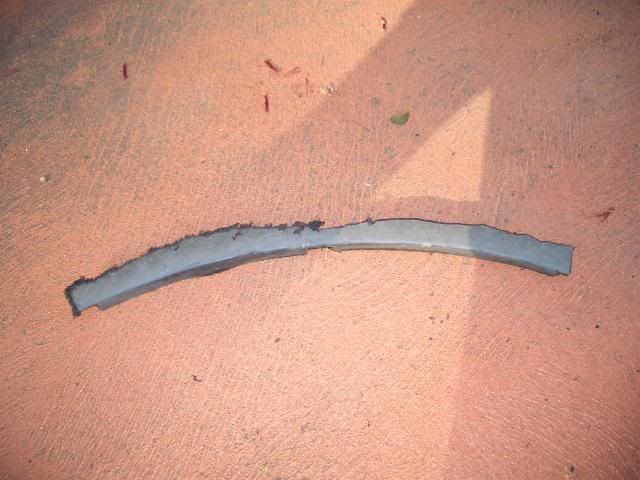
Managed to trim the lower duct trim today and get the indicators to fit. I cut holes on the far lower corner of each duct. With a few adjustments with the dremel, I managed to get the indicators to fit through and fit rather snugly in the ducts. I'll definitely need to hold them tightly though.

Much like the front bumper, I couldn't be fucked doing a proper job... I'm thinking of just using zip ties to hold the indicator down to the duct. I won't be able to use screws so the screw holes can be put to "good use".

Once I've wet-sanded and sprayed on another few layers of black on, I'll be able to fit the lower duct trim and indicators on and head down to the garage with the fender roller.

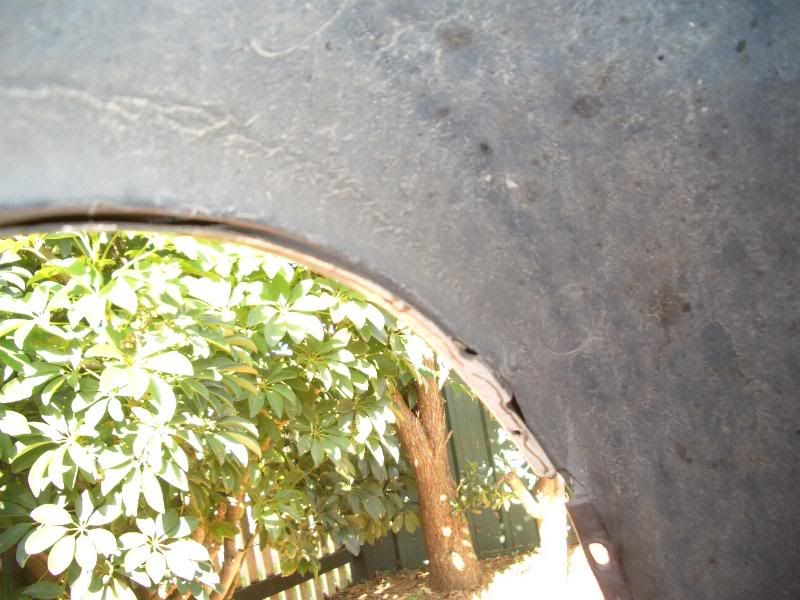
I jacked the car up to modify the inner guard linings as well. To my relief, only the fronts have a guard liner - the rears can be rolled as they are. Anyway, check out the DIY for what I did.

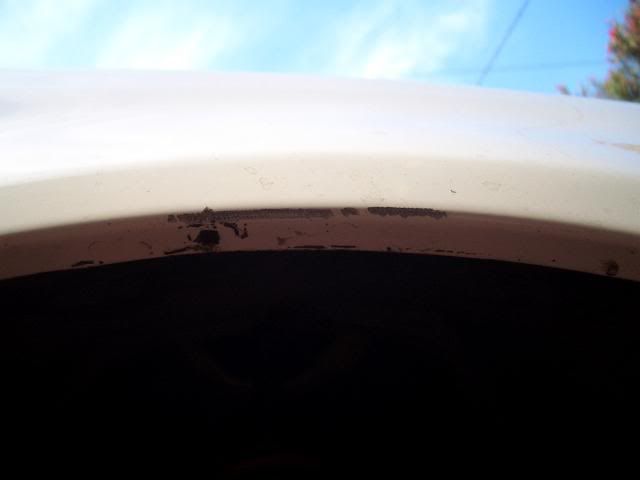
I inadvertently hit the paint work with the dremel on one of the fenders :( The mark is about two inches long, showing bare metal. It's right on the lip too. I'll have to touch it up after the rolling...

Tuesday update:

Painted the bumper - looks bad :( Not because it's black, it's just that I didn't do a good job at all with the sanding and filling. Looks really rat-stylez right now actually haha. Also painted the front indicator surrounds and lower duct trim while I was at it.

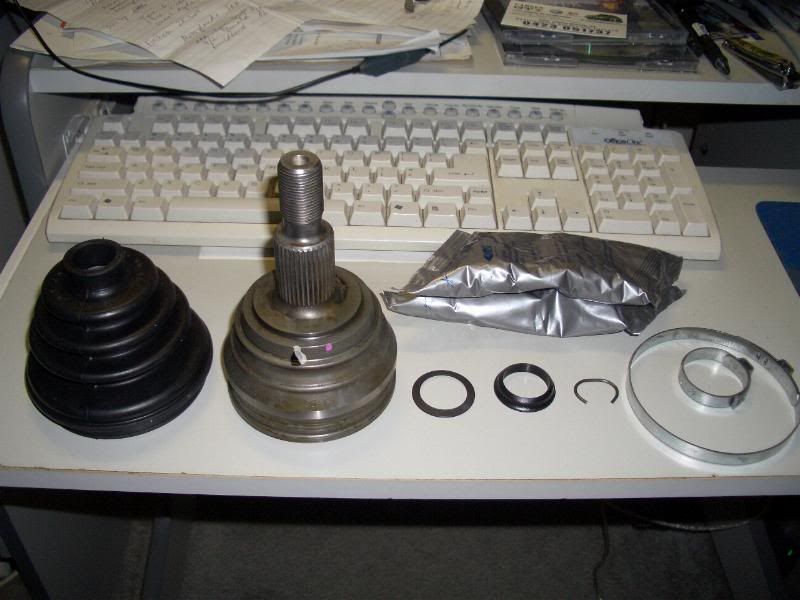
Went to UpGarage to get the fenders rolled too - $150. Also dropped by at Matt's to get the CV joints.

As referred to by Matt, I also went to Super Cheap for some DOT4 brake fluid - got some "Castrol Response Super DOT4". They had the "Advanced" version and it was $2.00 cheaper, so I just opted for this one. Also got this "one-man" brake bleeder kit.

Let's hope all goes well tomorrow! My goal is just to get two done (front two) and finish it off on Thursday. Then I can spend all Friday finishing up my rear bumper ready for Flat Fours. I'm not gonna overly rush that one though.

Oh, and pics of the car as of now:

Sunday, 28 October 2007

DIY: Fender rolling for Mk3 vehicles.

More of a fender rolling prep than the actual process, but here it is nonetheless.

Aim:
  • To remove sections of the front guard liner under the fenders in preparation for fender rolling.
  • Fender rolling involves folding the lip of the fender, effectively allowing more room for a wheel to fit under.
Materials:
  • Dremel (with a cutter bit)
  • Marker
  • Heat gun
  • Fender roller equipment
Safety:
  • WORK ON LEVEL GROUND. Don't make things difficult for yourself.
  • Use a hydraulic jack, or a scissor-type if you don't have one. Don't risk using the widow-maker.
  • Use STANDS. Don't work under a car with just a jack supporting it. You might think it's unlikely, but they can fail, and when they do, you'll be FUBAR'ed.
  • Chock the wheels so there's no room for your vehicle to move. Cars are known to roll off jacks or stands in unusual circumstances and this will also get your FUBAR'ed if you're working under the car. There's a very high chance of this happening if you don't heed the first safety point.
  • Wear gloves, face protection, ear muffs and work under shelter. You'll be working with a dremel up close and there will be falling debris. There's also awesome acoustics under the guards, and you'll find yourself going deaf with your head in there. Also, the sun will affect your vision too. I found out when I started doing this during the afternoon and I had to the car facing west :P
Procedure:
  1. SAFETY! Make sure the hand-brake is on, chock the rear wheels (give just a little room for the car to lift up), loosen the wheel bolts, jack the front-end of the car up, place it on stands, take the wheels off and wear your gear.

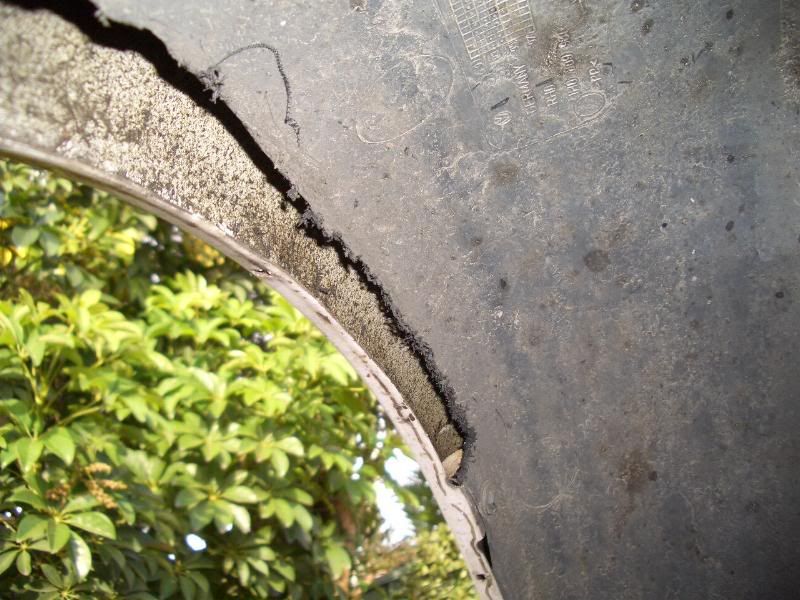
  2. Look under the fender. Along the length of the arch of the fender, you will see four bolts around the edge - one located near the jack sills, one located near the bumper-to-guard bolt, and the other two bolts between these. Let's focus on those two.

    The lip of the guard between these two bolts will usually be the part of the fender that a wide wheel will come in contact with. We won't have to take these bolts out - instead, this is where we will commence our cuts.

  3. Make a marking about 1cm away from the bolt. Cut perpendicular to the lip, making sure you don't come in contact with the metal. Do this for the other bolt.

    There's a slight fold about an inch from the lip - this is where I made the parallel cut from bolt to bolt.

    My cutting wasn't very straight but as long as there's enough room for the lip to roll over, you'll be fine.

  4. Repeat for other side.

  5. Follow the instructions of your fender roller and go crazy. Remember to use a heat gun to warm the panel first before doing any rolling.
Notes:
  • The DIY is only applicable for the front two fenders - the rears don't have a guard liner.
  • Before rolling both front and rear fenders, remember to clean the inside of the lip thoroughly so there's no debris - anything residing in there can lead to a thicker fold, or worse yet, dents on your panels.
  • Use the dremel slowly and carefully. I inadvertently hit the paintwork of my fenders.

    Don't say I didn't warn you :(
Today I'm getting them rolled. Will show final pics when I get them.

Thursday, 18 October 2007

Temporary update - midweek bump!

Just procrastinating on my Uni work so chucking up a few pics on what's been happening.

Also received new clear side indicators and bought tinting paint. Smoked the clear sides to get a more consistent smoked finish as opposed to the JOM items I had before. Light quality is shit as and it doesn't look good at all when it blinks :( Should have stuck with the JOM items and just de-ambered the cap. I'll probably just tint the stock ambers too to see how that looks. If it gets rid of the amber look when it's not blinking, then I'm happy.

Update #2
Went tyre shopping today. I first told myself what size I wanted (originally it was 195/45R16 and 205/45R16, but have since settled with the only the former), then went about researching what tyres came in that size. It's a very uncommon size (how many 16x6/16x6.5 wheels do you usually see?!) but I was still spoilt for choice. I then set about looking for dealers stocking these wheels, and stuck with a shop that was reasonably close to where I live. Here's the tyres I came up with:
Toyo Proxes T1R (~$165/each)
- 195/45R16 80V
Yokohama S-Drive AS01 (~$225/each)
- 195/45R16 84W
Goodyear Eagle F1 GS-D3 (~$300/each)
- 195/45R16 94V
Goodyear Eagle LS2000 (discontinued?)
- 195/45ZR16 80ZR
Dunlop SP Sport 9000 (~$350/each)
- 195/45R16 80V
Falken ZE329 (~$179/each)
- 195/45R16 84W XL
- 195/45R16 80W
Continental SportContact
- 195/45R16 84V XL
Event WL905 (from Continental website)
- 195/45R16 84W XL
Hankook Ventus K102
- 195/45R16 84V XL
Michelin Pilot Primacy
- 195/45R16 80V
Nankang NS-2 (~$139/each)
- 195/45R16 84V XL
Pirelli PZero Nero
- 195/45R16 84V
- 195/45ZR16 84W
They're not very wallet-friendly those prices :( Though I was pleasantly surprised that Beaurepaires was able to do Nankangs for only $139/each and Blair's Tyres for their Toyo T1R at $165 a pop. However, out of all those shops, only Beaurepaires was willing to stretch them on an 8" wheel, and he didn't care about fitting them onto a car with adapters (others were a bit iffy on the legal issues involved). Service was much better overall at Beaurepaires too. What I'm thinking of doing is going to Blair's to purchase the set of Toyo T1Rs, then going to Beaurepaires for the fitting and balancing, and the alignment. It will cost extra, but it'll be the difference between a well-known/respected tyre and an entry-level, no-name tyre. However, that said, I'm willing to "risk" (if you can even call that) trying the Nankangs purely because of my financial situation. I'm pretty sure I'll be able to afford better tyres (eye-balling SP9000) once the Nankangs are worn out since I should have a full-time job by then (hopefully). It'll be the only chance I try out some high performance but cheap tyres.

Anyway, pics of the two contending tyres:

Toyo T1R
Nankang NS2

Also gave Matt a call today. My VR6 brakes actually need VR6 CV joints in order for them to be able to bolt on. Matt quotes ~$100 per side, so shouldn't be too bad. Planning on doing it myself too. Matt quotes ~$350 for the labour if I give it to him. I'm gonna give it a go though. Also, I'll be picking up new brake fluid from him for $25/L.

I still gotta dremel the guard liners dremelled so they can be rolled too... Hopefully I'll have that done by end of Sunday so I can get the fenders rolled on Monday, then start work on the brakes. I'm aiming for it to be done by Friday so I can take it out to the Flat Four Shootout on the next Sunday (4th November)!

Update #3:
OK I ended up ordering the Nankangs. They only have THREE 195/45R16 tyres in the country at the moment so I settled for a pair of 195/45R16 for the front 7", and a pair of 205/40R16 for the rear 8". The stretch would be minimal on the wheels but it should be OK as my offsets aren't crazy low. $139/each so should cost me ~$550 all up for the tyres. Will be paying and getting them mounted tomorrow. w00t.

Update #4:
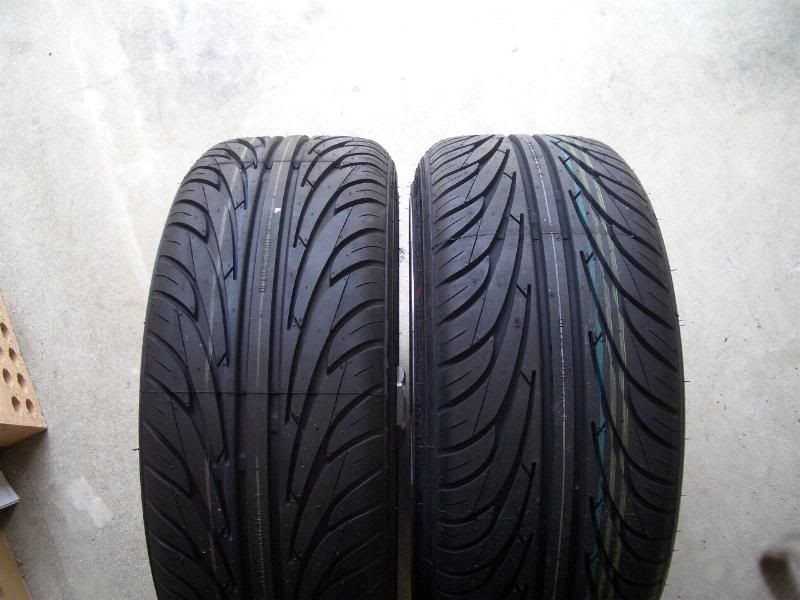
Matt will have the CV joints ready on Monday, fender guards will be trimmed on Sunday and fenders will be rolled on Monday, bumpers should be ready by next week (I've taken far too long), and hopefully VR6 brakes will be too. Nankangs came on Thursday so I had them fitted straight away. Disappointed with the 195 on 7", but content with the 205 on 8".

195 on 7":


205 on 8":
Comparison between the two:

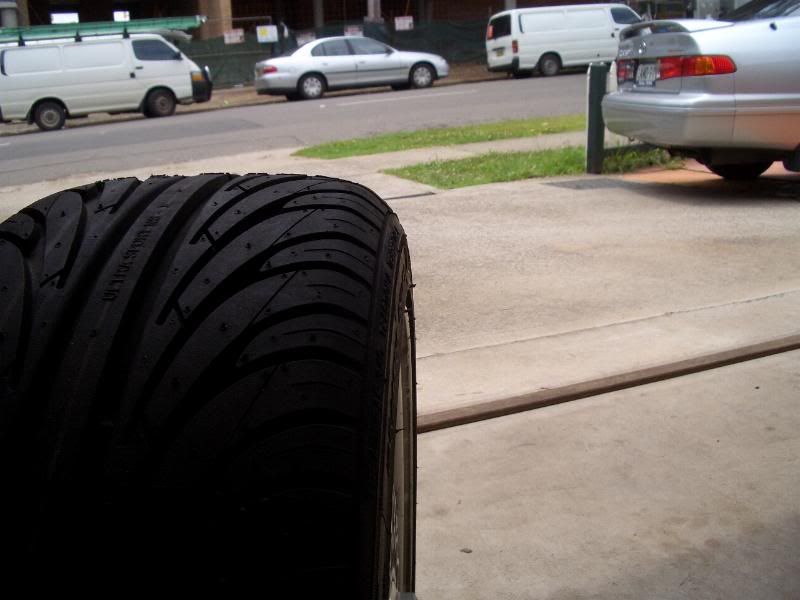
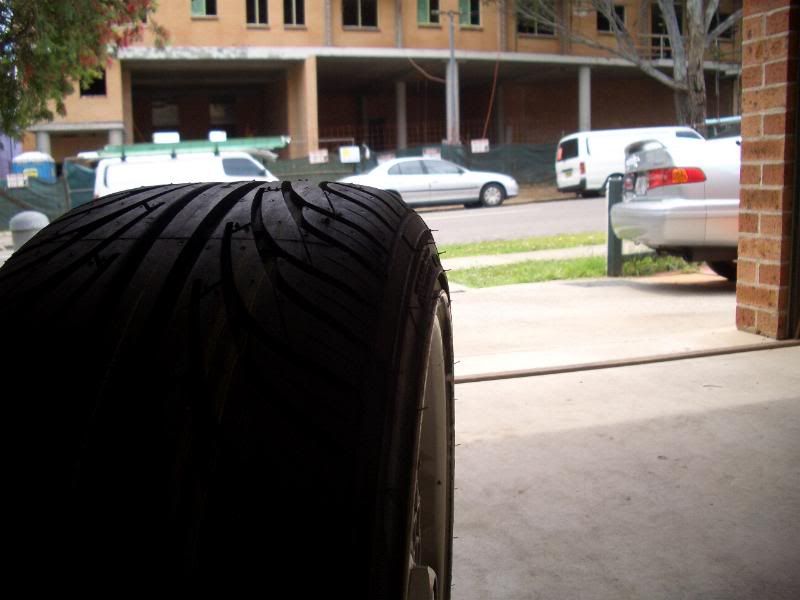
Difference in rolling diameter (closer one being 205/40):


As you can see, hardly any stretch. I'm having doubts about the fronts fitting :( I guess I'll only know when I fit them on.