
Aim:
- To remove sections of the front guard liner under the fenders in preparation for fender rolling.
- Fender rolling involves folding the lip of the fender, effectively allowing more room for a wheel to fit under.
- Dremel (with a cutter bit)
- Marker
- Heat gun
- Fender roller equipment
- WORK ON LEVEL GROUND. Don't make things difficult for yourself.
- Use a hydraulic jack, or a scissor-type if you don't have one. Don't risk using the widow-maker.
- Use STANDS. Don't work under a car with just a jack supporting it. You might think it's unlikely, but they can fail, and when they do, you'll be FUBAR'ed.
- Chock the wheels so there's no room for your vehicle to move. Cars are known to roll off jacks or stands in unusual circumstances and this will also get your FUBAR'ed if you're working under the car. There's a very high chance of this happening if you don't heed the first safety point.
- Wear gloves, face protection, ear muffs and work under shelter. You'll be working with a dremel up close and there will be falling debris. There's also awesome acoustics under the guards, and you'll find yourself going deaf with your head in there. Also, the sun will affect your vision too. I found out when I started doing this during the afternoon and I had to the car facing west :P
- SAFETY! Make sure the hand-brake is on, chock the rear wheels (give just a little room for the car to lift up), loosen the wheel bolts, jack the front-end of the car up, place it on stands, take the wheels off and wear your gear.
- Look under the fender. Along the length of the arch of the fender, you will see four bolts around the edge - one located near the jack sills, one located near the bumper-to-guard bolt, and the other two bolts between these. Let's focus on those two.
The lip of the guard between these two bolts will usually be the part of the fender that a wide wheel will come in contact with. We won't have to take these bolts out - instead, this is where we will commence our cuts.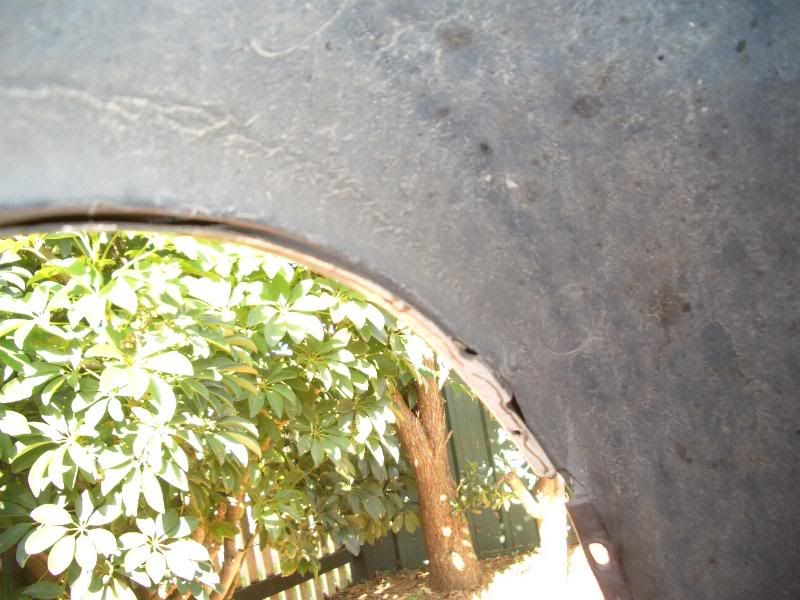
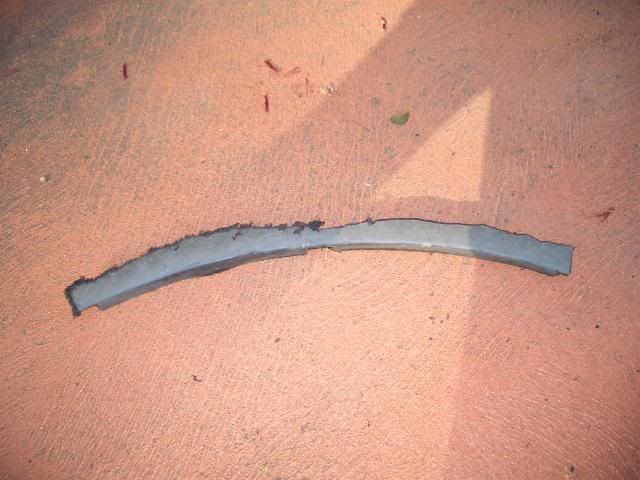
- Make a marking about 1cm away from the bolt. Cut perpendicular to the lip, making sure you don't come in contact with the metal. Do this for the other bolt.
There's a slight fold about an inch from the lip - this is where I made the parallel cut from bolt to bolt. My cutting wasn't very straight but as long as there's enough room for the lip to roll over, you'll be fine.
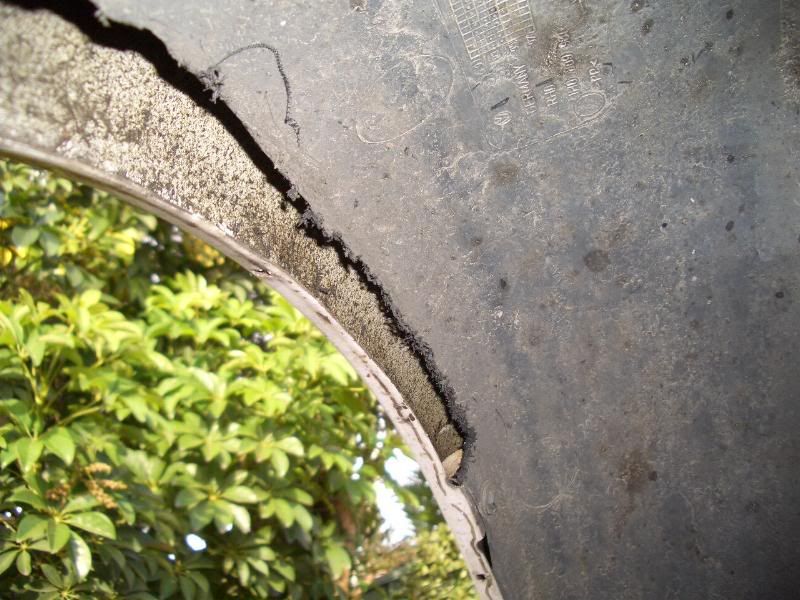
- Repeat for other side.
- Follow the instructions of your fender roller and go crazy. Remember to use a heat gun to warm the panel first before doing any rolling.
- The DIY is only applicable for the front two fenders - the rears don't have a guard liner.
- Before rolling both front and rear fenders, remember to clean the inside of the lip thoroughly so there's no debris - anything residing in there can lead to a thicker fold, or worse yet, dents on your panels.
- Use the dremel slowly and carefully. I inadvertently hit the paintwork of my fenders.
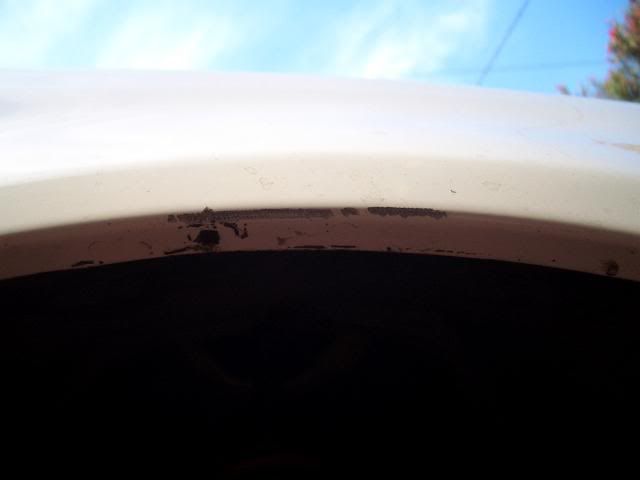 Don't say I didn't warn you :(
2 comments:
viagra covered by insurance where to buy viagra generic viagra cheap does viagra really work india viagra cialis vicodin viagra rrp australia cost cost of viagra viagra benefits mexico viagra bought viagra fuerteventura viagra and hearing loss effects of viagra on women fda on viagra viagra buy
i really need some viagra insurance ray ray :P
thestu
Post a Comment