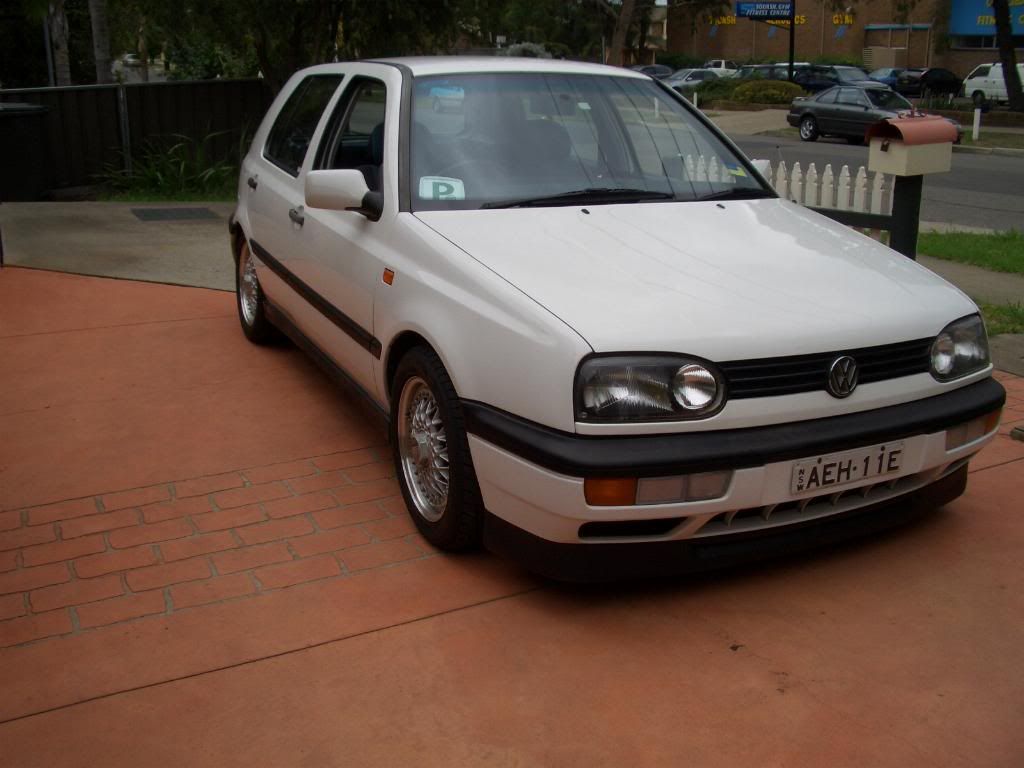
Mk3Love

Thanks for dropping by my blog.

Just thought I chuck in a link here for those that love what my Golf is about, and why I'm so obsessively into it.


Thursday, 22 March 2007

Debadged emblem

Finished uni early today, and my hands began to itch. Need my dose of modding!

I've been doing so many small things to the car lately that it makes me think, there's so many modifications that you can do to make it "your own". While many are inspirations from other cars, some you can manage to "fabricate" yourself either from imagination and your creativity, or just by good ole' fashioned experimenting. Now, I can say that all my mods are based on drawing inspirations from other Mk3's, but I'm hoping to contribute some time with my own "unique" mod. Given the amount of creativity (or lack thereof) I have in me, this will take a long time and a lot of thinking, but I reckon there would come a day!

Anyway, here's how I did the debadging. Note that the original emblem was stuck on with adhesive.
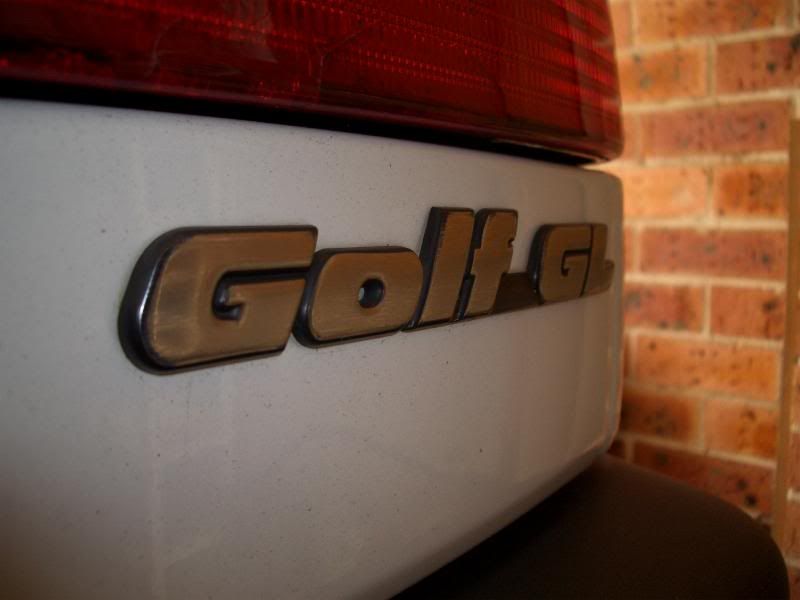

Materials needed:
  • Dental floss (or fishing lines)
  • Two strong twigs (I'll explain later :P)
  • Goof Off (or any remover that's safe to use on paints)
  • Rags
  • Heat gun (I used a blow dryer)
  • Detailing products (helps with getting a clean finish)
  • Bucket of water
Procedure:
  1. Tie the ends of some dental floss to two twigs. It felt like I was gonna slice my fingers in half from the way I tried to secure a grip on the dental floss.
  2. Heat around the emblem sparingly. Softens up the adhesive so it's more easy to manipulate.
  3. Start "cutting" with the floss, taking it slowly but with enough force to slice through the adhesive. Repeat step 2 every once in a while.
  4. Once completely off, the adhesive backing may still be attached (they used double-sided tape for this). Simply use your nails to gently lift it off and peel the rest of the backing off. Leave tiny fragments, the next step will take care of them.
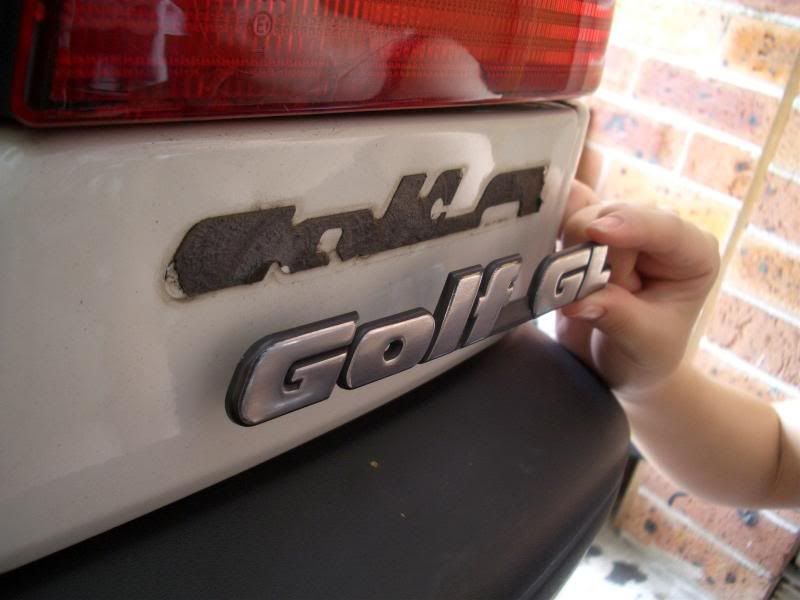
  5. Using Goof Off, spray onto a small area of a rag, and work on the stubborn adhesives that are still left on the car.
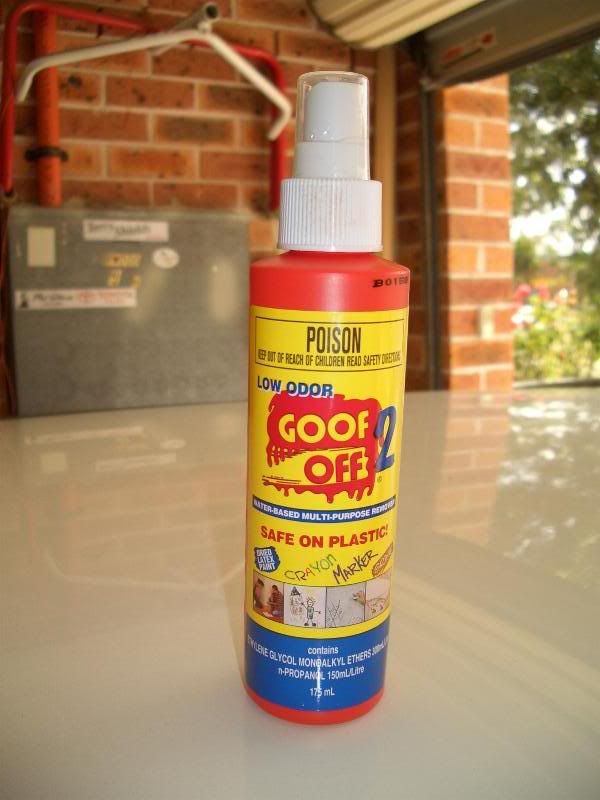
  6. Once done, rinse off any remaining Goof Off with a different rag soaked in water.
  7. Wash car or just the debadged area followed by a wax. If you want, clay then polish the debadged area before you wax. Remember that that specific area has not been exposed to the elements before, and so proper paint protection methods should be undertaken to keep the area looking tip top.
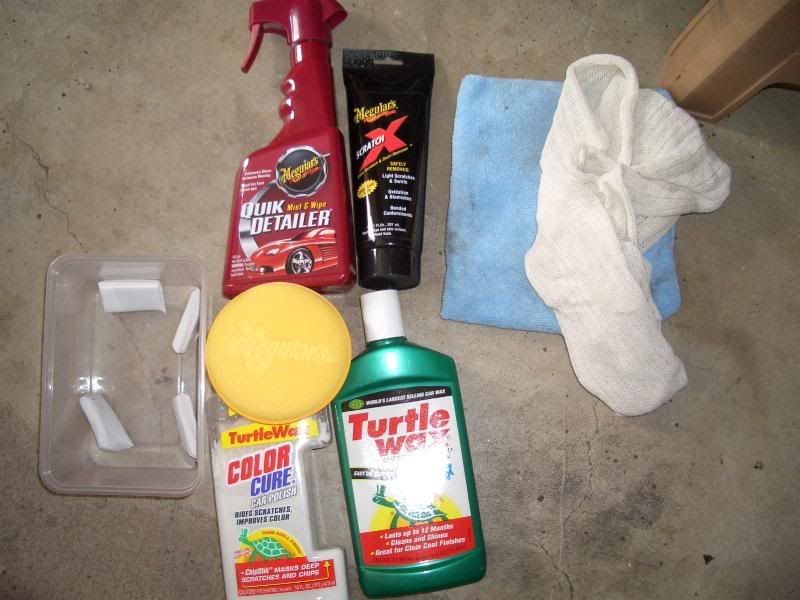
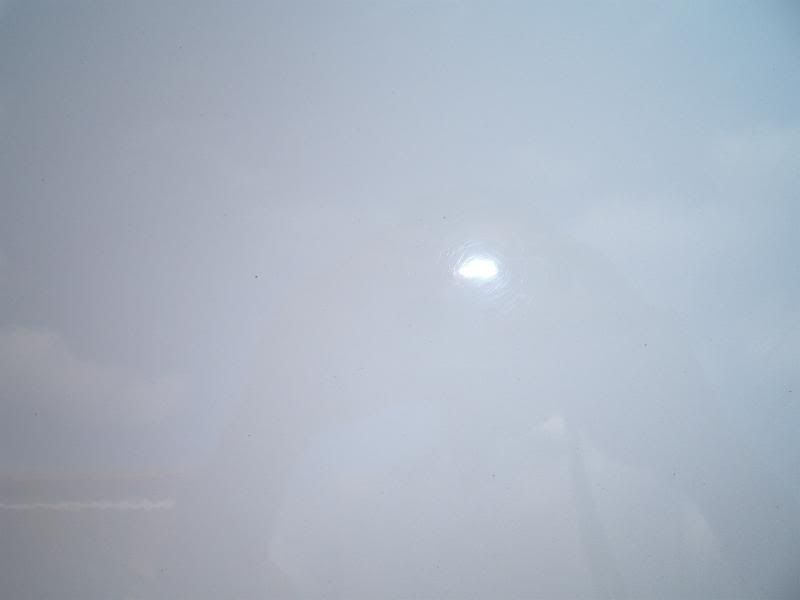
I ended up washing the both rear quarter panels, followed by claying, then application of Meguiar's ScratchX, polish, then finally wax. After hearing good reviews about claying for removal of contaminants and ScratchX for light scratches and swirl marks, I decided to have a go at it. It took me nearly 3 hours just to do those 2 panels, but I admit that I was taking things extremely slowly, working small section at a time.

Both products - the clay bar and ScratchX - worked not as well as I first expected. While claying took out a lot of surface contaminants, the fact that I used it for the first time on the car since it came out of factory 11 years ago meant that a lot of contaminants have embedded into the clear coat. A lot (what remained after the car wash) of the contaminants still remained, with some superficial/obvious contaminants (e.g. fingerprints, stains, semi-embedded contaminants that can be felt by stroking the panel etc.) able to be lifted off effortless with the clay bar. You can actually see impurities being picked up by the clay, but you could unfortunately still see some specks still on the panel that the clay bar failed to pick up. Overall, it is an easy to use product. It came with a "Quik Detailer" spray that greatly helps the movement of the clay on the car panel, making it very smooth. Without it was extremely hard to use and the clay would not glide at all; instead, it would "scrape" along the panel, as if inducing its own scratches. However, I could not located any new scratches that claying may have caused (the only scratches I had were swirl marks - I glided the clay bar up and down).

Next was ScratchX - a fairly easy product to use, in that it goes on and buffs off like you would with a polish or wax. I bought some Meguiar applicator pads to go with the ScratchX, and it was pretty much a matter of applying the ScratchX until it was no longer "wet", then buffing it off with a clean microfibre cloth. From what I could see, it reduced the "moderate" swirl marks to "light" swirl marks, but didn't completely take them out. I was expecting it to have a super clear finish, but I guess it was just a cheap off-the-shelf product. After the polish and wax, the paint did look much more revitalised, with less visible contaminant and stains when looking at 1 metre away. It's only when you look up close that there are still contaminants lying around.

Here are before & after pics:
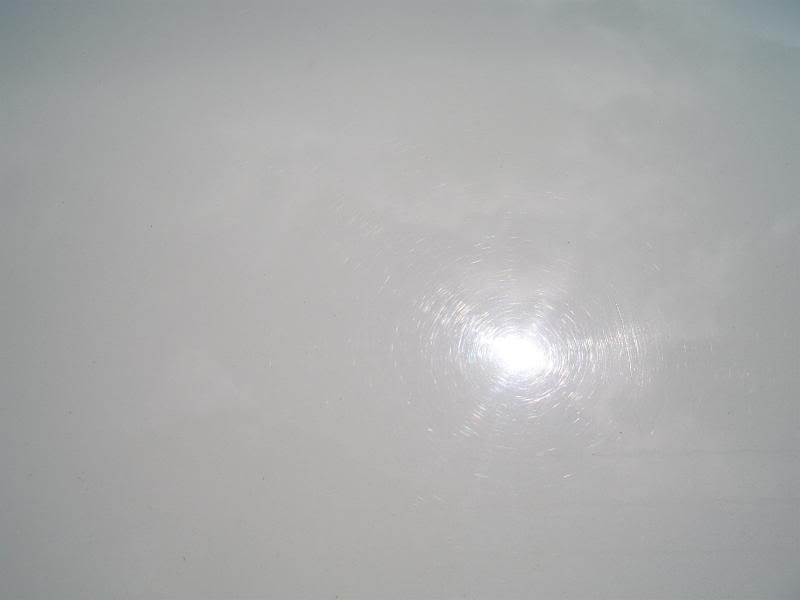

The hatch has A LOT of contaminants, so I'm excited about working the clay bar on that. On the contrary, the bonnet has the most swirls, so I'm excited about using ScratchX on that. I'll slowly do all the panels of the body in the next two weeks to prepare for the VW Nationals, and I'll just do a car wash in the morning of the Nationals.

No pain, no gain.

Wednesday, 21 March 2007

Front badge "mod"

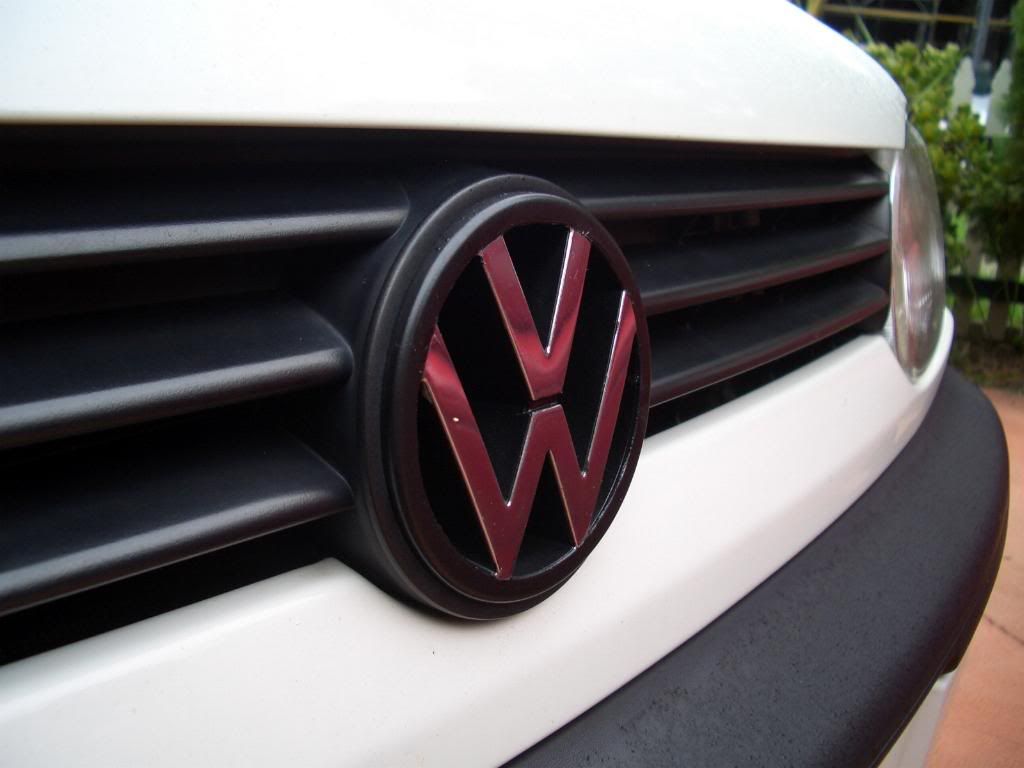
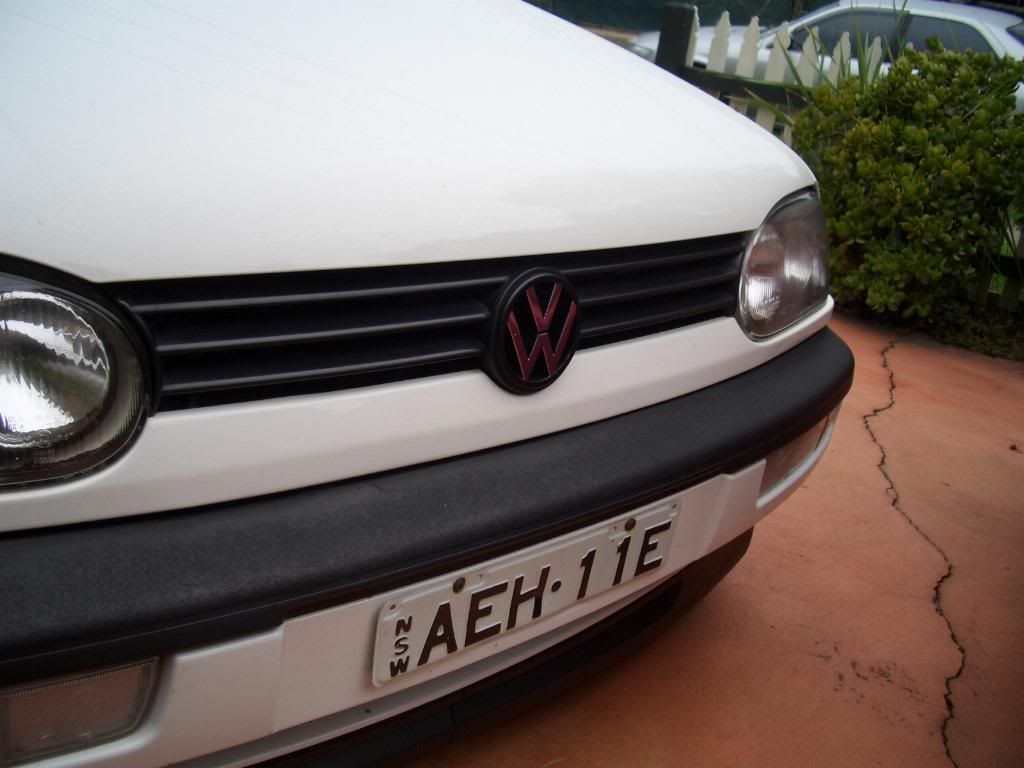
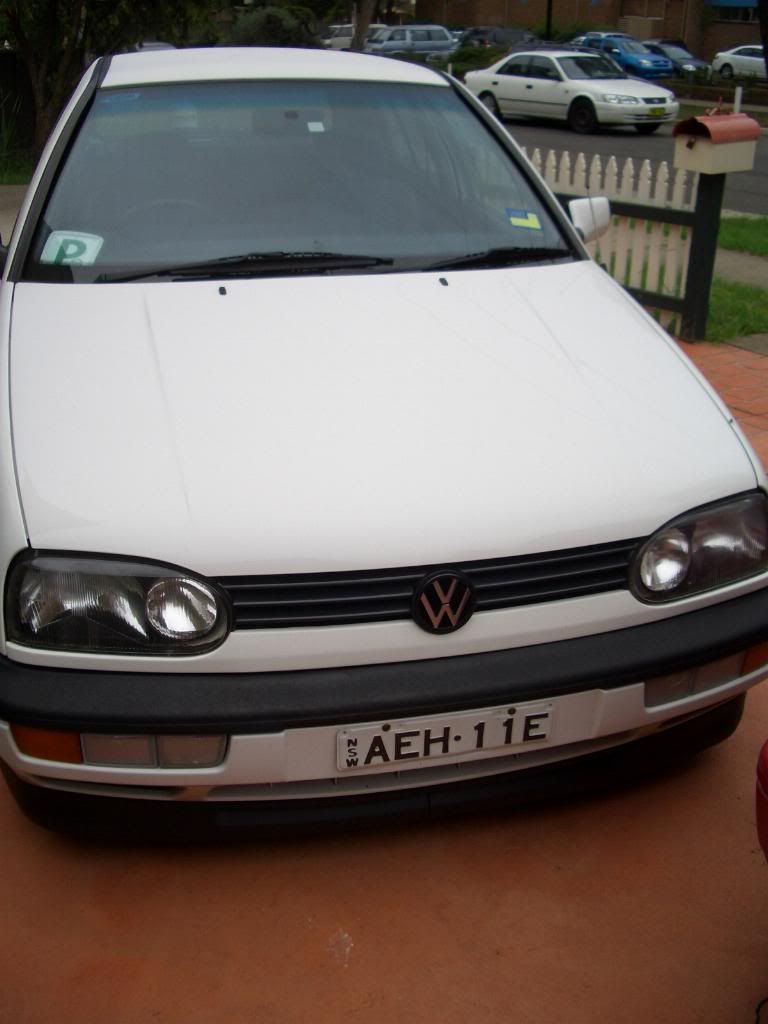
Felt bored one day so drawing inspiration from another Mk3, I decided to "mod" my front badge before I get a badgeless front grille. Basically I just resprayed a part of it black with some left over spray paint. It ended up being a more difficult job than expected (I mean c'mon, it's just spraying a small area black!) but it all came out good in the end.

Materials used:
  • Masking/painter's tape
  • Sandpaper (100/250/600/1000 grit)
  • Spray paint
  • Degreaser and acetone (dependent on your "skill" as a spray painter)
  • Cotton buds (dependent on your "skill" as a spray painter)
  • Your fingernails
  • Patience
Procedure:
  1. Remove front grille badge. It is easily popped off; a flathead is absolutely not necessary.
  2. Mask only the polished/chromed parts of the VW insignia. Leave the dull plastic on the insides and surrounding circle of the insignia.
  3. OK, so I wanted to do this properly. Using sandpaper (starting with the most coarse), sand the surrounding circle of the insignia until scratches look uniform all around. Continue with the higher grit sandpapers until you get a very smooth texture.
  4. Spray away. Try and get all the spots on the insides.
    Being the unprofessional spray painter that I am, I tried my best to get all the insides blacked out. That meant a lot of overspray and thick coats on the circular surrounding of the insignia. It looked ugly as shit. I ended up resanding the insignia until all the paint was off, then "properly" respray that part black.
  5. Let it dry before unpeeling the masking off.
  6. Once dry, peel masking. I don't know what happened with mine, but the adhesive on the tape stuck on to the VW insignia, leaving sticky, visibly yellow remnants. Being the adhesive, I carefully used some cotton buds tipped with degreaser to get rid of it. Many tries later, it came out looking clean again, and even made the insignia more shiny than before.
  7. With paint overspray (due to poor masking), use cotton buds tipped with acetone to stripped the paint out. Use liberally until overspray is gone. Also, on the edges of the insignia, you will see a thin indent. Using your finger nails, "cut" along this line to remove any "hidden" overspray. This definitely makes the badge look more "factory-like".
  8. Reattach back on to the grille.
  9. Marvel. :)
So there you have it. Here are the after pics:


Dare to be different.

Friday, 16 March 2007

Cup holder!

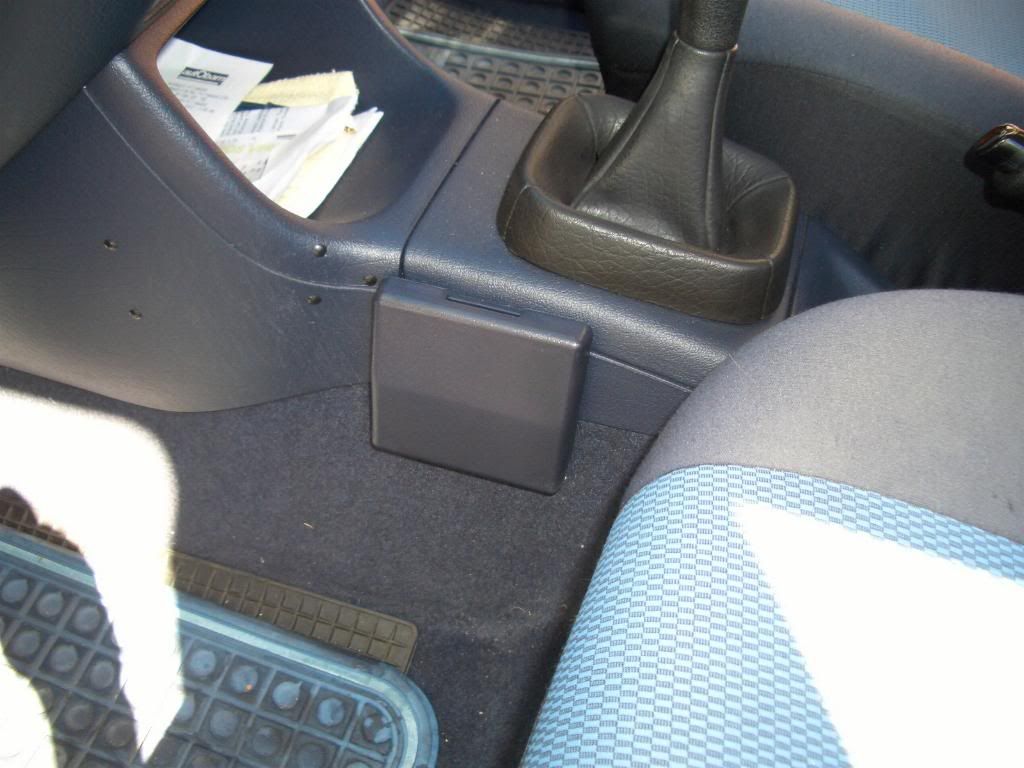
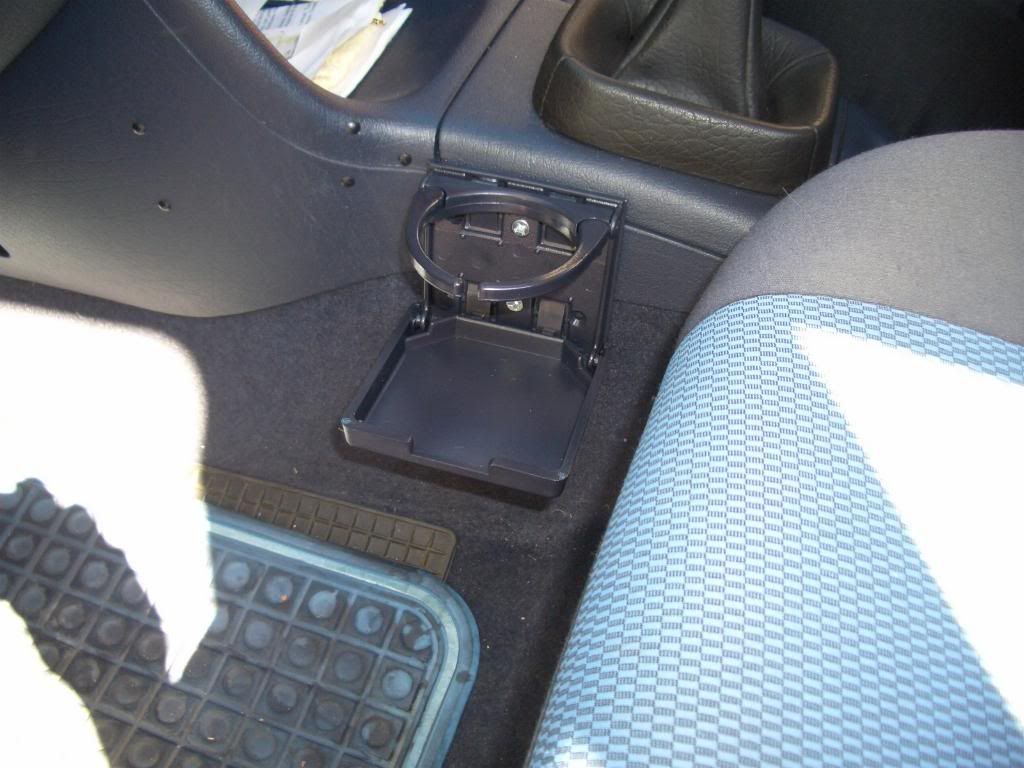
I bought a universal cup holder off eBay user mark1vws. It was installed in seconds and I'm very happy with the result! They say a picture tells a thousand words - how true that is :)


It's basically installed by two screws placed in the top and bottom centre of the wall plate. It holds well and feels very secure. All that was needed was a power drill and a marker to determine where to drill the holes.

The great thing about it is that it's navy blue too, so it matches my interior perfectly! It's also nifty in that I can fold it away when there's a passenger there. It seems fragile though, and a heavy knock to it coming from a stray leg may break it, so I'll have to be wary when I carry passengers. but on the plus side, now I don't have to panic everytime I have to drive with a cup/can wedged in between the seat and handbrake :)

More pics here.

Cheers!

airbox mod done!

i'm going to have to attribute/blame this mod on vwvortex. it feels like one of those "tex" mods that seem normal within those forums but totally weird to those uneducated to the ways of the watercooled dubber :)

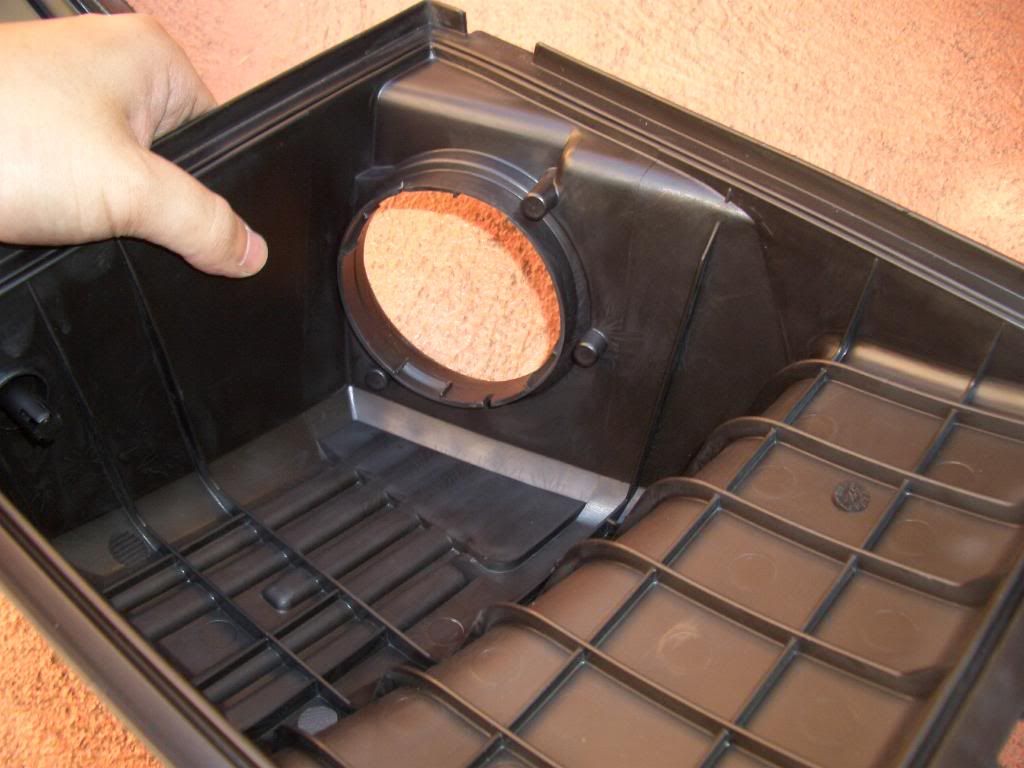
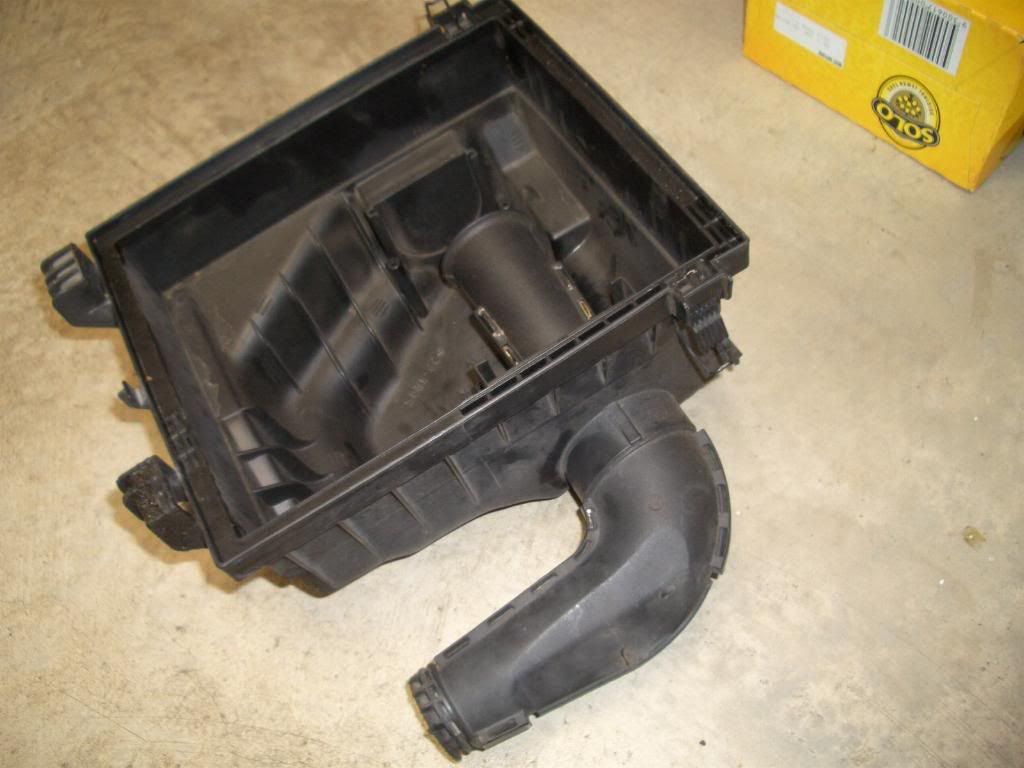
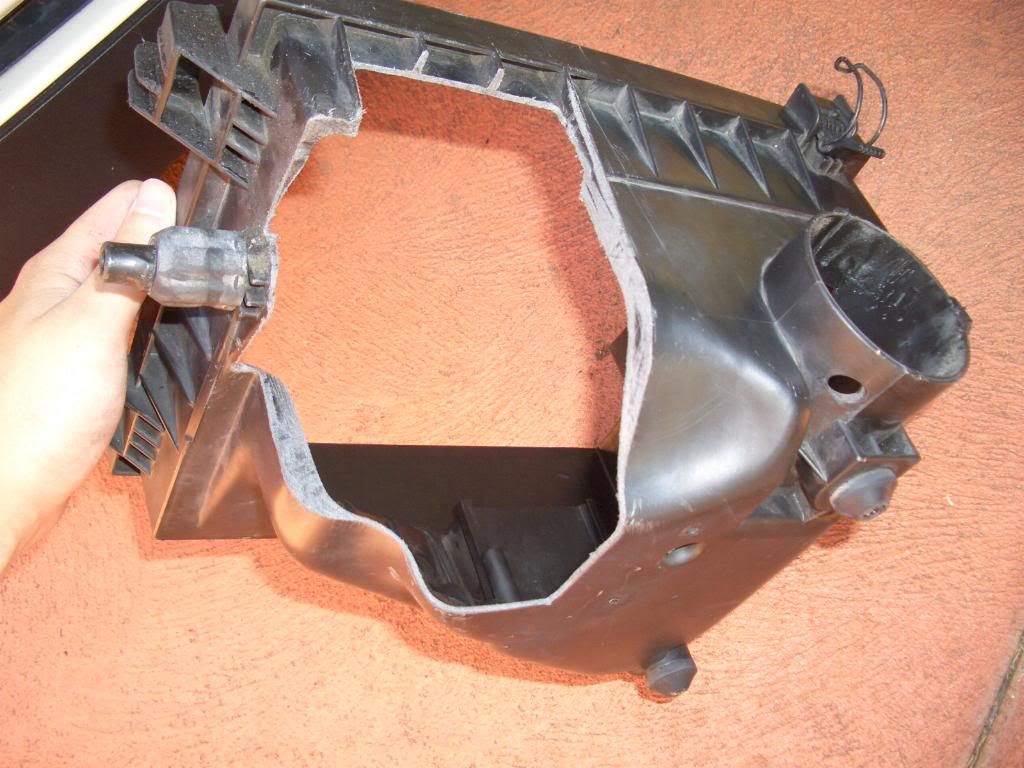
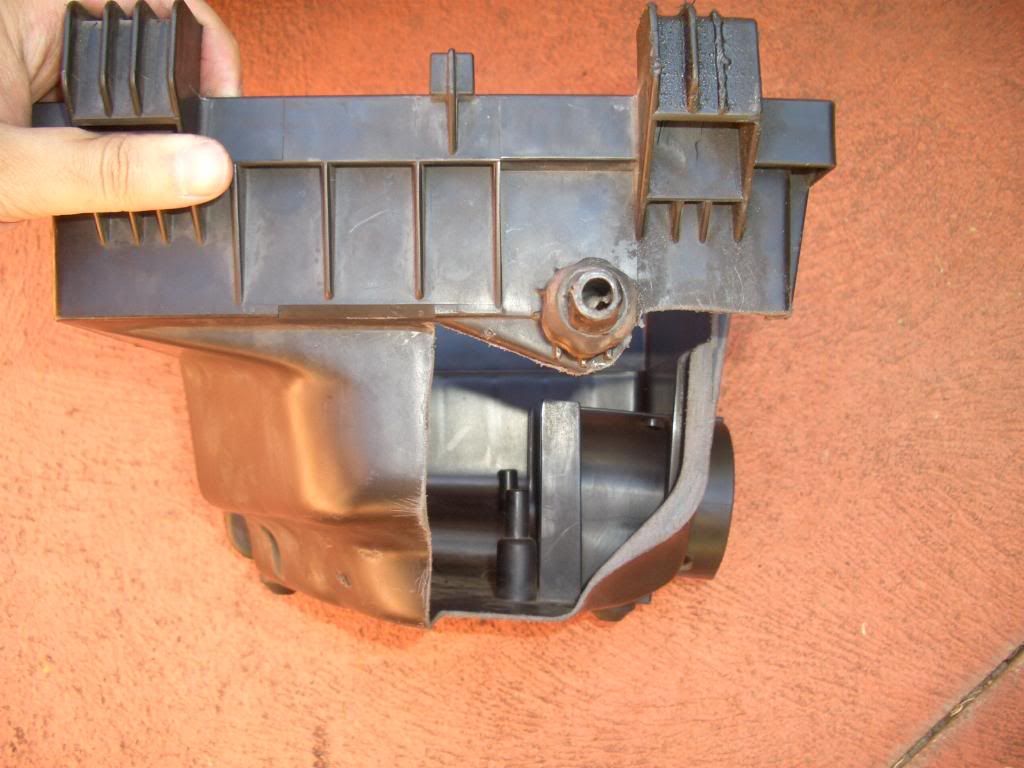
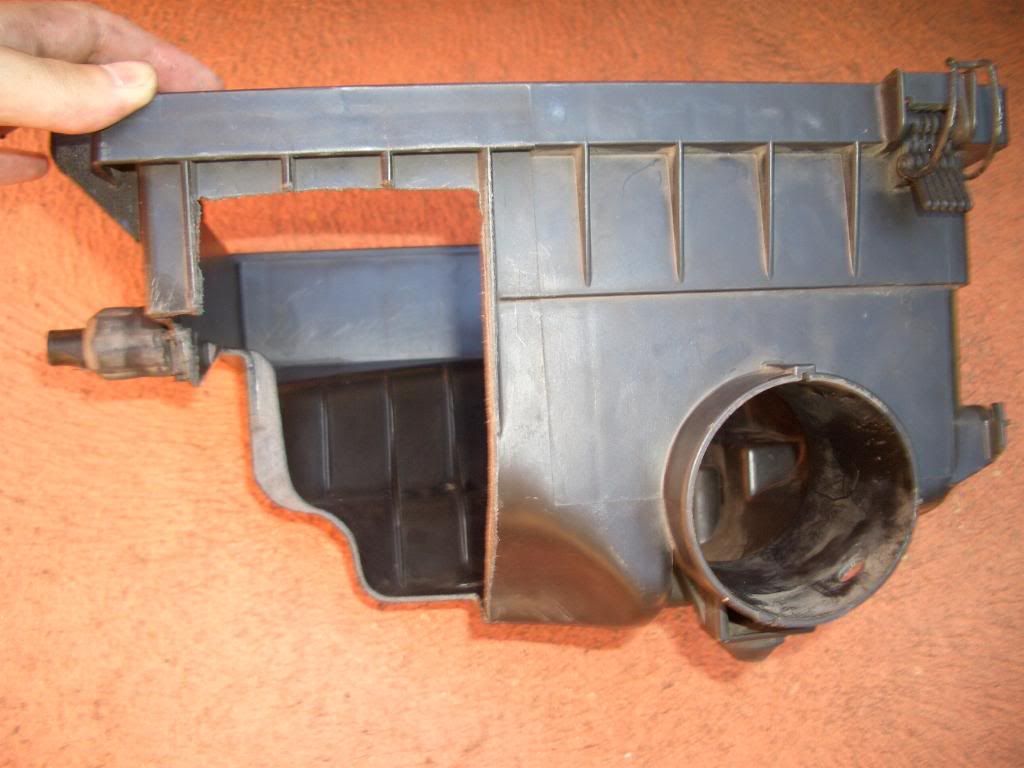
i managed to buy a second-hand airbox off Oliver so i can begin trying out this "swiss cheese" airbox mod that's quite prevalent in vwvortex. basically, you take the bottom half of the airbox out and make holes around it to allow more air in, effectively increasing the air-flow into the intake which should translate to some sort of improvement. i followed vwvortex member Breezy's set of DIY instructions when doing this as in my eyes, i thought this was the most effective/logical - instead of making many holes, he cuts out a whole section of the airbox out, pretty much opening it up. seeing as i haven't written a DIY for a while, i'll write my take on it (since the 2.0L 8V airbox is slightly different to the VR6 that is owned by Breezy.

tools/materials:
  • plier (adjustable plier may be required)
  • screw-driver
  • flathead
  • selley's supa glue (or equivalent)
  • 60/200/400 grit sandpaper
  • degreaser
  • mallet (not required but may help)
  • permanent marker + ruler
  • power drill
  • cutting tool (whatever you fancy; Breezy used a dremel, some other forum members used a sharp knife with a lighter handy, others drilled holes until a whole section can be cut out; i used a jigsaw cos i didn't have anything else in handy :P)
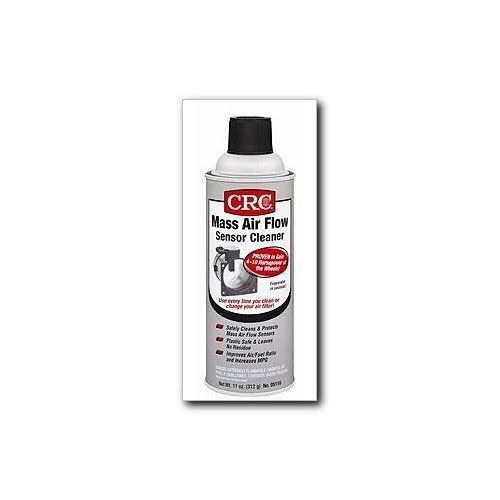
  • MAF sensor cleaner (e.g. CNC-brand; see below)
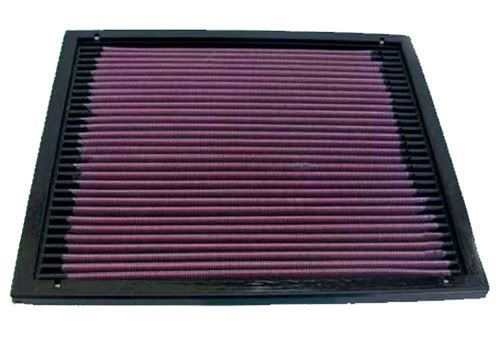
  • high-flow aftermarket panel filter (e.g. K&N; see below)
    (optional; you may want to wait it out until your current air filter is to be disposed if you want to get the most out of it, or you can just stick with standard air filters - up to you)
new products:
  • CNC MAF sensor cleaner (helps remove any impurities that may block the sensor, causing faults)

  • K&N filter (#33-2069 for most Mk3 Golf/vento/jetta)

procedure:
  1. as a cautionary step, unhook the negative terminal of the battery. we will be unhooking sensor plugs and will be removing the airbox + filter temporarily, so we don't want anyone accidently starting the car up.
  2. remove the air filter the way you normally do when servicing it: unclamp the hooks that hold the top half of the airbox. unclamp the intake hose that connects to the MAF unit of the airbox by using the pliers. release the connector attached to the top half of the airbox. remove top half of the airbox and carefully take the air filter out --> give it a thorough shake/superficial clean and leave it in a relatively clean/dustless area.
  3. unhook the two rubber elastic belt-looking things that hold the bottom half of the airbox in place (if it helps, they are facing the alternator). take out the airbox.
  4. remove top half of the airbox from the MAF unit by unscrewing the top screws (x 4).
  5. give the whole now-exposed engine bay area a thorough cleaning, using degreaser for hard to clean spots if required. cloth-dry or air-dry.
  6. let's look at the top airbox now - take out the large tubing that has the rubber seal on top (i.e. that faces the MAF unit). before:


    recover the rubber seal, and using supa glue, stick it in the same location to where it normally would be when the tubing is present to push it against the airbox. this is important as without it, there will be a sizable gap that will allow unfiltered air (even water) into the engine. after:

  7. moving on to the bottom half of the airbox - this is the hard part. attempt to take out the velocity stack inside and the J-tube outside of it. these two parts are actually one piece (two longitudinal halves) so the only way to take them out is to break them.

    it was extremely difficult to take them out without risking damage as the outside parts were both larger than the hole that separates the two. after half an hour or so, i ended up breaking the tabs inside of both tubes using a flathead so i could stretch and break them out. they're no longer needed anyway, but if you can remove it without breaking it, thumbs up to you. the mallet may come in handy to break those things to get easier access.
  8. now the fun part; the chopping! first off, using Breezy's modded box and mine in the pictures below, work out whereabouts to cut the airbox first. REMEMBER that you need to cut the airbox on the front fender side, i.e. the section furthest away from the engine.

    mark out neatly approximately the lines you will cut to make the section. using the power drill, drill multiple holes on the corners. keep in mind that i used the jigsaw, so i needed a starting point in order to wedge the cutting piece into place.
    with whatever cutting tool you use, be CAREFUL and proceed on slowly and with much caution. work your way around until the section is off.


  9. using sandpaper, smooth out the cut edges. it's quite important so as to ensure the air flow is as smooth as possible (this has already been disturbed after you cut the airbox, but you might as well make best with what you have).


  10. with that done, you've basically finished the bulk of the airbox mod. clean both halves of the airbox and the exposed engine bay area after taking the airbox out. cloth-dry or air-dry.
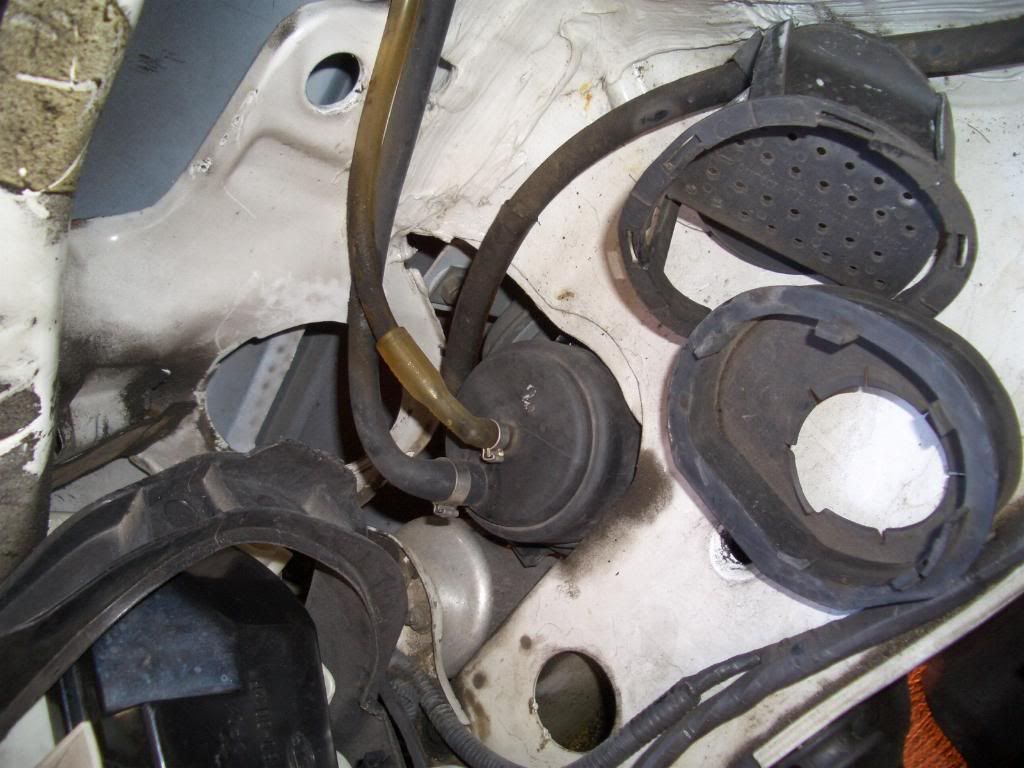
  11. while you wait, look for some plastic pieces towards the corner of the fender and headlight area. pull them out and you will reveal a pretty big hole. hopefully, this will be your source of "cold air".

    the above picture shows the two (useless) plastic pieces on the right, with the exposed hole in the middle left.
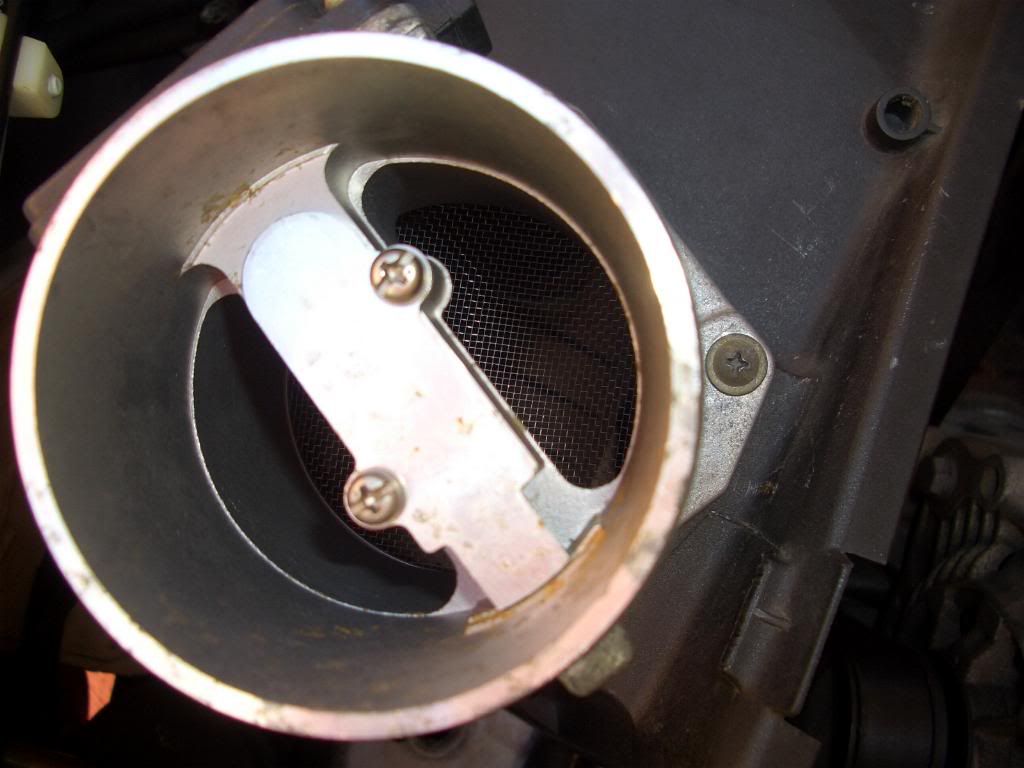
    in Breezy's DIY, he removes a mesh component of the MAF unit. looking at my MAF unit, it appears to be noticeably different to what he had:

    i took this pic when it was still attached to the airbox, but the mesh appears on the other side. it doesn't look like to be made of ABS plastic, like Breezy's, but looks more like the "fly-screen" type. removing it was not possible by just using minimal force, so i just kept it there. it didn't look as restrictive as what Breezy had though.
  12. clean your MAF sensor using the specialised MAF sensor cleaner. make sure to follow the instructions.
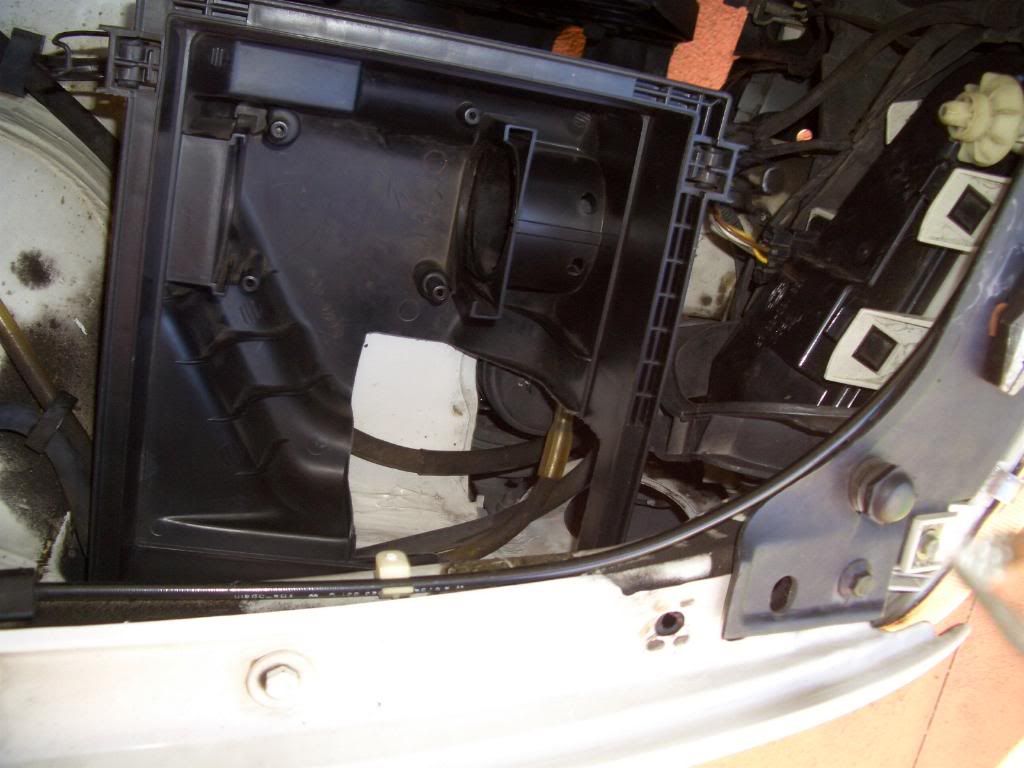
  13. once airbox and engine bay area has dried, place the bottom half of the airbox back into the same location. reattach using the rubber elastic belt thingies.


    those are the "after" pictures. check to see how the opened up fender hole meets the cut section of the airbox dead on, and that it is not facing the engine.
    replace the air filter back on - either use your current one or have a new one (preferably high-flow one).
    reattach the MAF unit to the top airbox using the four screws, and check for gaps. carefully replace the top half of the airbox onto the bottom half of the airbox, and make sure a secure fit is secured. reclamp the intake hose (may need adjustable pliers for this one) and the two airbox clips, and reattach the connector back onto the airbox.
  14. rehook the negative terminal of the battery, and start playing :)
note that this mod produces a deeper and louder air induction noise upon throttle. this is very apparent even with a standard air filter.

now for the obligatory claim - what you do with this guide is up to you. it is merely a guide and in no way am i claiming that this mod is 100% safe for your car. the steps you go through are solely your own responsibility. proceed with this mod in caution. but hey, it's not that bad of a mod :D

happy heavy foot-ing.

Monday, 12 March 2007

side skirts on

w000t they're finally on. got the dad to help out, and it ended up to be a breeze. the front end caps fit the rears nicely with a few adjustments. ends were screwed in and the bottom parts were also screwed in for secureness. i did a really bodgy job with the paint - they weren't as novice-friendly as the other spraypaint (i actually went for bumper spray rather than generic satin black this time) and locations where i oversprayed are easily seen. but that's not gonna make me re-sand and re-spray it again :P

finally completes the look i want, as much as textured parts are concerned.


http://i25.photobucket.com/albums/c67/rayray086/AEH-11E/CIMG5692.jpg
http://i25.photobucket.com/albums/c67/rayray086/AEH-11E/CIMG5687.jpg
http://i25.photobucket.com/albums/c67/rayray086/AEH-11E/CIMG5686.jpg

Sunday, 11 March 2007

GTG @ yarra bay !

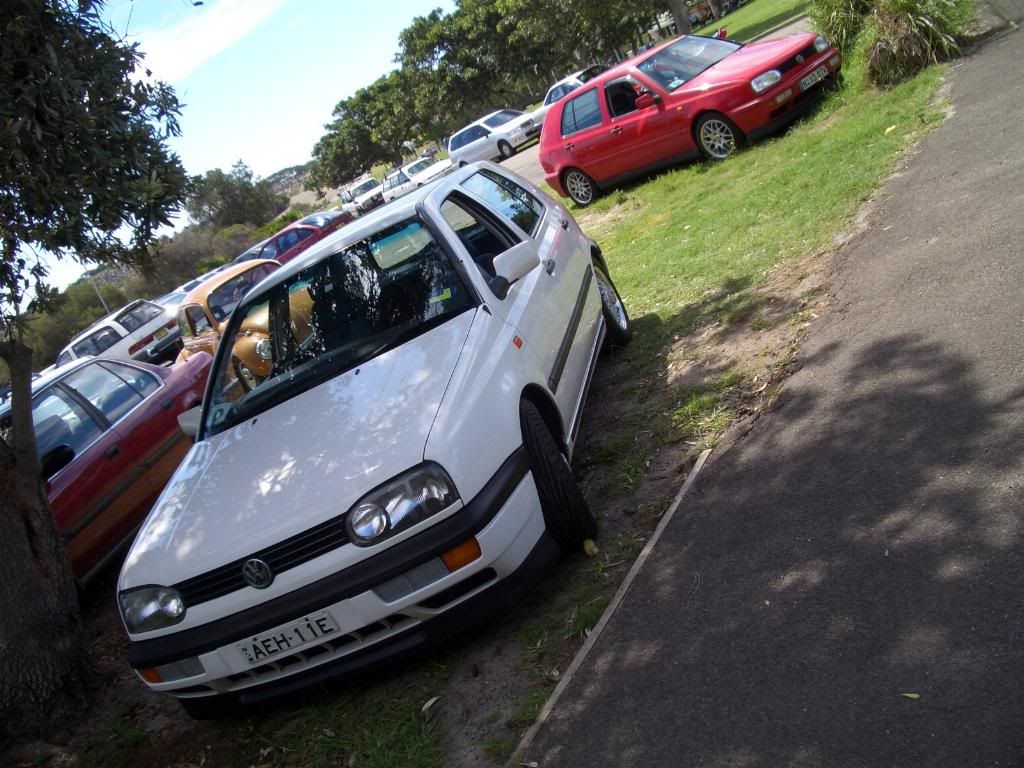
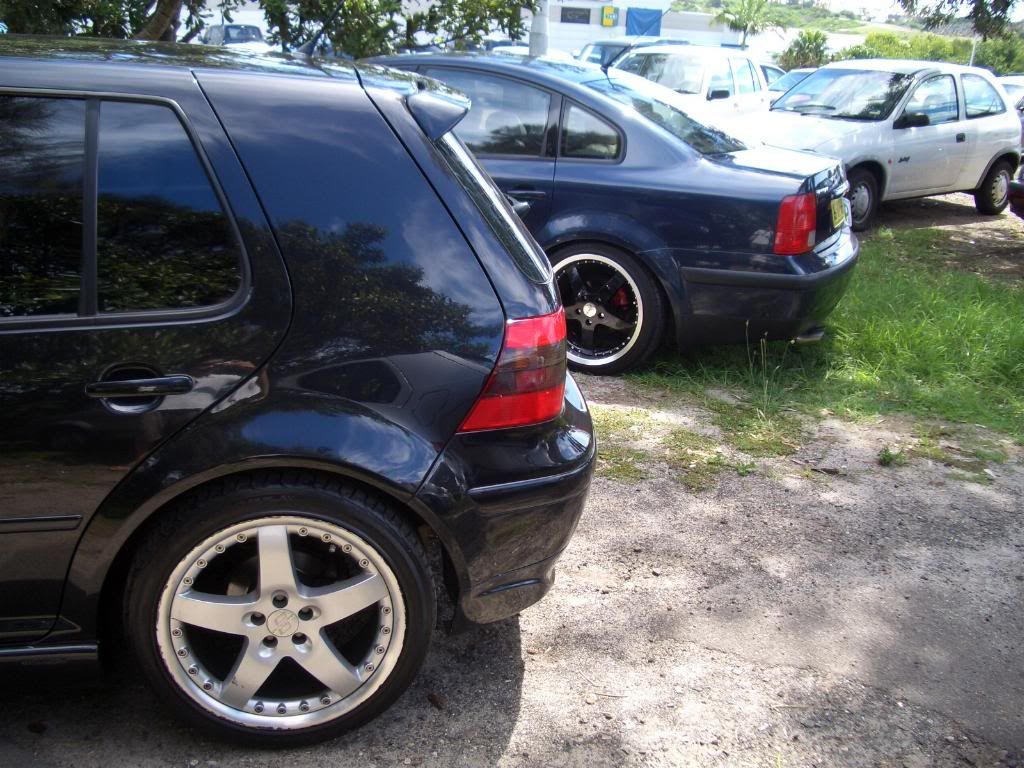
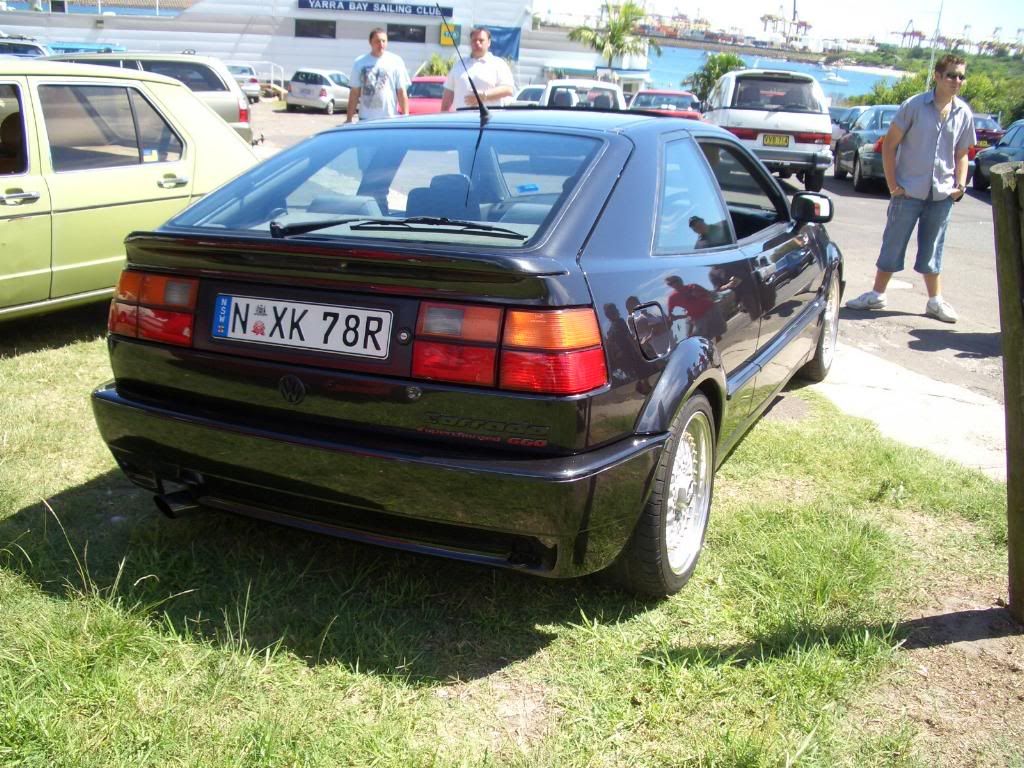
on the 11th of march, some of the boys (and girls) of vwwatercooled had a GTG at yarra bay (near la perouse). the main reason for the meet was to discuss about the VW Nationals coming up soon on Easter Sunday, but it was more of a day to show off how the loved dubs are going and have a good BBQ and lunch. it was a good day, with the sunday weather being forgiving even when the sun was out. i'd say about 10-15 dubs showed up (including the odd audi, some beetles and the corrado). after lunch was just a discussion on how the watercooled VW's will be judged and what categories there will be. points were assigned to particular traits of a car and was briefly finalised when most people agreed. then it was a trip down to the beach for some baking and vortex throwing. ended the day with a tyre change involving 10 people (ok, so it was more like 1 person changing and the other 9 watching), and a parade down the main streets in the VW's until everyone slowly split up and went on their merry way home.

here are some pics!


and the rest of the pics.

VW nationals, here we come.

Friday, 2 March 2007

aftermarket tail lights?

so, after having done the headlights, im thinking of changing the taillights a bit to match.

i've looked into a lot of aftermarket headlights, and these are the ones that stuck out:

crystal clear + reds: popular aftermarket taillights. made by various brands, including hella. found in most US/UK/europe aftermarket shops, and eBay too. come in either a solid backing or a crystal backing, like that seen here. were originally the taillights i really wanted, but i've got my eyes on something else (possibly cheaper too :) ). second picture is a modification of it - crystal red indicating lights rather than the original clear. this look can be easily achieved by either spray painting, tint, or vinyl overlays (more on this below).


vr6 factory smoked: would be a no-brainer choice due to local availability (stock on all VR6 - come across a fair few wrecks too, so can easily be had for good money). however, i'm not really fond of the whole smoked look. reminds me of ricers with their corollas and integras. plus, my headlights aren't smoked - it just has a similar look due to the black surrounds. imo that's the best looking.


hella all reds + smoked reverse section: expensive option, since i'll be needing to get new taillights (genuine hella reds + modification to the middle strip). however, i just came across a great auto-vinyl/graphics site - empiregfx.com - that stock vinyl overlays for pretty much all the light/reflective parts. i'm most interested in the indicator crystal red overlay, and the smoked reverse overlay. if i apply those two vinyls onto my stock GL taillights, they should give me the same effect. the links following the pic below shows the quality of these vinyls after installation. they're on a jetta though, but you get the point - they use the same kind of vinyls.


http://i25.photobucket.com/albums/c67/rayray086/VW%20Golf/overlay_01.jpg
http://i25.photobucket.com/albums/c67/rayray086/VW%20Golf/overlay_08.jpg
http://i25.photobucket.com/albums/c67/rayray086/VW%20Golf/overlay_04.jpg

also, rapidparts.com supply these kind of headlights too, but the price is ridiculous.

[edit: just got into contact with the owner of empiregfx - he posts to sydney, australia, but he's charging $20 for a pair of vinyls - the two pairs of vinyls for indicator and reverse means $40USD for what you can compare to as stickers... well, it's cheaper than getting totally brand new hellas, and a guy from vwvortex was selling his taillights for 40 pounds, so whatever i do, this will still be the cheapest option, though maybe not the best value. i'll see what the shipping cost is first!]

very nice!

factory side-skirts found and bought!

alright, quick update.

found a set of side skirts with missing end caps from a guy name Oliver living in bonnyrigg. sounded like a decent guy over the phone and was willing to supply me with some new end caps for a total of $30 (heard ridiculous prices before from others). sounded good so i went by yesterday.

he turned out to be a pleasure to deal with, walking through his current projects and even took me for a spin in one of his cars. he has a Mk3 VR6 that he used as a shell for a 16V ABF engine conversion. he relabelled the car as a 16V GTI and well, it flies in contrast to my 8V 2.slow. i kept mistaking it for a VR6 and i think he was starting to get annoyed by it :P anyway, it's a very fun car to be in, and knowing that it's one of the "simpler" engine conversions, i started to get excited. maybe it's a worthwhile conversion to do later on :) he also has a mk4 GTI with a K04 turbo in it, and a Mk3 1.9 TDI! sounds like a truck when he started it up! but certainly a rareity in australia. he also owns two cabrios, with one having a 2.0L 16V too.

anyway, i showed him a few shortcomings on my car (i.e. the rust spots) and he offered to help out by giving me a tin of white paint and rust deoxidiser. he sold the side skirts for $80 too, so all up it ended up costing $110. good deal knowing that there aren't many side skirts lying around, and even if there are, there will be quite a lot of people seeking them.

plans to come will be to respray the side skirts satin/bumper black like with the bumper tops and side trims, and to attach them on once they're good to go on. he also recommended "sikaflex" to attach the skirts to the rocker panels, so i might try and look for them, rather than use the double sided tape that some recommend.

im getting closer to the look i want :)